


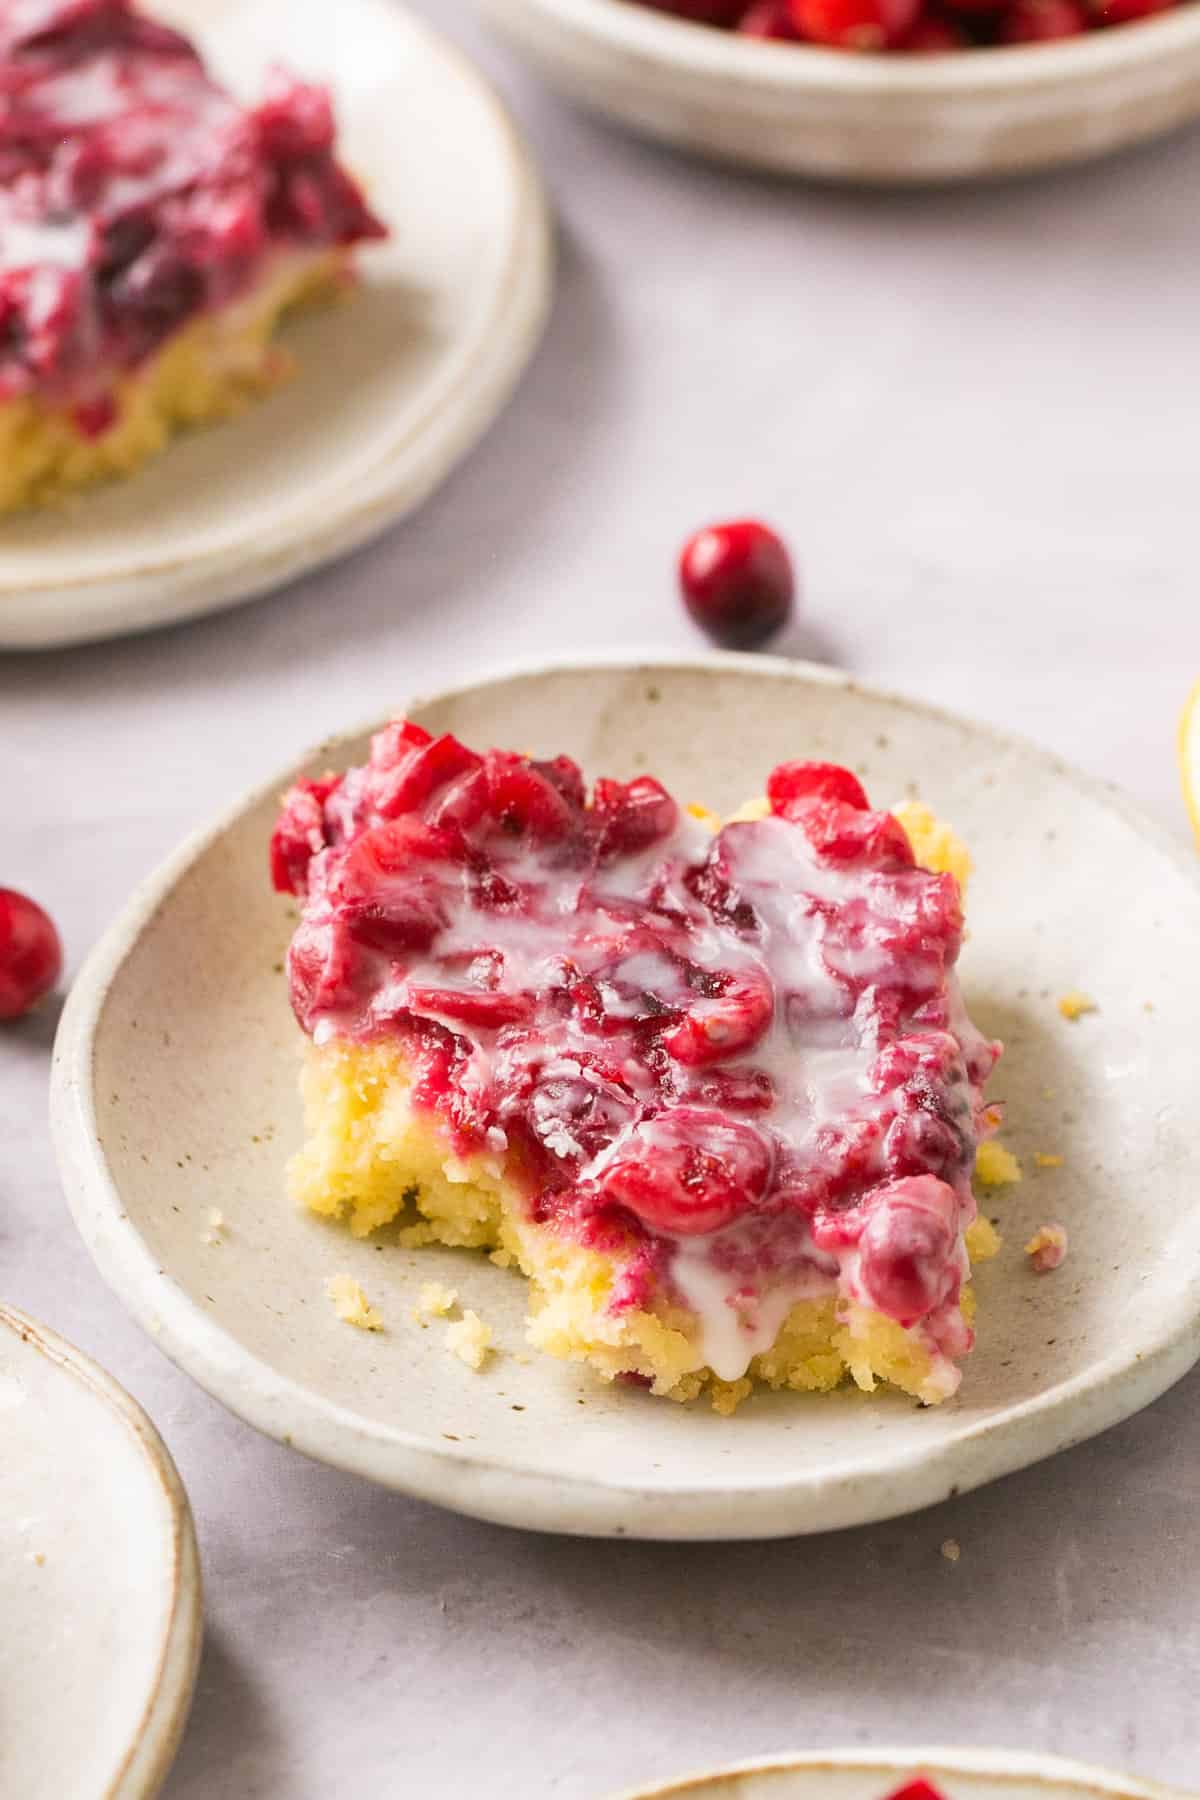
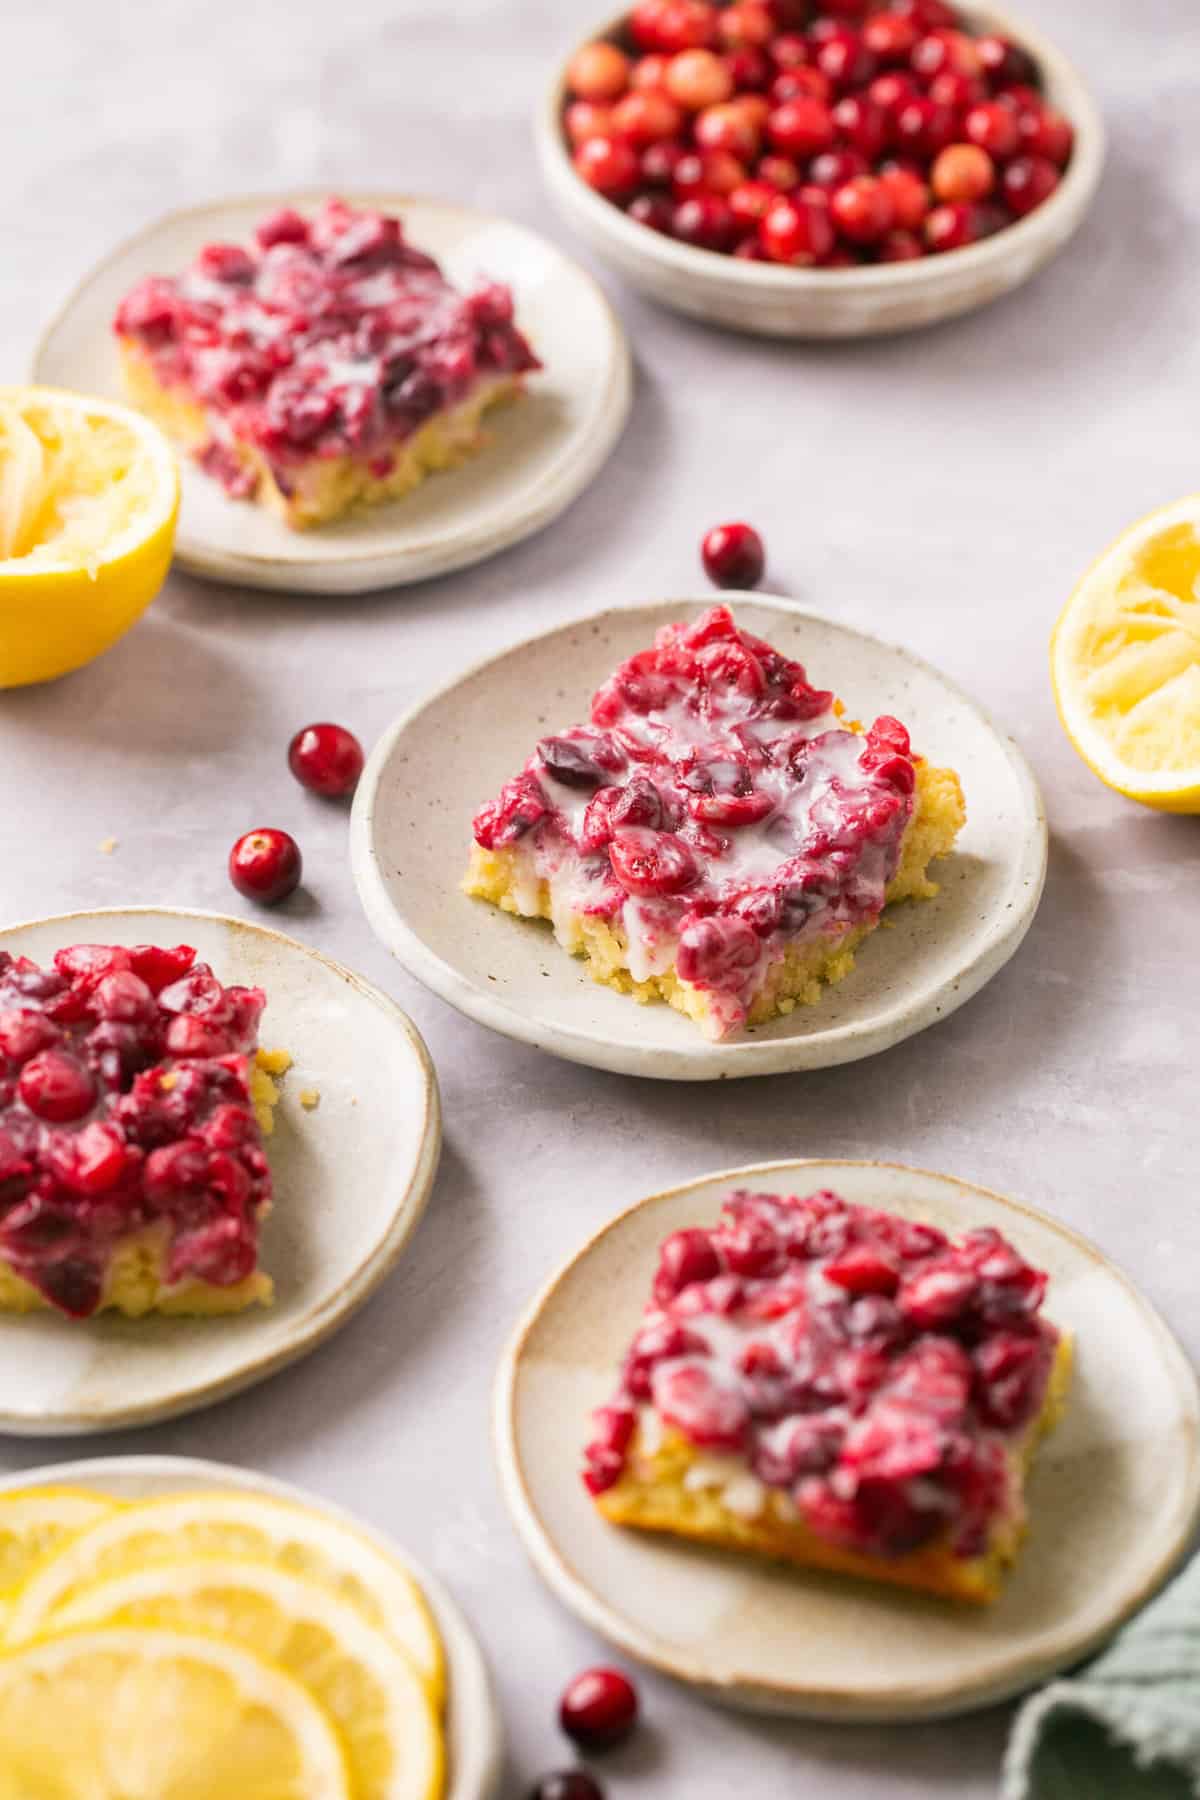
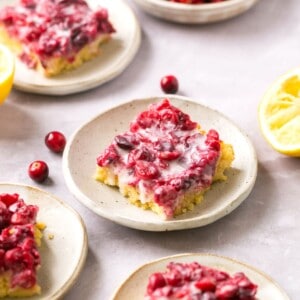
These are the best gluten-free cranberry lemon bars! The combination of the sweet lemon crust with the tart cranberry topping blends beautifully. You will love how easy these bars are to make and that they are healthier than most lemon bar recipes since they are refined sugar free and dairy free too!
If you ask me cranberries are an underrated berry, but I personally love cranberry recipes like my healthy cranberry sauce and roasted cranberry maple Brussels sprouts. That is why I am so excited to share this cranberry dessert with you!
Table of Contents
Why you will love this recipe:
- These gluten-free lemon bars taste amazing! They have a sweet lemon crust that has a shortbread like texture and a tart cranberry topping. The contrast of the flavours blends perfectly to give these bars the most incredible flavour.
- These dessert bars are surprisingly easy to make and also freeze really well.
- These lemon bars are not only gluten free but are also dairy free and paleo - just like my gluten-free lemon coconut macaroons.
- They are a healthy alternative to most other lemon bar recipes because they are refined sugar free.
- These bars are great to serve any time but they are also great for events like Easter, Mother's Day, Father's Day, Thanksgiving, Christmas baby showers or bridal showers.
If you love lemon flavoured desserts you will also love easy lemon and lavender cookies and the best gluten free lemon pop tarts.
Ingredients and substitutions:
For the full ingredient list and exact measurements refer to the recipe card later in this post.
Jump to the Recipe Card.
- Coconut flour - One of my favourite grain free flours. The sweetness of the coconut blends so well with the lemon to give these bars the best taste.
- Almond flour - This gluten free flour is one of my favourites to bake with. You could use cashew flour instead. Just be sure you don't use almond meal which is too gritty.
- Coconut milk - this helps add moisture to these lemon bars. I recommend using full fat coconut milk for the best flavour.
- Coconut butter or coconut manna - to help add natural sweetness to these cranberry lemon bars.
- Lemons - you will use fresh lemons for both lemon zest and lemon juice to add the lemon flavour to these gluten-free lemon bars.
- Cranberries - for the cranberry topping on these bars. I recommend using fresh rather than frozen cranberries if possible.
- Honey - one of my favourite natural sweeteners to give these dessert bars the perfect amount of sweetness while keeping these bars refined sugar free. You could use maple syrup instead.
- Eggs - eggs help bind these bars together and add extra moisture. I have not tried making an egg free version of this recipe.
- Coconut oil - to help give these gluten-free cranberry lemon bars the perfect texture. I do not recommend swapping this for another fat or oil.
Recipe variations:
- Instead of honey you could use maple syrup to make these gluten free lemon cranberry bars.
- If you can't have almond flour I recommend using cashew flour instead.
How to make gluten-free cranberry lemon bars:
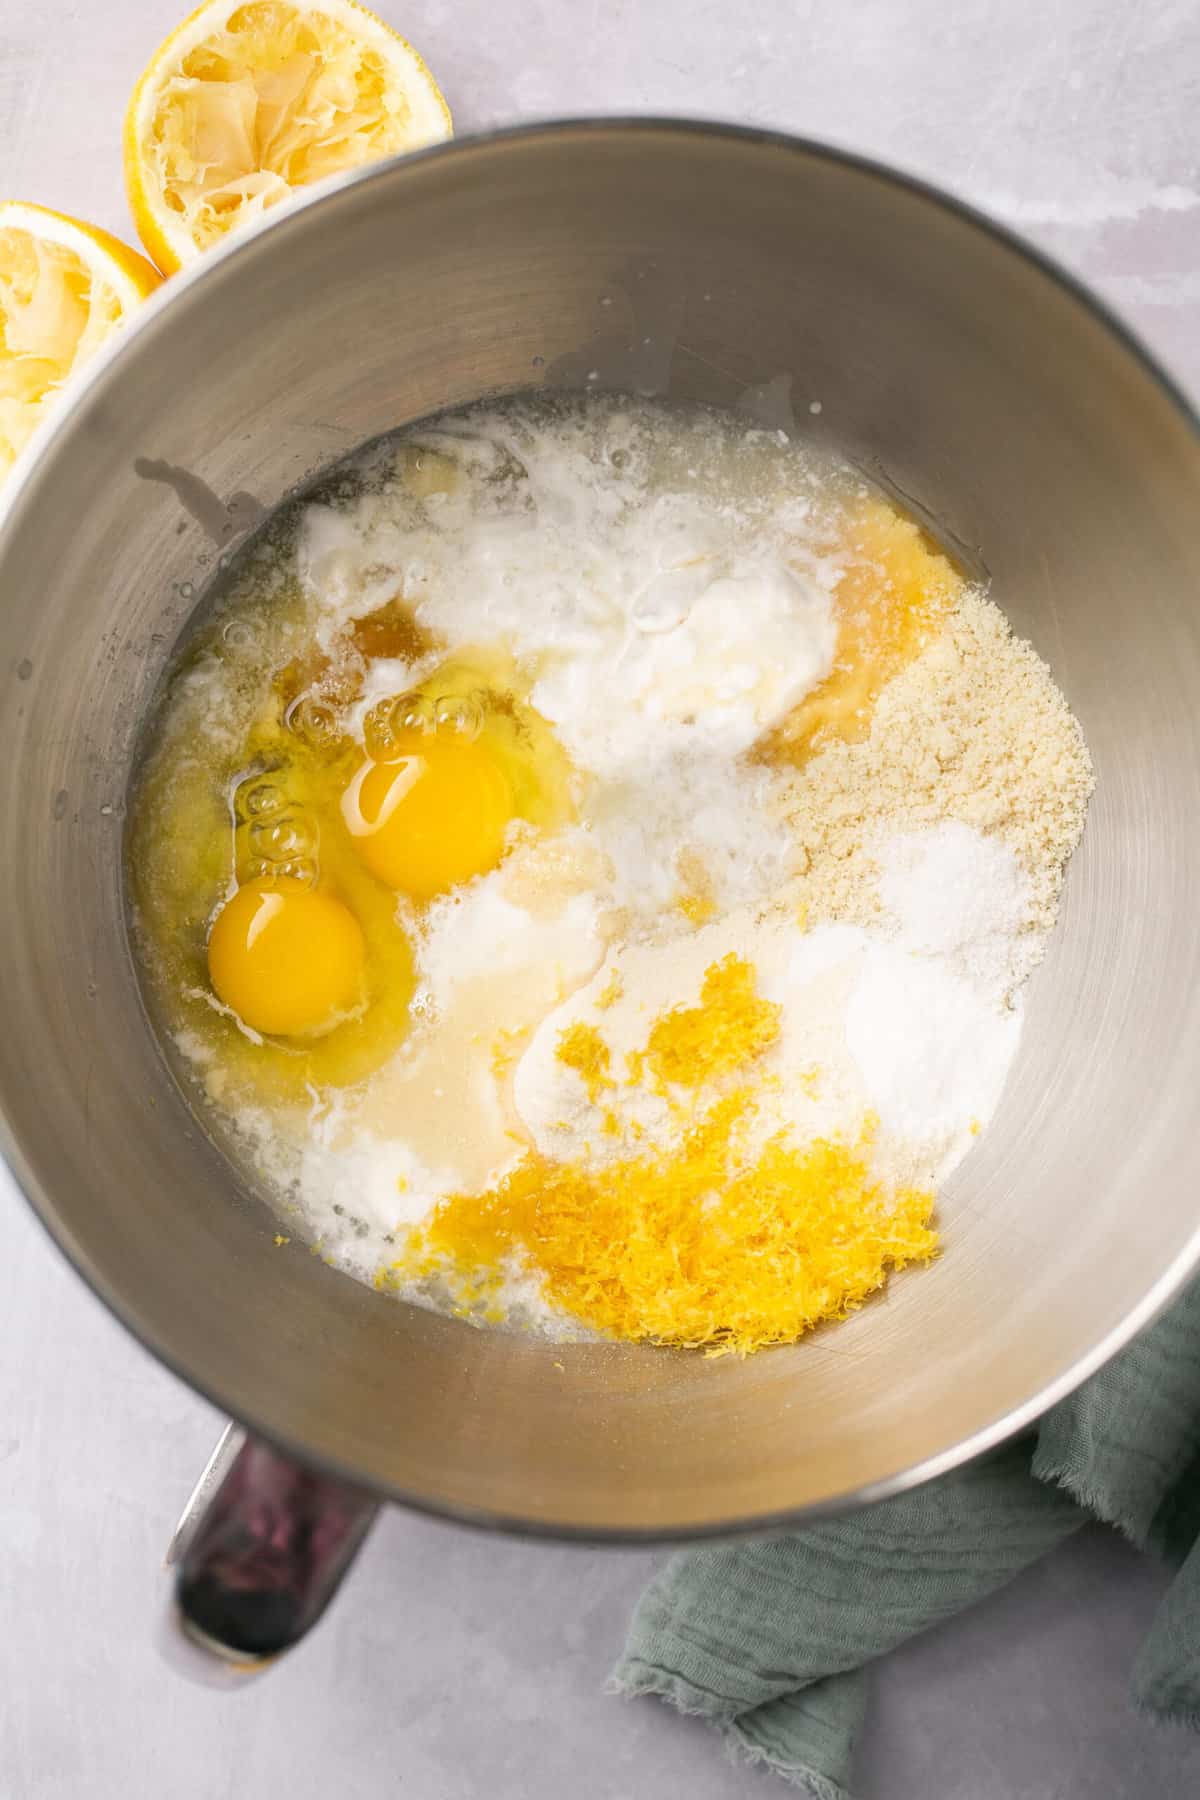
- Step 1: Preheat your oven to 350 degrees Fahrenheit and while the oven is heating add all the ingredients for the lemon crust into the bowl of your standing mixer. Blend on low until the batter is smooth.
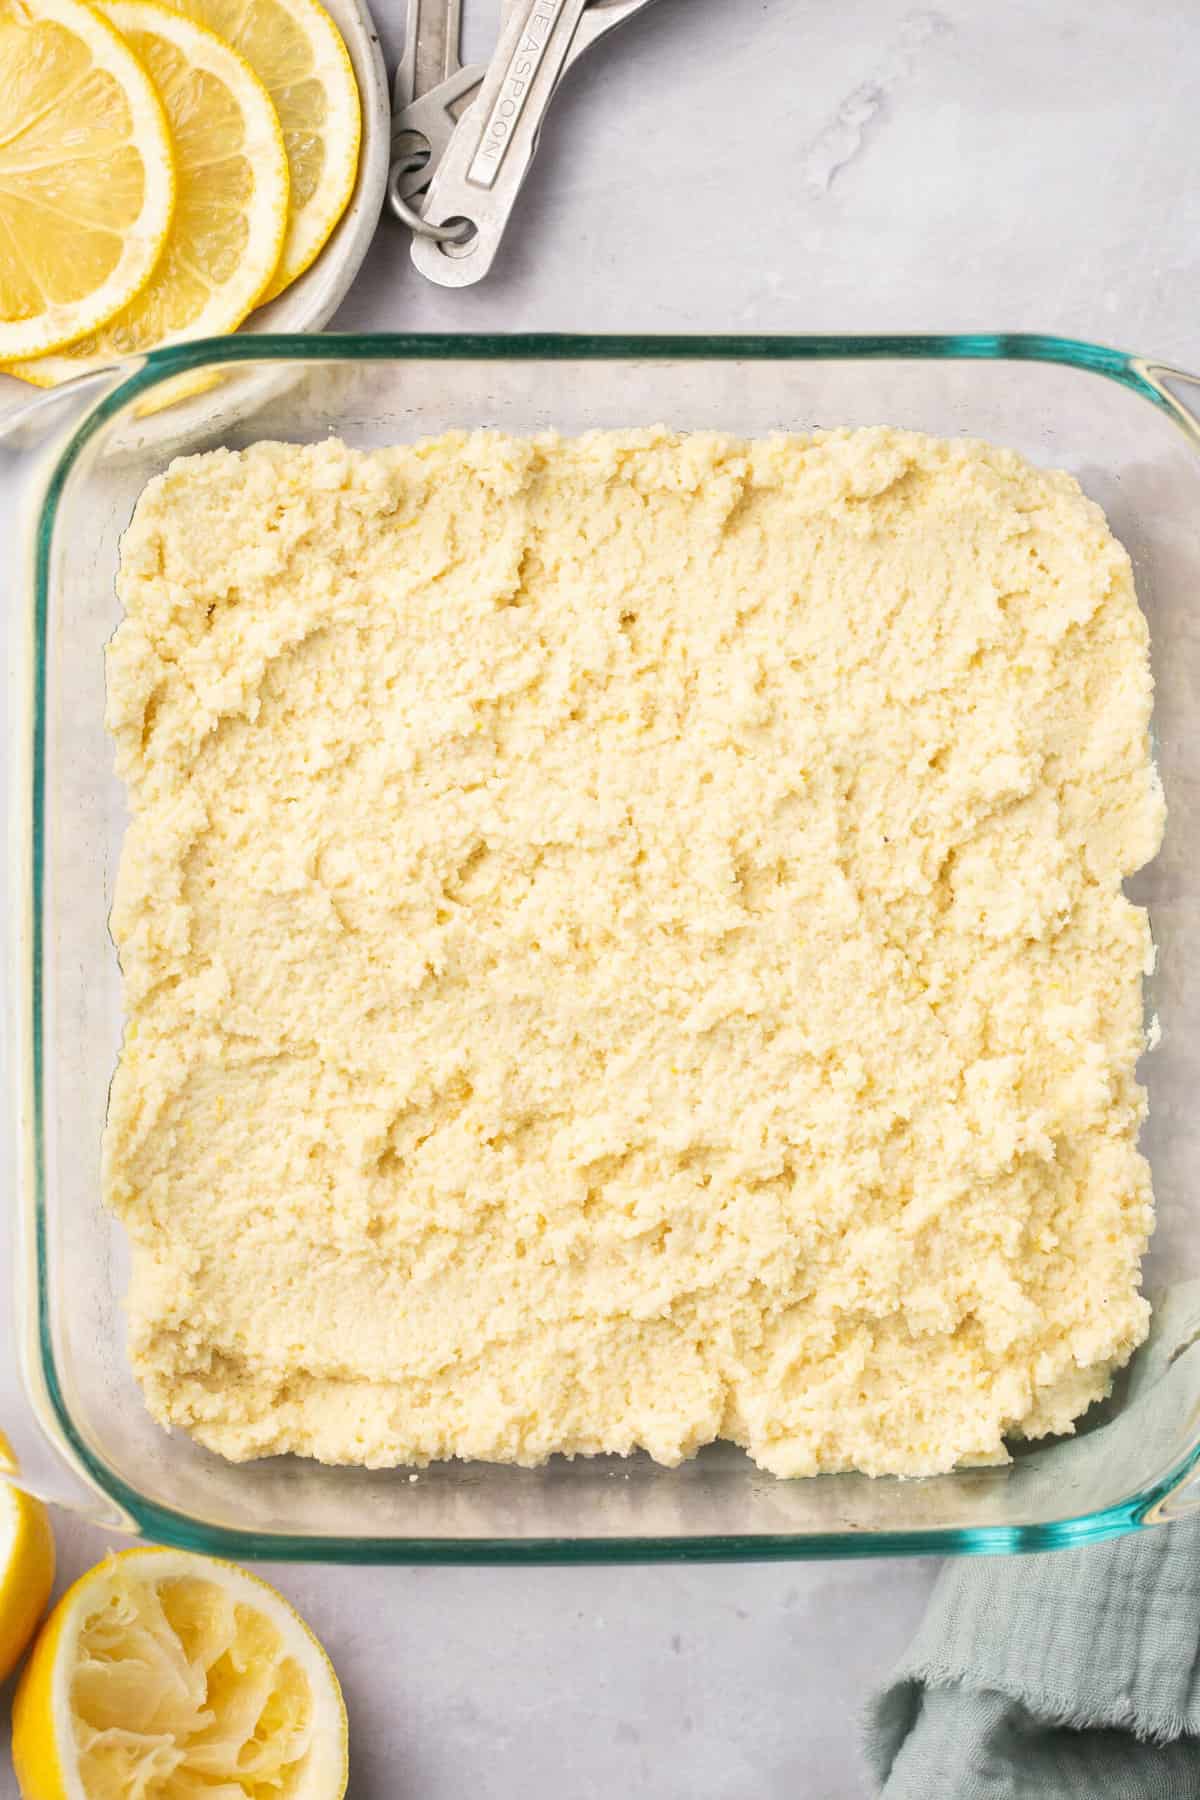
- Step 2: Then transfer the ingredients to a greased 8"x 8" glass baking dish and spread the batter evenly with a knife or a spoon. Place the baking dish in the oven and bake for 17-20 minutes, or until a toothpick inserted inside comes out clean.
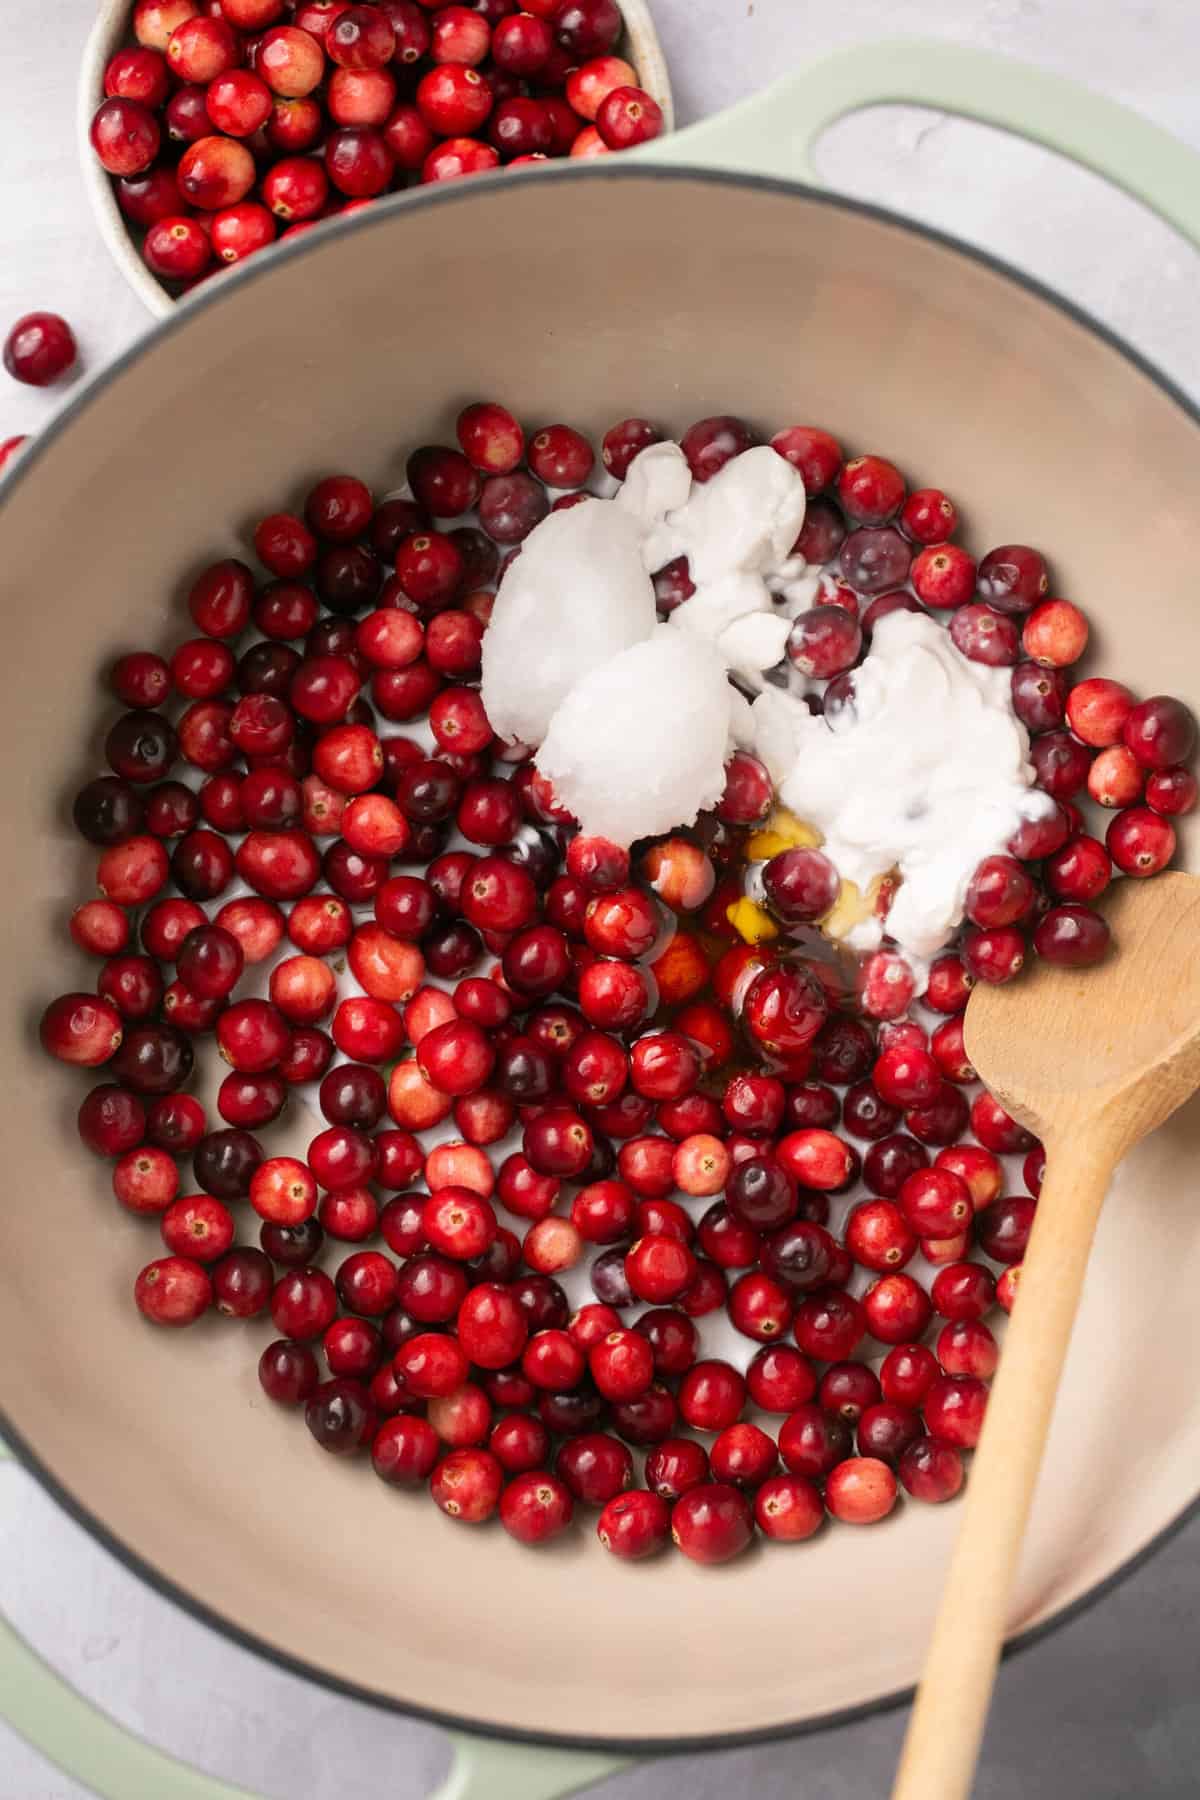
- Step 3: While the lemon layer is baking, you can make the cranberry layer. Place a medium sized pot on the stove on low heat. Add the cranberries, coconut milk, coconut oil, honey and sea salt to the pot and bring the ingredients to a boil. Turn down the heat and allow the ingredients to simmer for about 15 minutes.
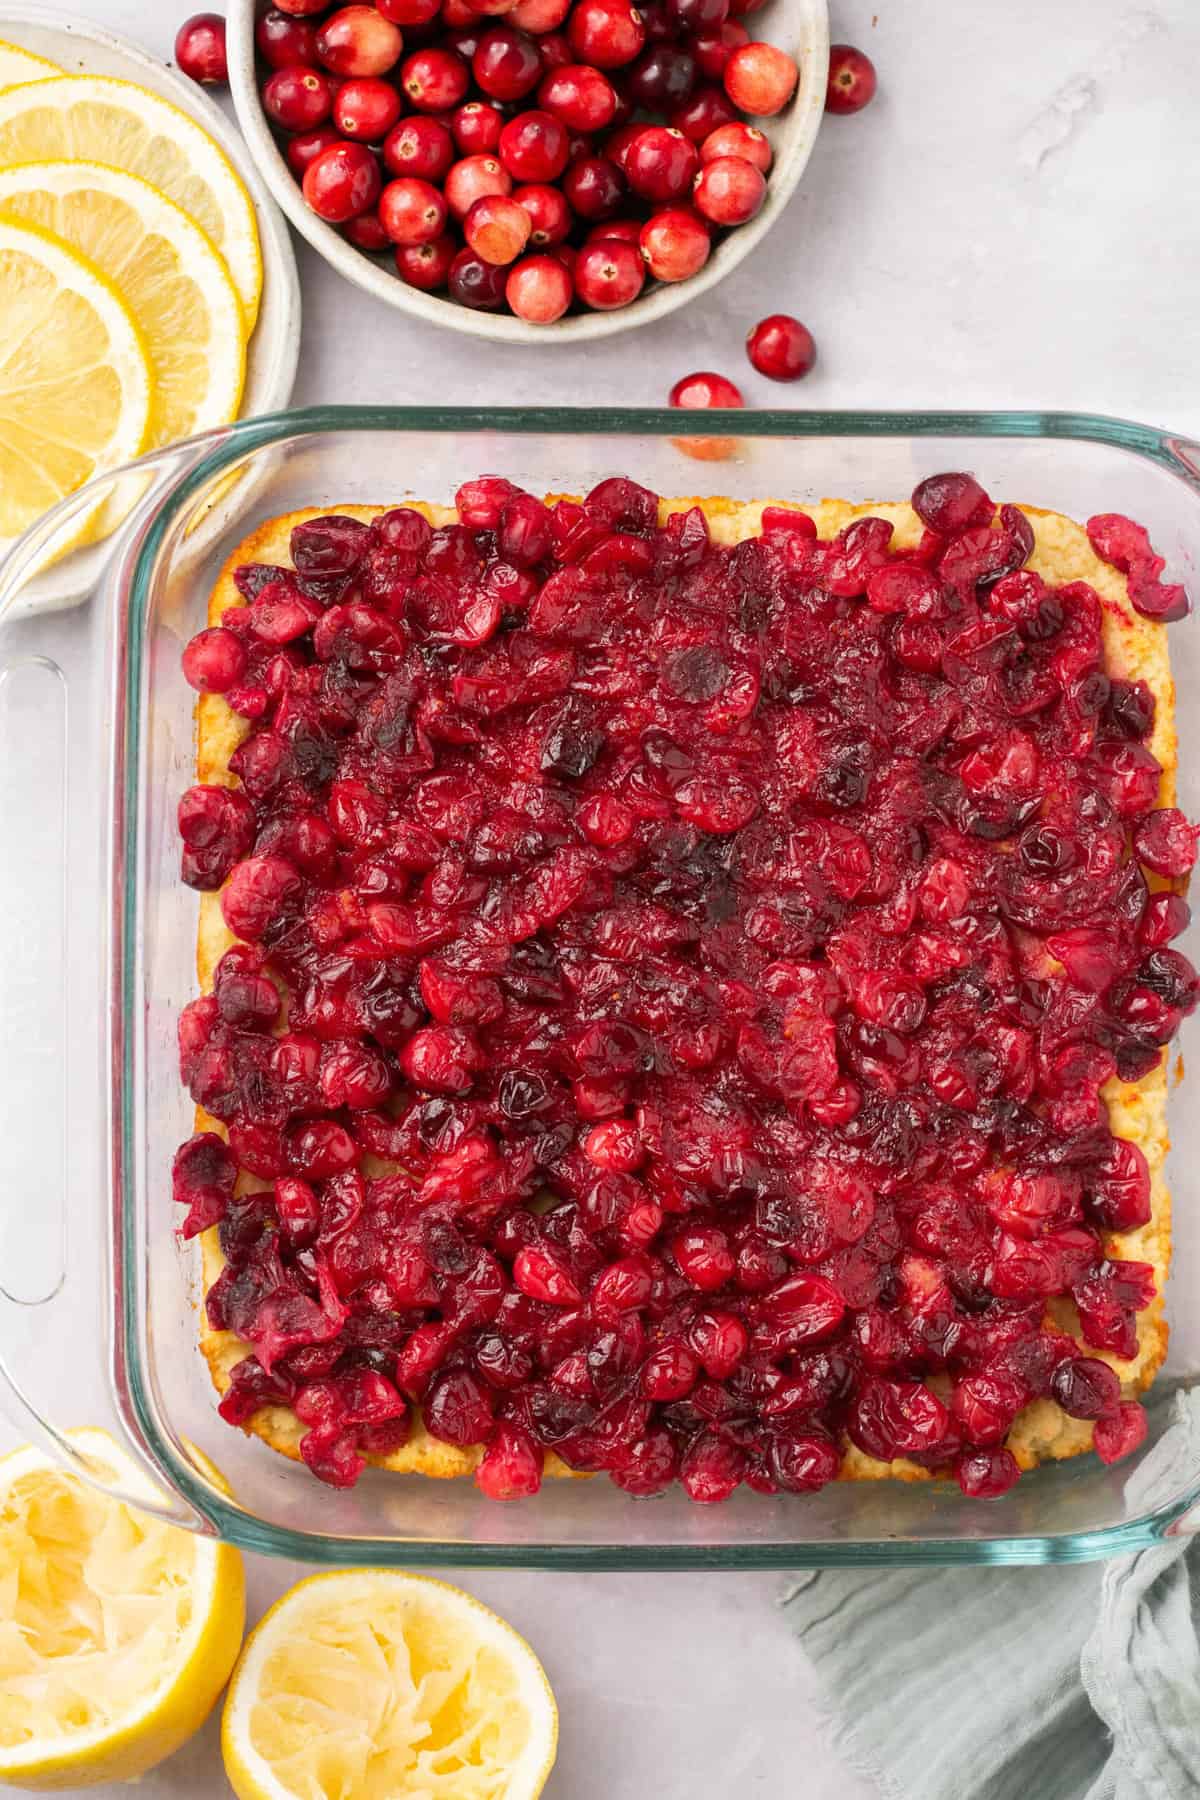
- Step 4: When the lemon crust is done baking, pour the cranberry topping on top and spread it out evenly with a spoon or knife. Then place the dish in the fridge and allow the cranberry layer to set (this takes about 60 minutes).
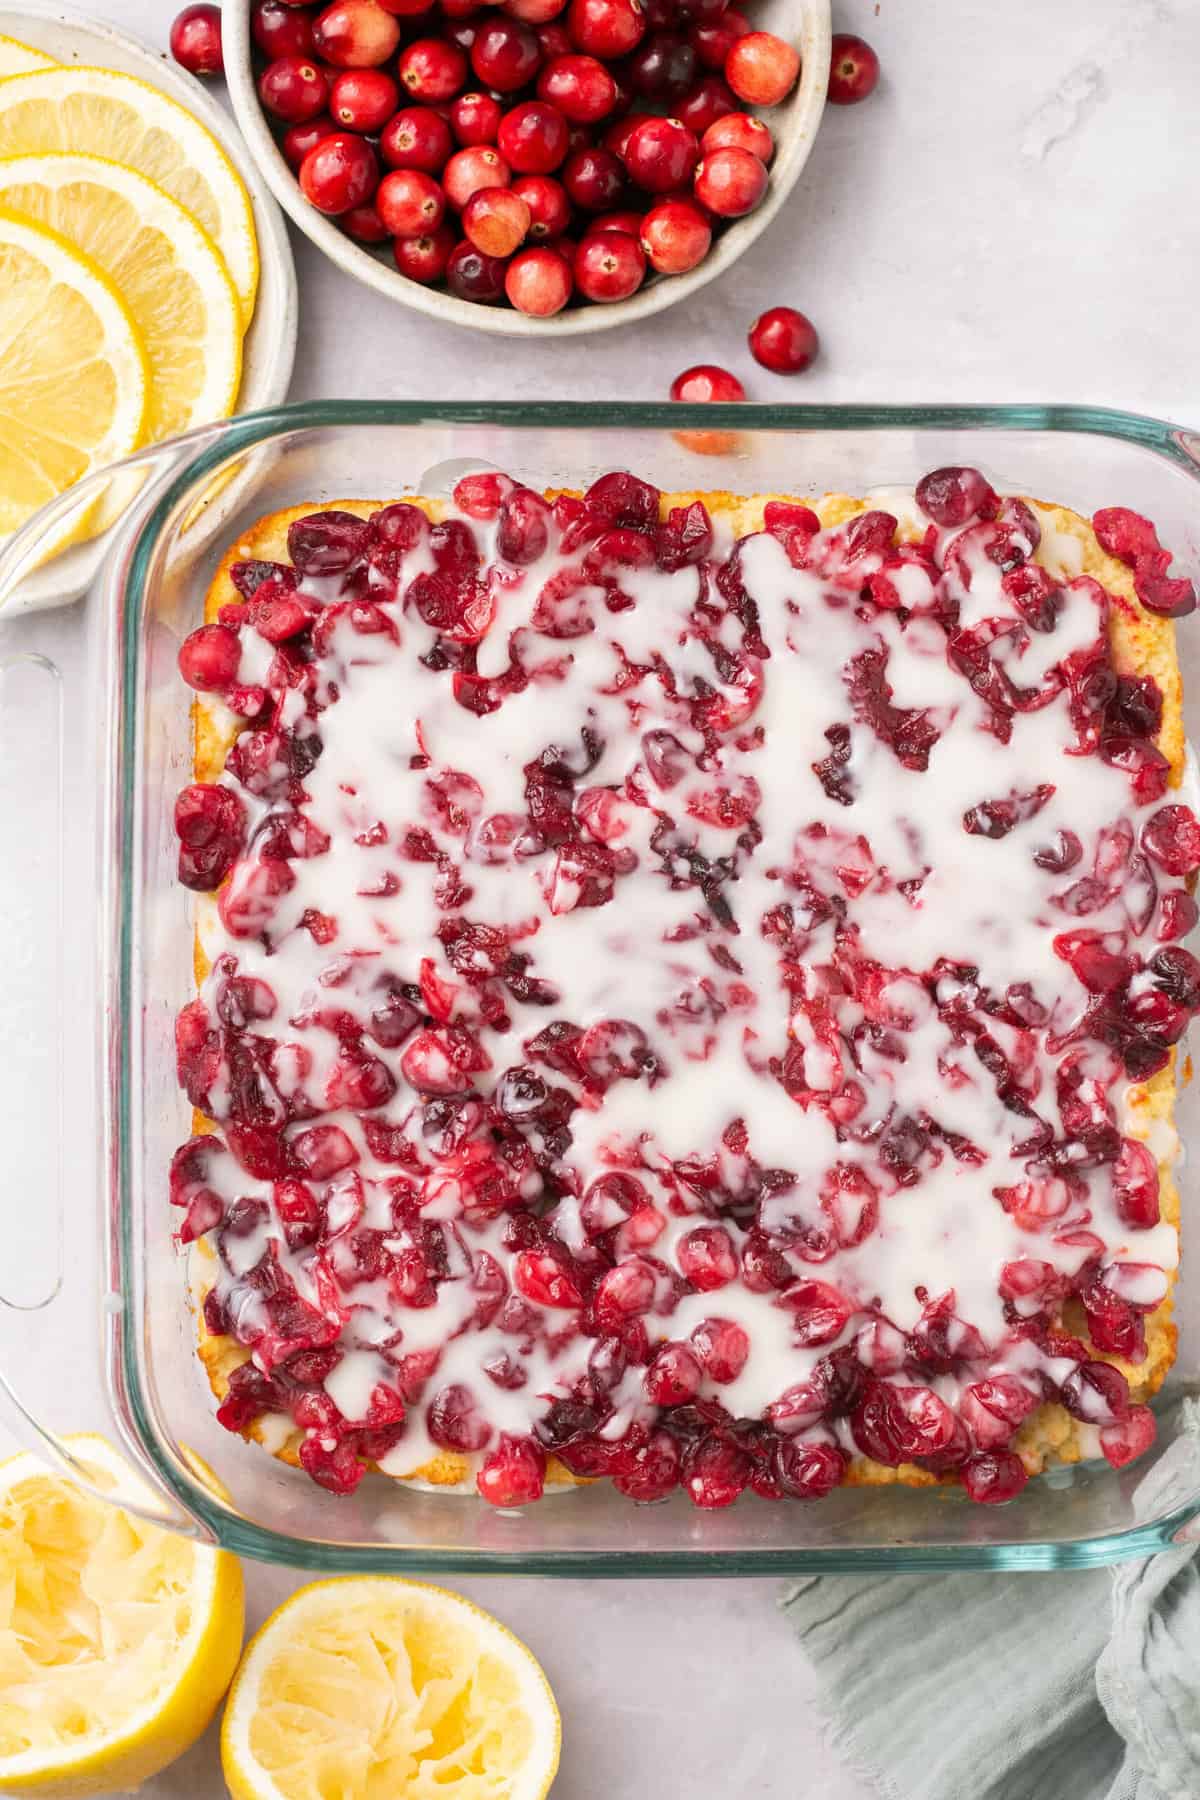
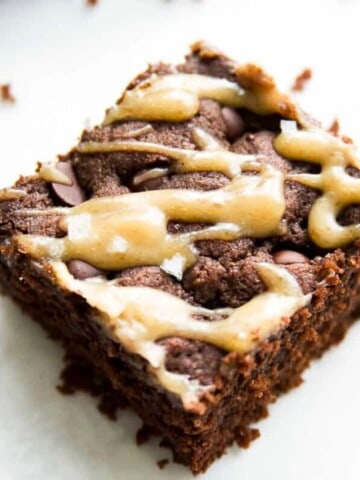
- Step 5: You have the option of adding a little coconut butter to the top of your bars (this is the white part that you see in the photos). If you would like to do that, melt 3 tablespoons of coconut butter in the microwave (heat on high for 20-30 seconds). Then simply drizzle the coconut butter on top of the cranberry layer when you remove the bars from the fridge.
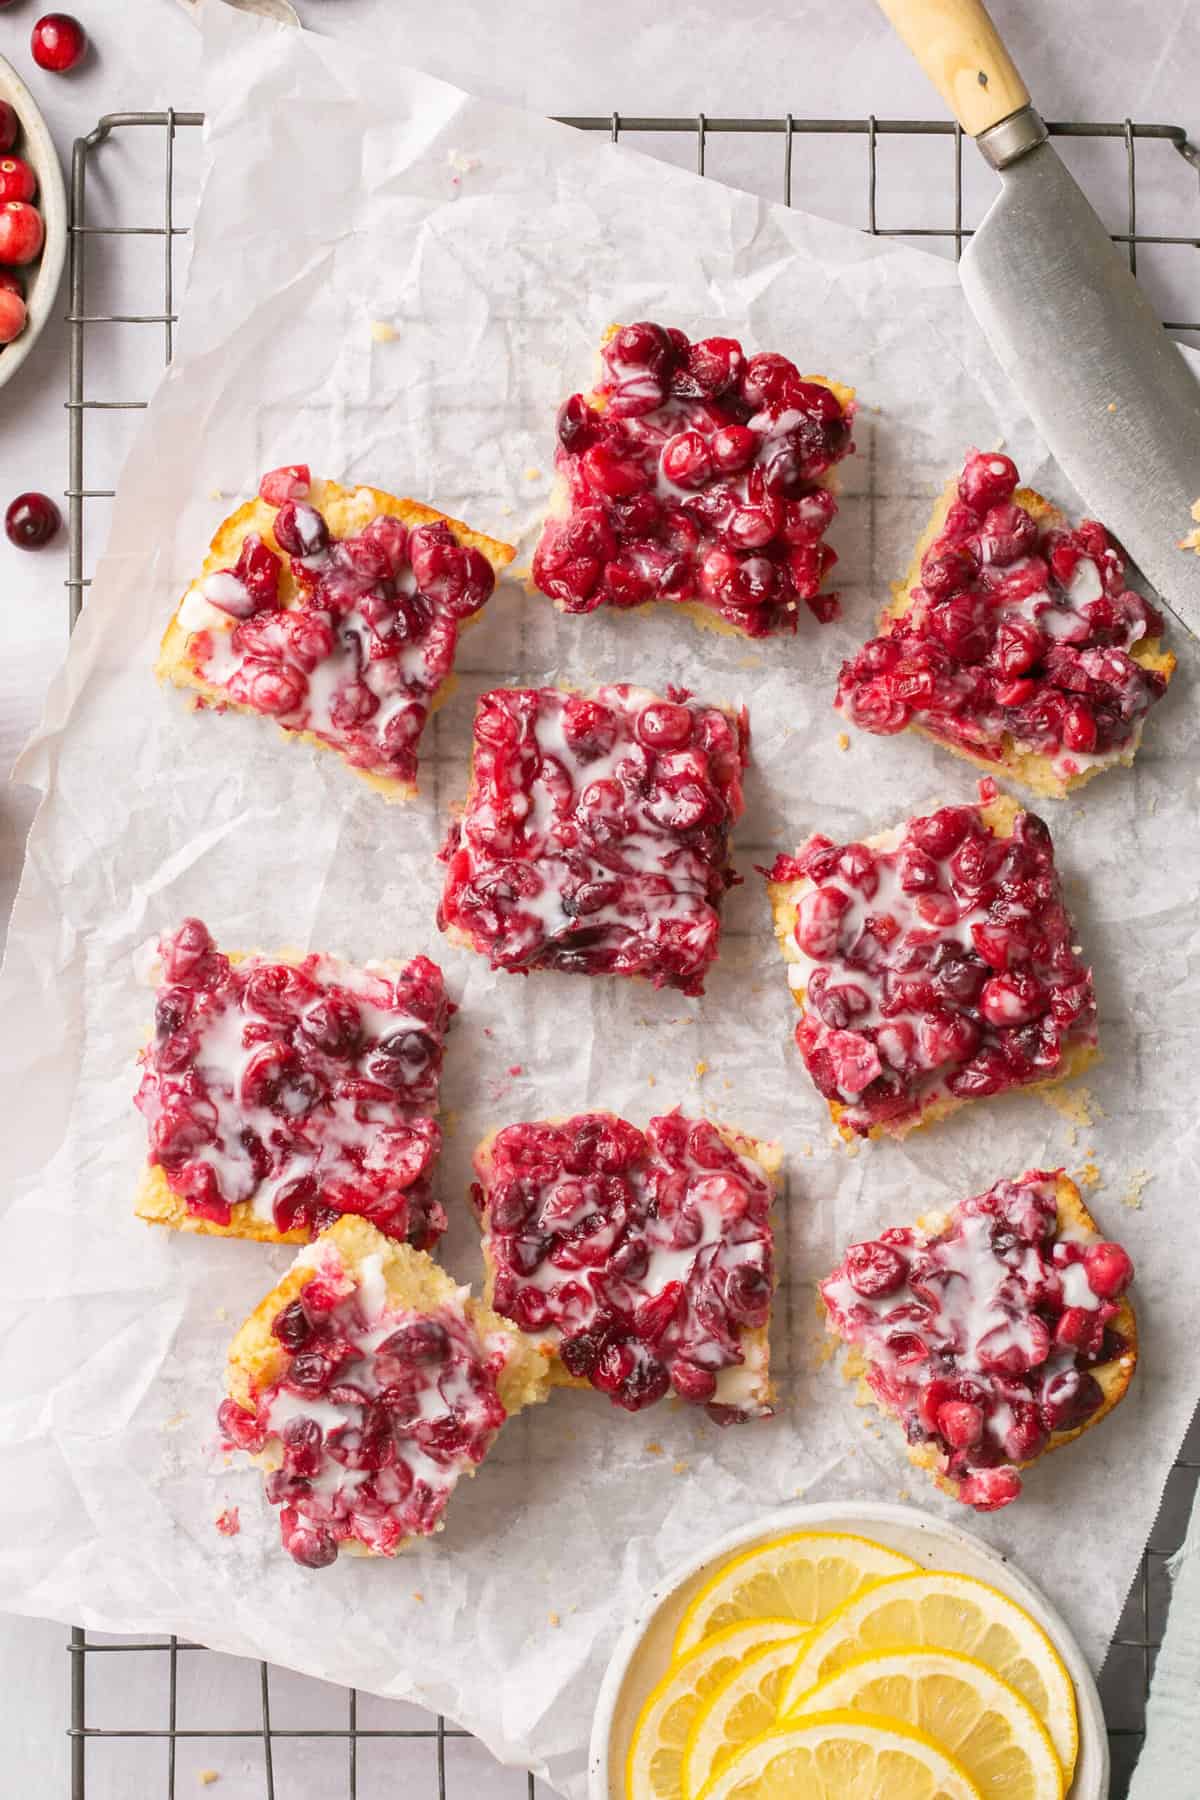
- Step 6: Next, cut the bars into desired sized pieces, then serve and enjoy!
Top tips:
- These gluten-free cranberry lemon bars are delicious served either warm or cold.
- Do not try swapping the coconut flour for another flour.
- Do not omit the eggs for the crust.
- How to store: store these bars in the fridge in an airtight container for up to 7 days.
Gluten-free cranberry lemon bars FAQs:
Yes I would suggest keeping these gluten free lemon bars in the fridge. I actually prefer them served cold rather than warm.
These lemon bars are sweetened naturally with honey but no they are not sugar free meaning they are also not low carb or keto.
No! Almond flour and coconut flour are not interchangeable.
Definitely not.
I have never tried this recipe without eggs so I can't guarantee they would work out. If you do try making them vegan by using an egg replacer please let me know how it goes.
Yes! These lemon bars freeze really well in either a freezer bag or airtight container for up to 3 months.
Other gluten-free desserts you will love:
Recipe
Gluten-Free Cranberry Lemon Bars
Equipment
- 8 inch square baking dish
Ingredients
Lemon Crust Ingredients
- 2 cups almond flour
- 1/4 cup coconut flour
- 2 tablespoon lemon zest
- 1/2 teaspoon baking soda
- pinch sea salt
- 1/4 cup melted coconut oil (plus a little more for greasing the pan)
- 1/4 cup full fat coconut milk
- 1/4 cup honey
- 1/4 cup freshly squeezed lemon juice
- 2 large eggs
Cranberry Topping Ingredients
- 227 grams fresh cranberries
- 1/2 cup full fat coconut milk
- 2 tablespoon coconut oil
- 2 tablespoon honey
- pinch sea salt
Optional Coconut Drizzle
- 3 tablespoon coconut manna (or coconut butter)
Instructions
Lemon Crust Directions
- Preheat your oven to 350F.
- Place all the ingredients into your standing mixer and blend well until smooth.
- Grease an 8″x 8″ glass baking dish with coconut oil.
- Pour the batter into the pan and spread evenly with a spoon or knife.
- Place in the oven and bake for 17-20 minutes, until a toothpick inserted inside comes out clean.
Cranberry Topping Directions
- While the lemon crust is baking start the cranberry topping.
- Place a medium pot on the stove on low heat and add the cranberries, coconut milk, coconut oil, honey and sea salt to the pot and bring to a boil.
- Allow the ingredients to simmer for ~15 minutes.
- Once the lemon crust is finished, pour the cranberry topping on top and spread evenly with a spoon or knife.
- Place the pan in the fridge to allow the topping to set. This will take ~60 minutes.
Optional Coconut Drizzle Directions
- Place the coconut manna into a microwave safe dish and microwave on high for 20-30 seconds, until melted.
- Drizzle the melted coconut manna on top of the squares once you remove them from the fridge.
- Cut the squares into desired sized pieces and serve and enjoy!
Notes
- This recipe yields 12 bars.
- Nutritional values are an estimate and will vary depending on the exact ingredients you use.
- Store these bars in the fridge in an airtight container for up to 7 days.
Joan Ann Liberty
Would I need to adjust the recipe in any way to use frozen cranberries?
Erin Carter
I've honestly not tried them with frozen cranberries so I am not sure. You will probably have to heat them longer but if you try it let us know!
Cathy
Hi Erin:
I made this today with our local partridgeberries, instead of cranberries, and it was delicious. Thank-you for your recipes!
Cathy