
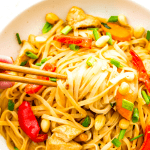


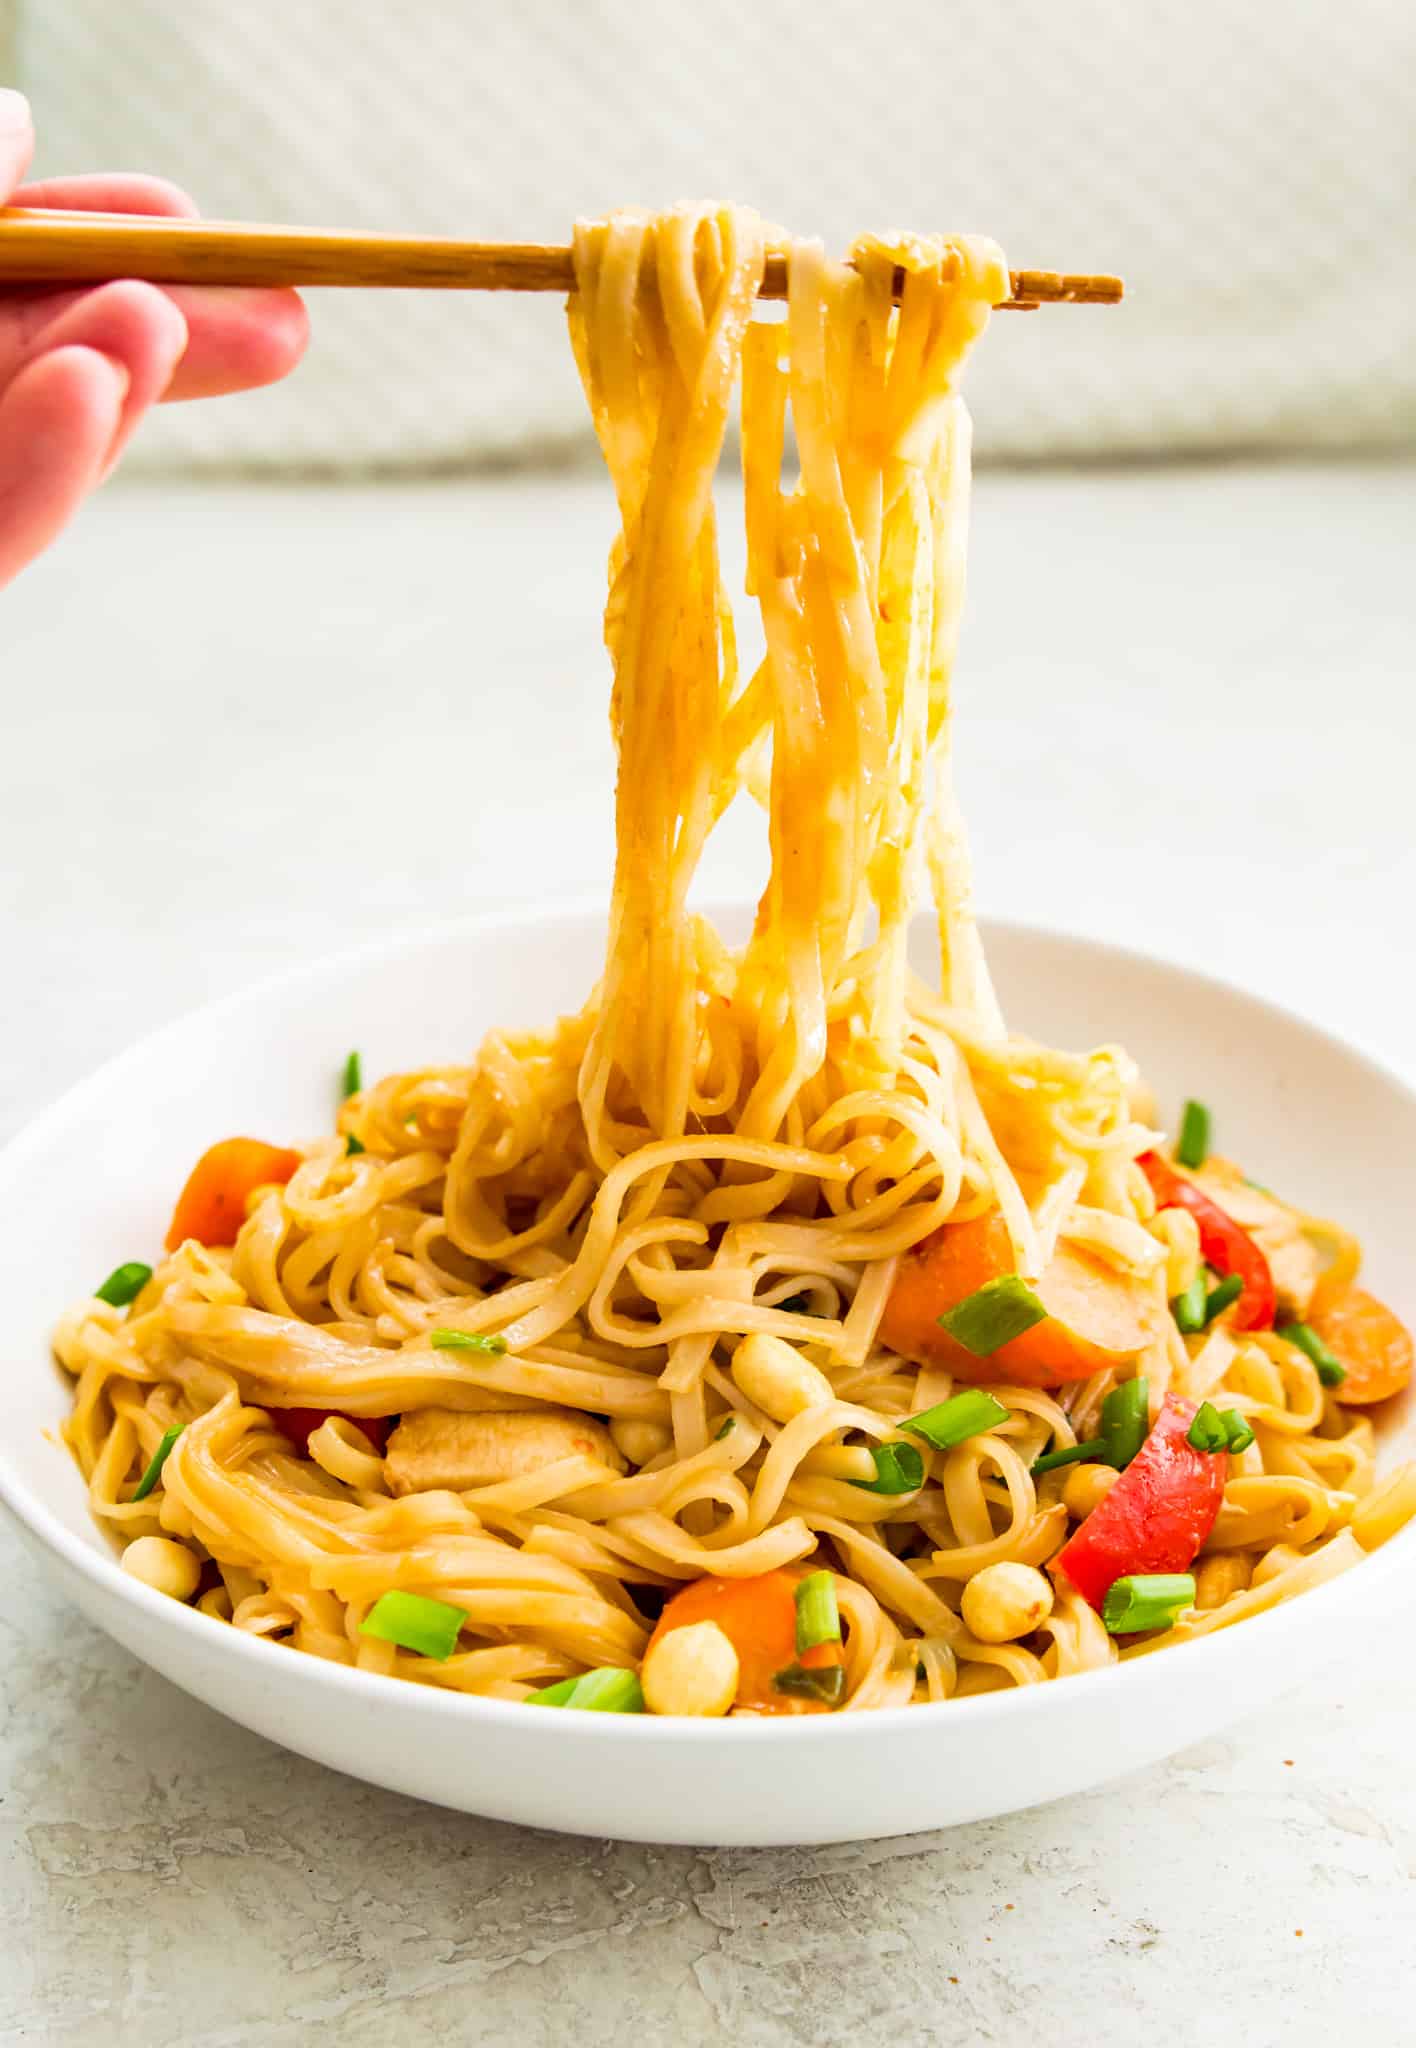
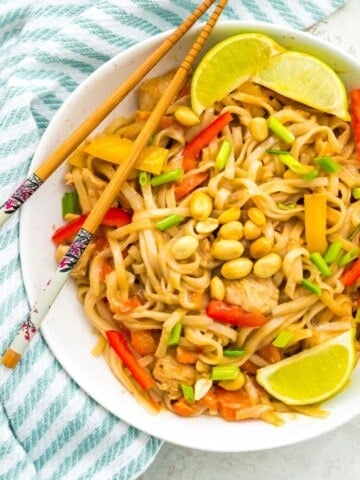
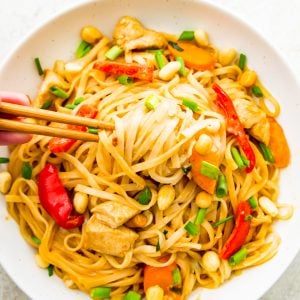
This is the best gluten-free pad Thai recipe. Made with chicken, vegetables and rice noodles it is so easy to make and the creamy peanut sauce gives this pad Thai the most incredible flavour.

Chicken recipes like my ground chicken meatloaf, honey lemon pepper wings, and dairy free marry me chicken make for some of the best meals, which is why I can't wait for you to try the delicious chicken recipe I am sharing with you today.
Table of Contents
Why you will love this recipe:
- The taste! The peanut sauce on this homemade pad Thai is seriously so good and gives this meal the best flavour.
- This chicken pad Thai is quick and easy to make and is perfect for meal prep because it stores really well and makes great leftovers.
- Besides being gluten-free this pad Thai recipe is also dairy-free, soy free and refined sugar free.
If you are a fan of easy Asian recipes you also need to try the best din Tai Fung cucumber salad and healthy egg roll in a bowl recipe.
Ingredients and substitutions:
For the full ingredients list and exact measurements refer to the recipe card later in this post.
Jump to the Recipe Card.
- Rice noodles: You can use either white rice noodles or brown rice noodles for making this gluten-free pad Thai.
- Coconut oil: This is used to help cook the chicken and vegetables. You can replace this with any other cooking oil that you like including olive oil or avocado oil.
- Chicken breasts: to add some protein to this Thai noodle dish and make it a complete meal. I recommend using boneless, skinless chicken breasts.
- Fresh vegetables: I use carrots, sweet bell peppers, and green onion but you can use whatever veggies you prefer.
- Peanut sauce: the homemade peanut Thai sauce on this recipe is so good! To make it you will need smooth unsweetened peanut butter, coconut aminos, honey or maple syrup, gluten-free fish sauce, rice vinegar, garlic, ground ginger and chili flakes (red pepper flakes).
Recipe variations and add ins:
- Instead of coconut aminos you could use gluten-free soy sauce or tamari instead.
- If you are allergic to peanuts: use another nut butter or seed butter such as sunflower seed butter, almond butter or cashew butter.
- If you don't like chicken pad Thai, choose another protein such as pork, shrimp, beef or tofu. You will just have to adjust the cooking time accordingly.
- To make this gluten-free pad Thai vegetarian: omit the fish sauce and chicken and instead add more vegetables to the recipe.
- For hot and spicy pad Thai: add more chili flakes to the peanut sauce.
- To make paleo pad Thai: use grain free noodles and either cashew butter or almond butter to make the sauce.
How to make gluten-free pad Thai:
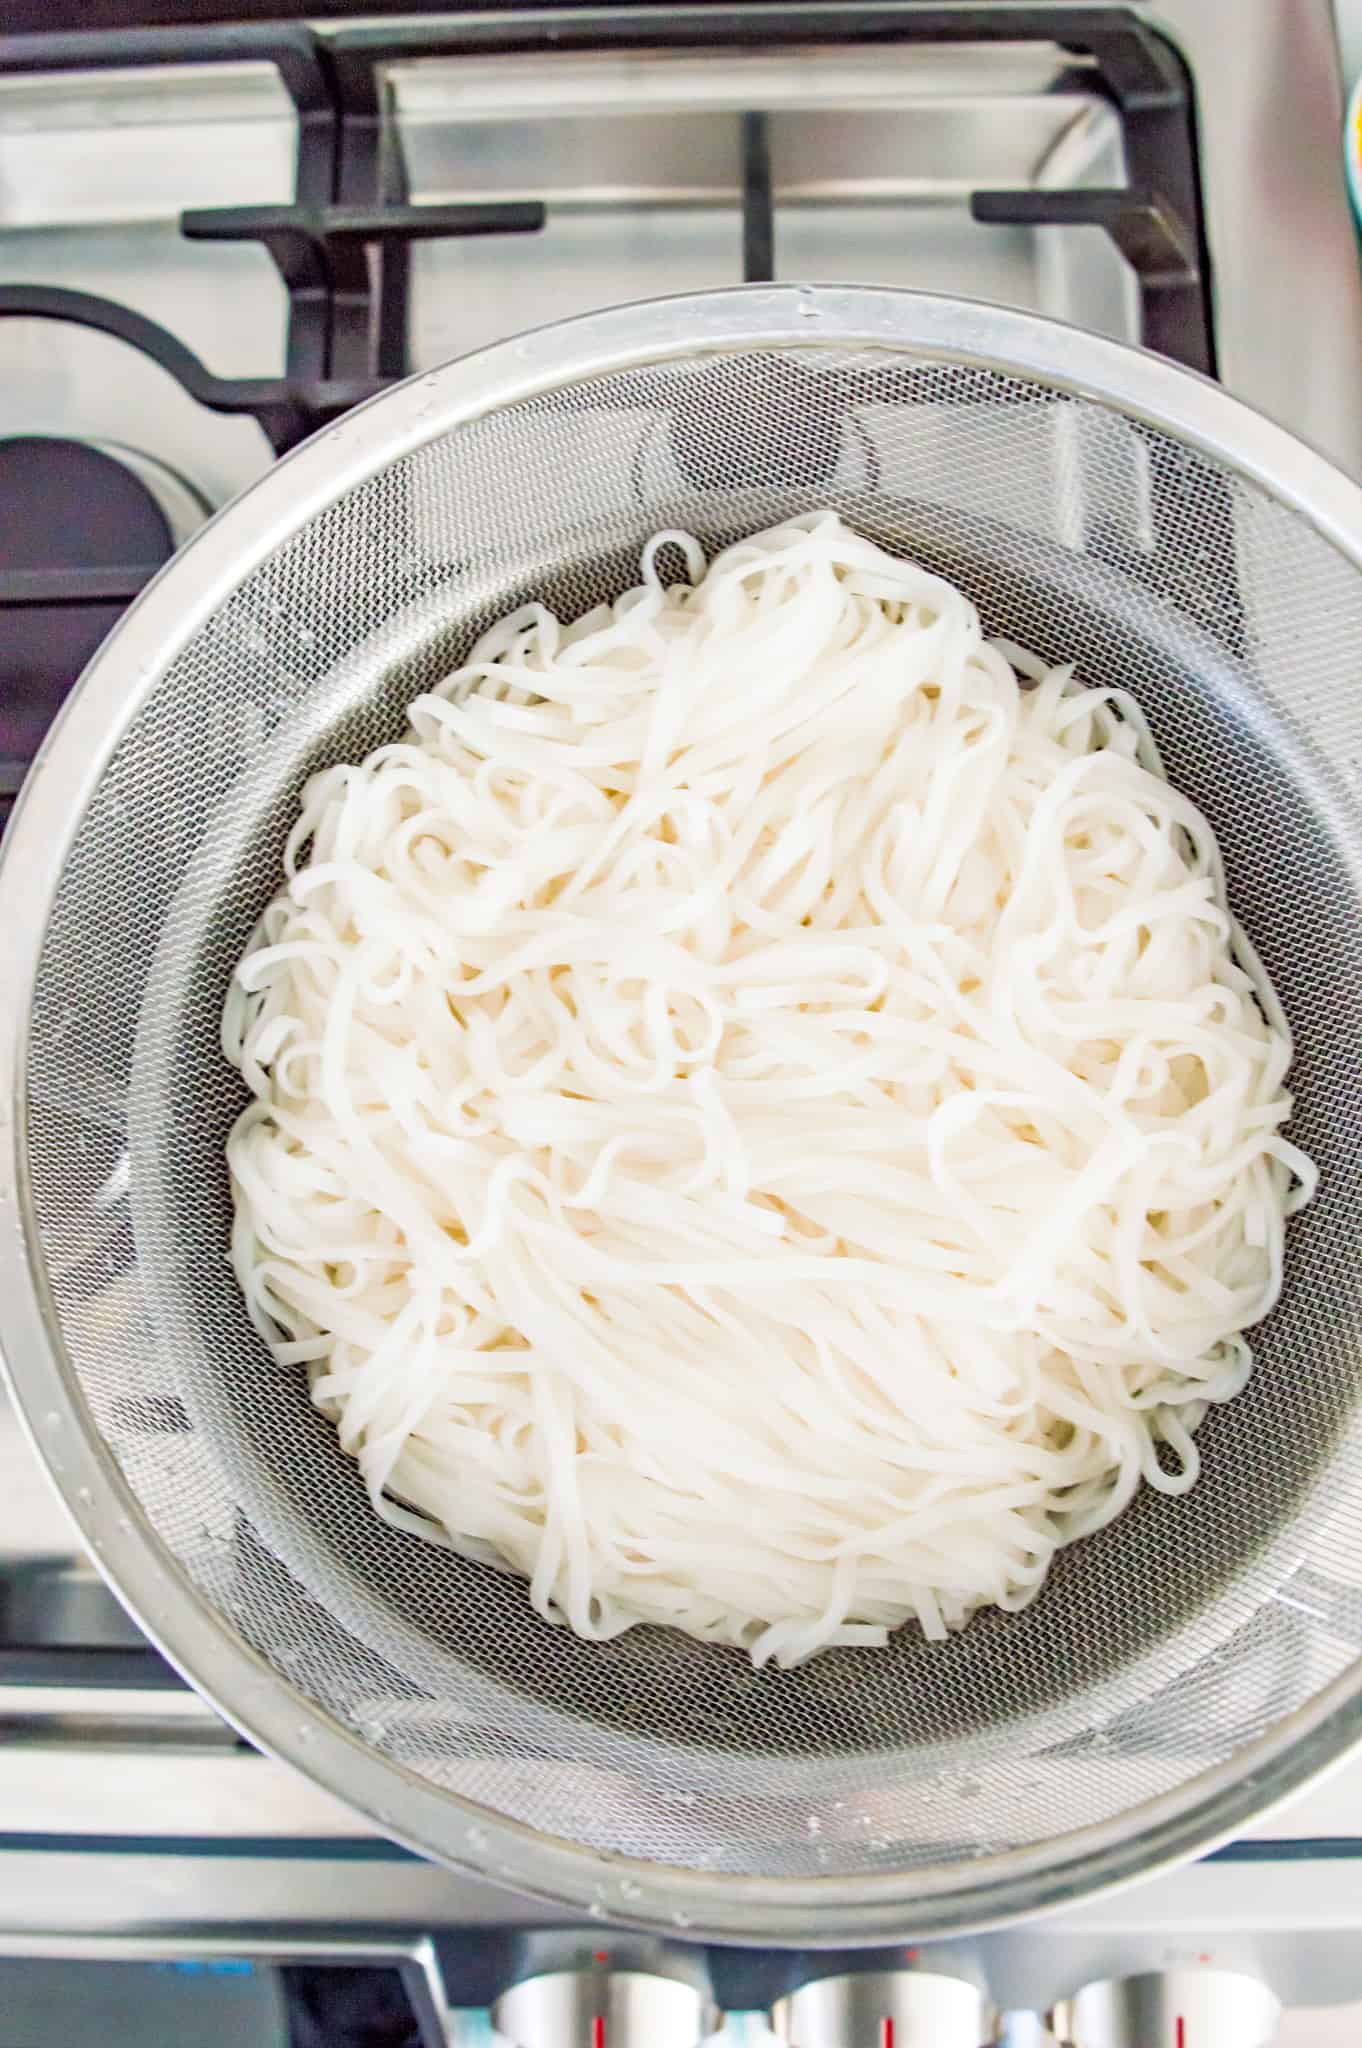
- Step 1: Cook the rice noodles according to the package directions, but do not cook them fully as you’ll give them another minute or two in the pan after. Rinse the noodles in cold water, drain them, and set them aside.
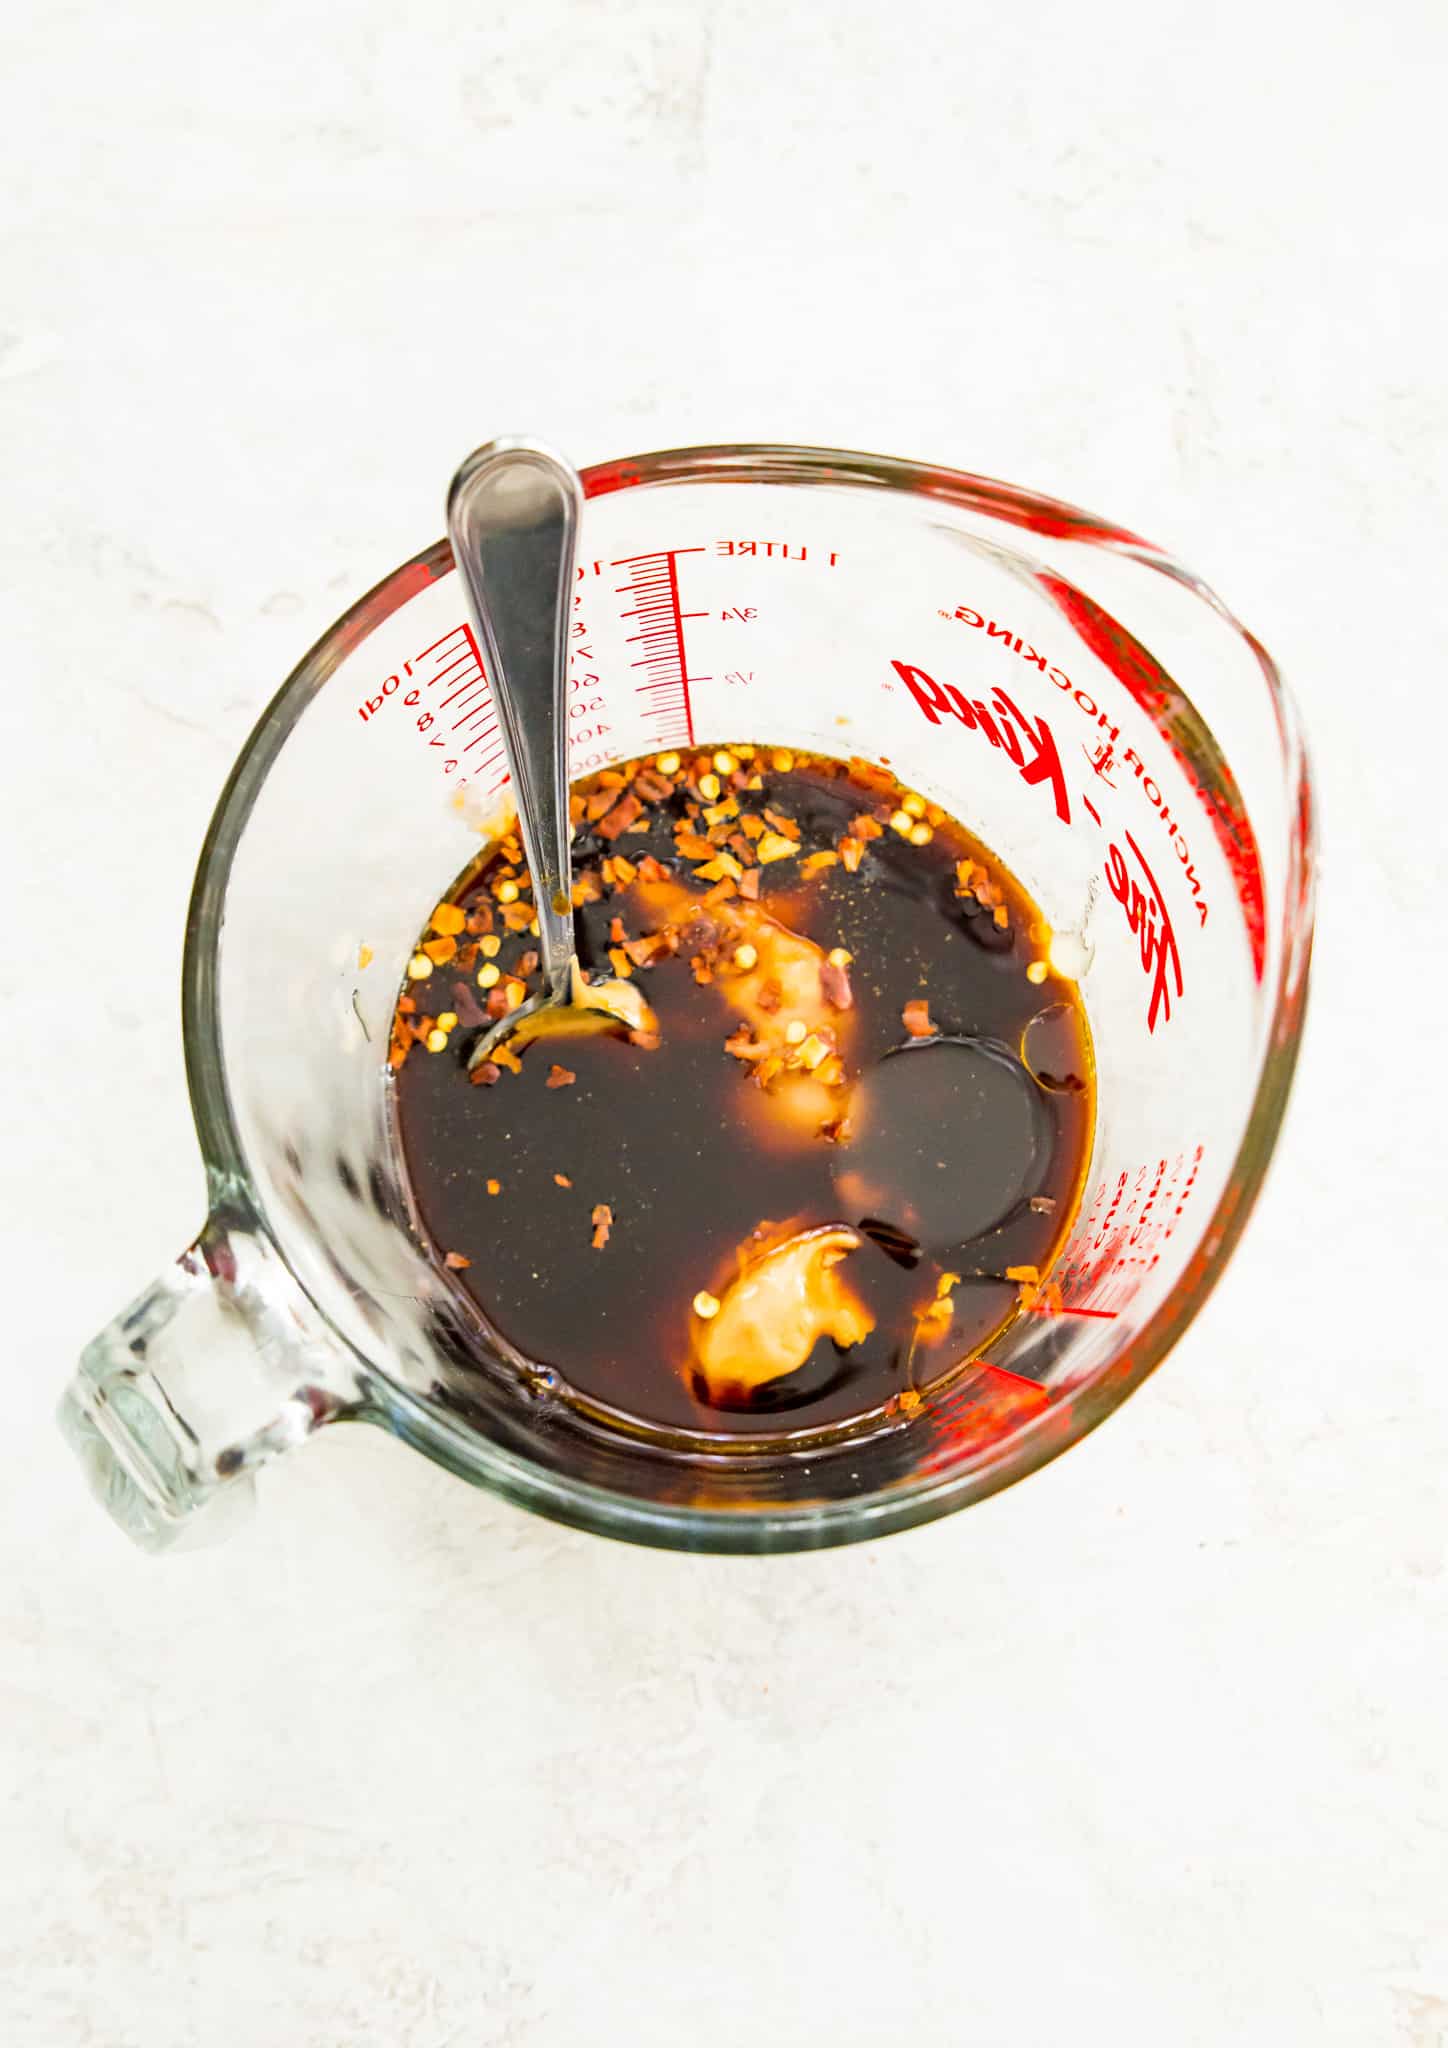
- Step 2: While the noodles are cooking, place the sauce ingredients into a small bowl or glass measuring cup and stir together until you have a smooth and creamy sauce. Then set the sauce aside.
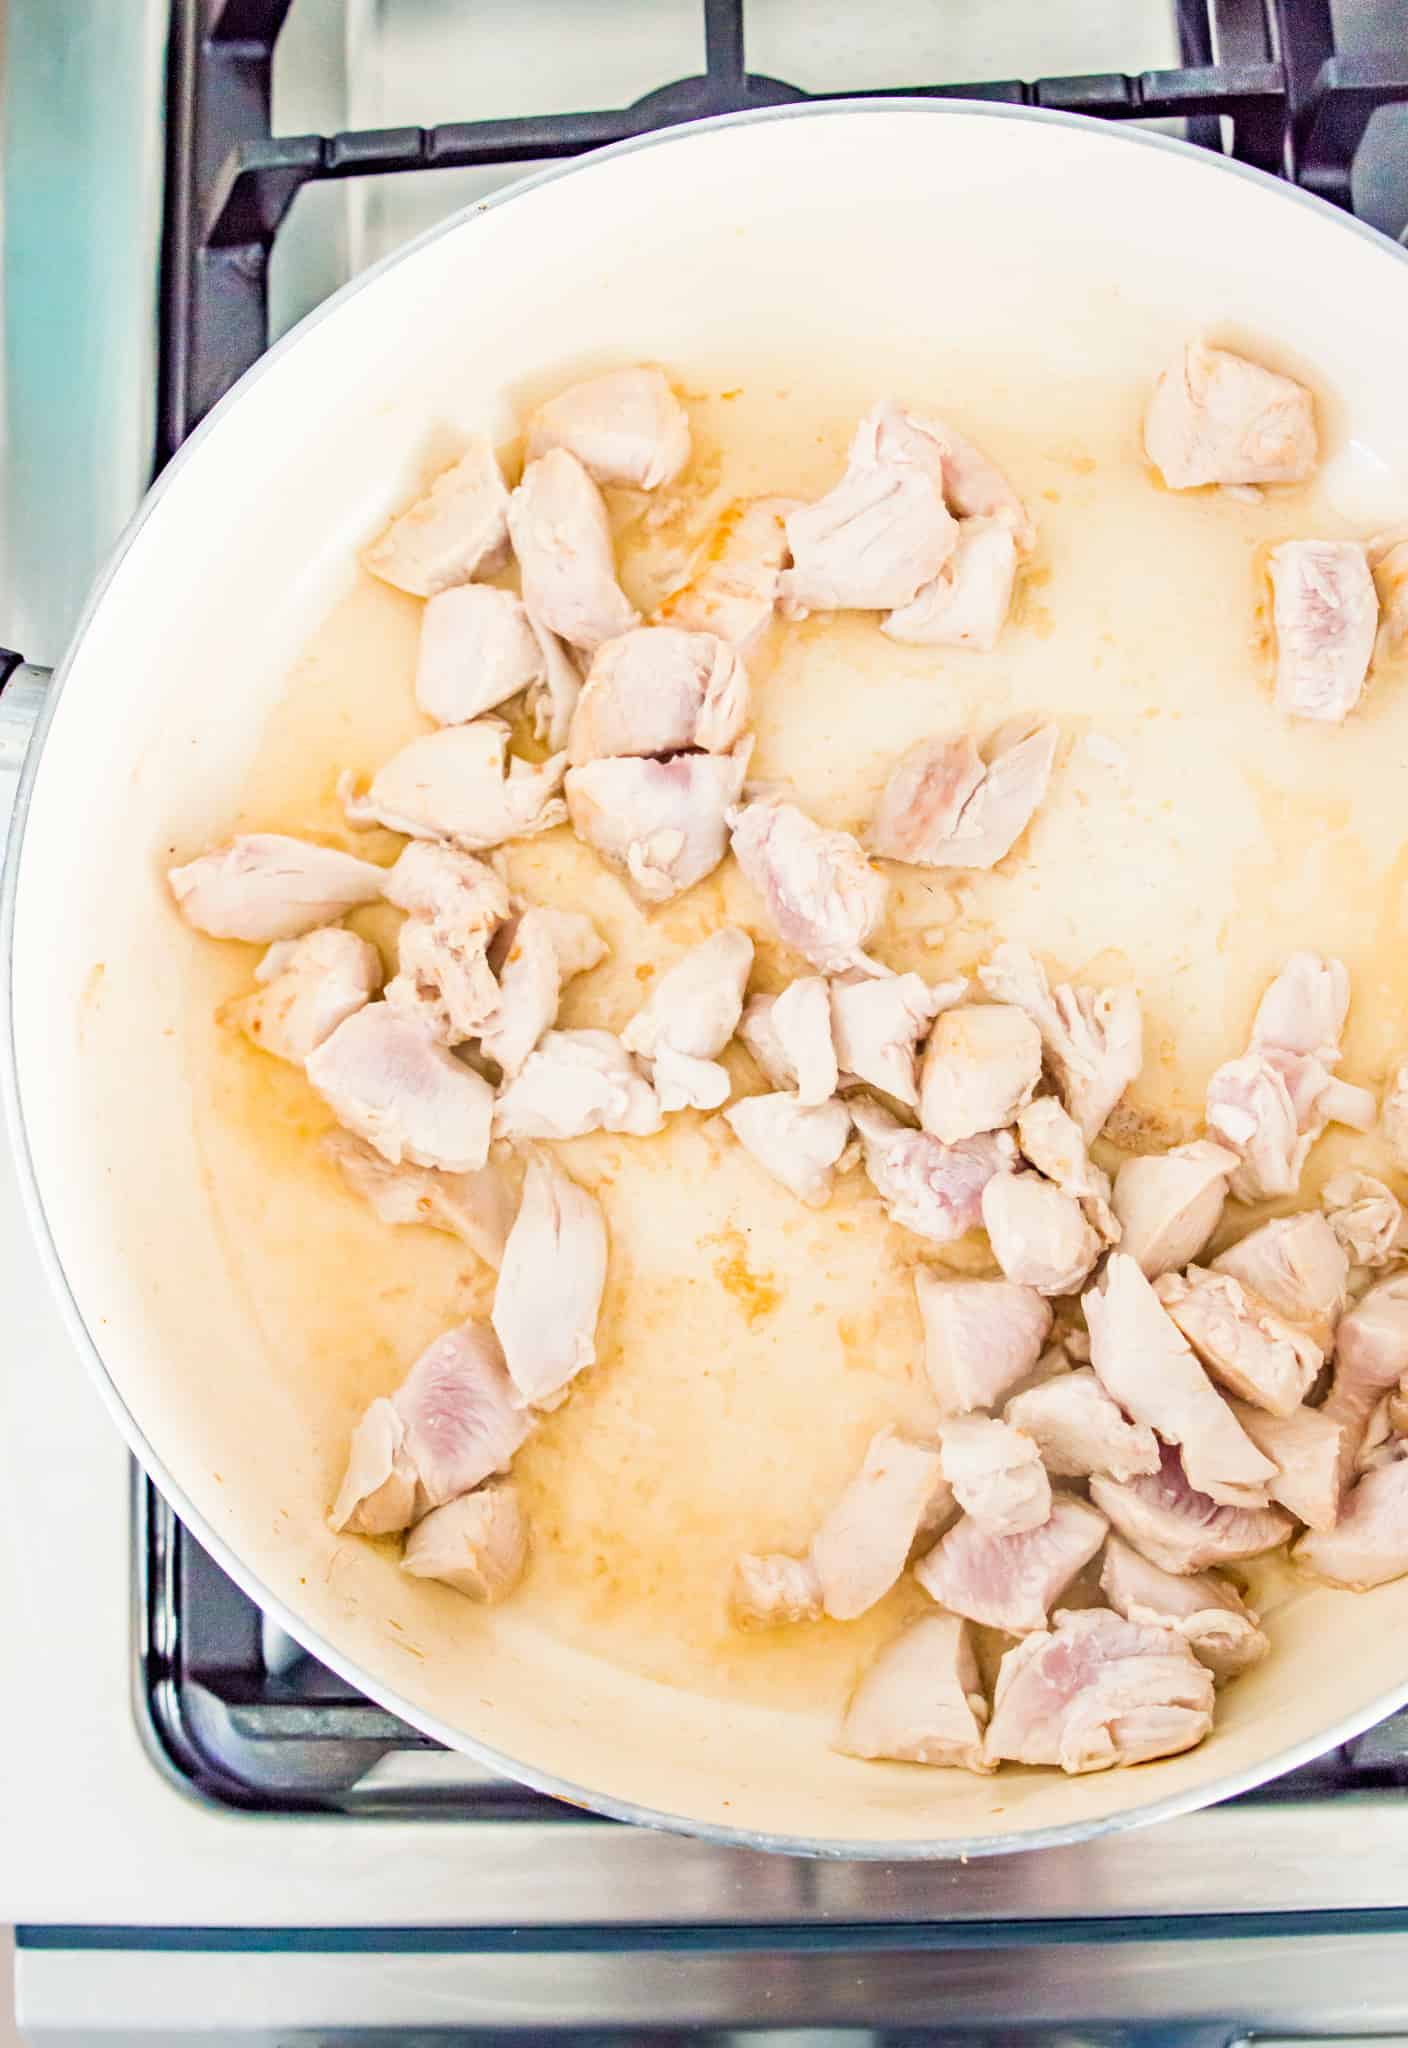
- Step 3: Place a large pan or large wok on the stove on medium heat and add the coconut oil. Once the oil is melted add the chopped chicken breasts and cook them for 1-2 minutes per side, until fully cooked.
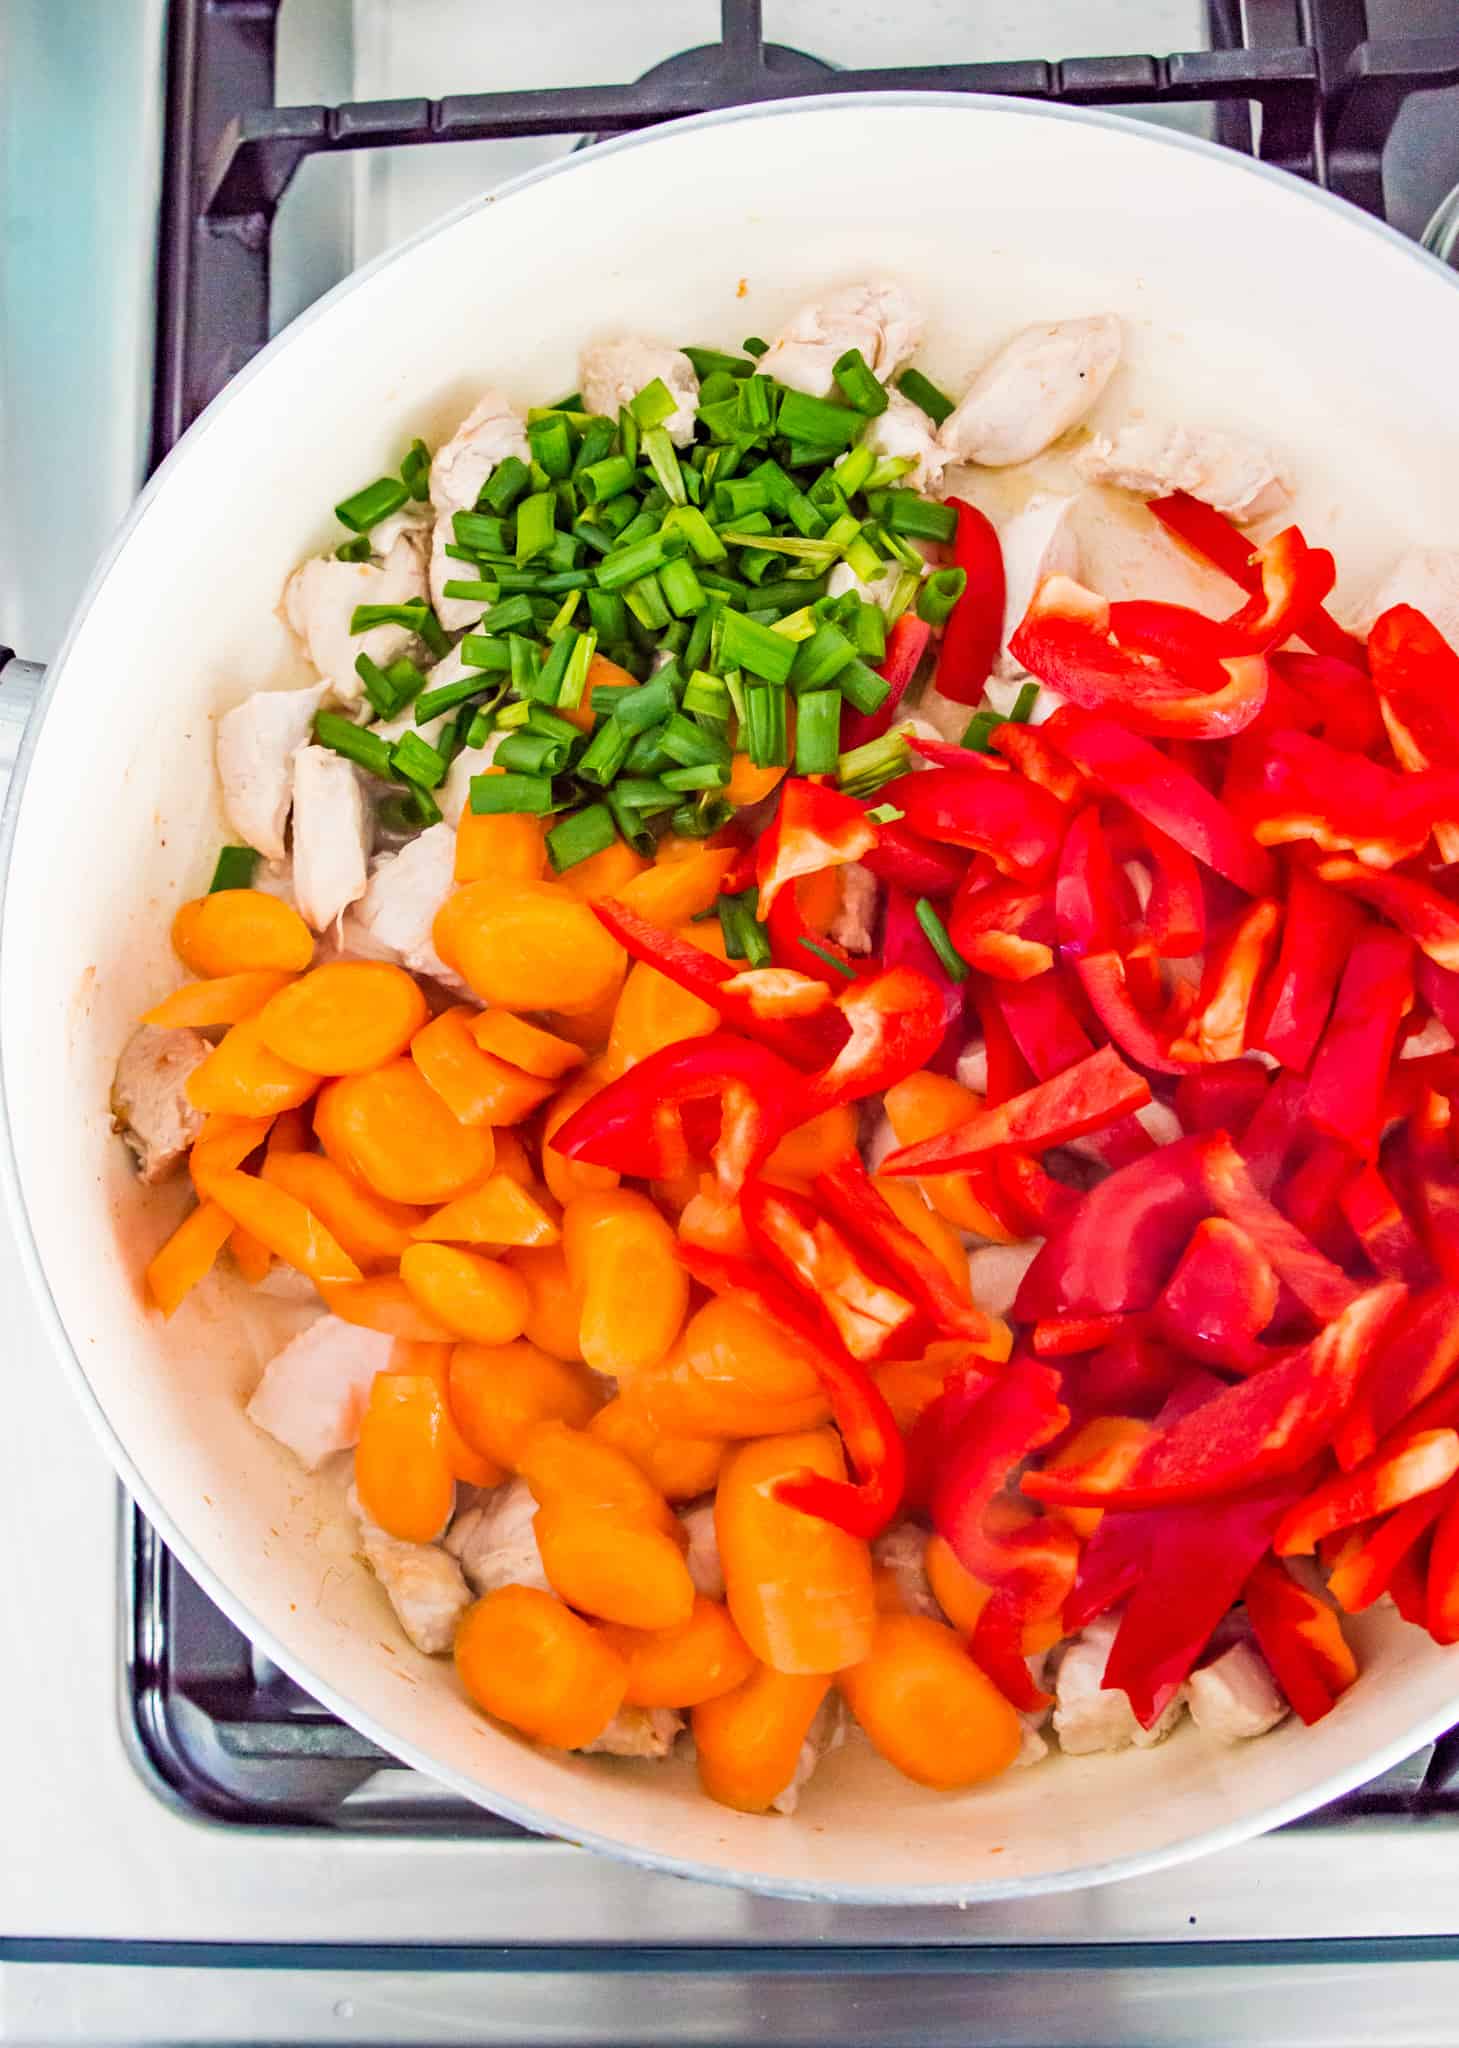
- Step 4: Add the chopped bell peppers, carrots and green onion to the pan with the chicken and cook for about 10 minutes until the vegetables are tender.
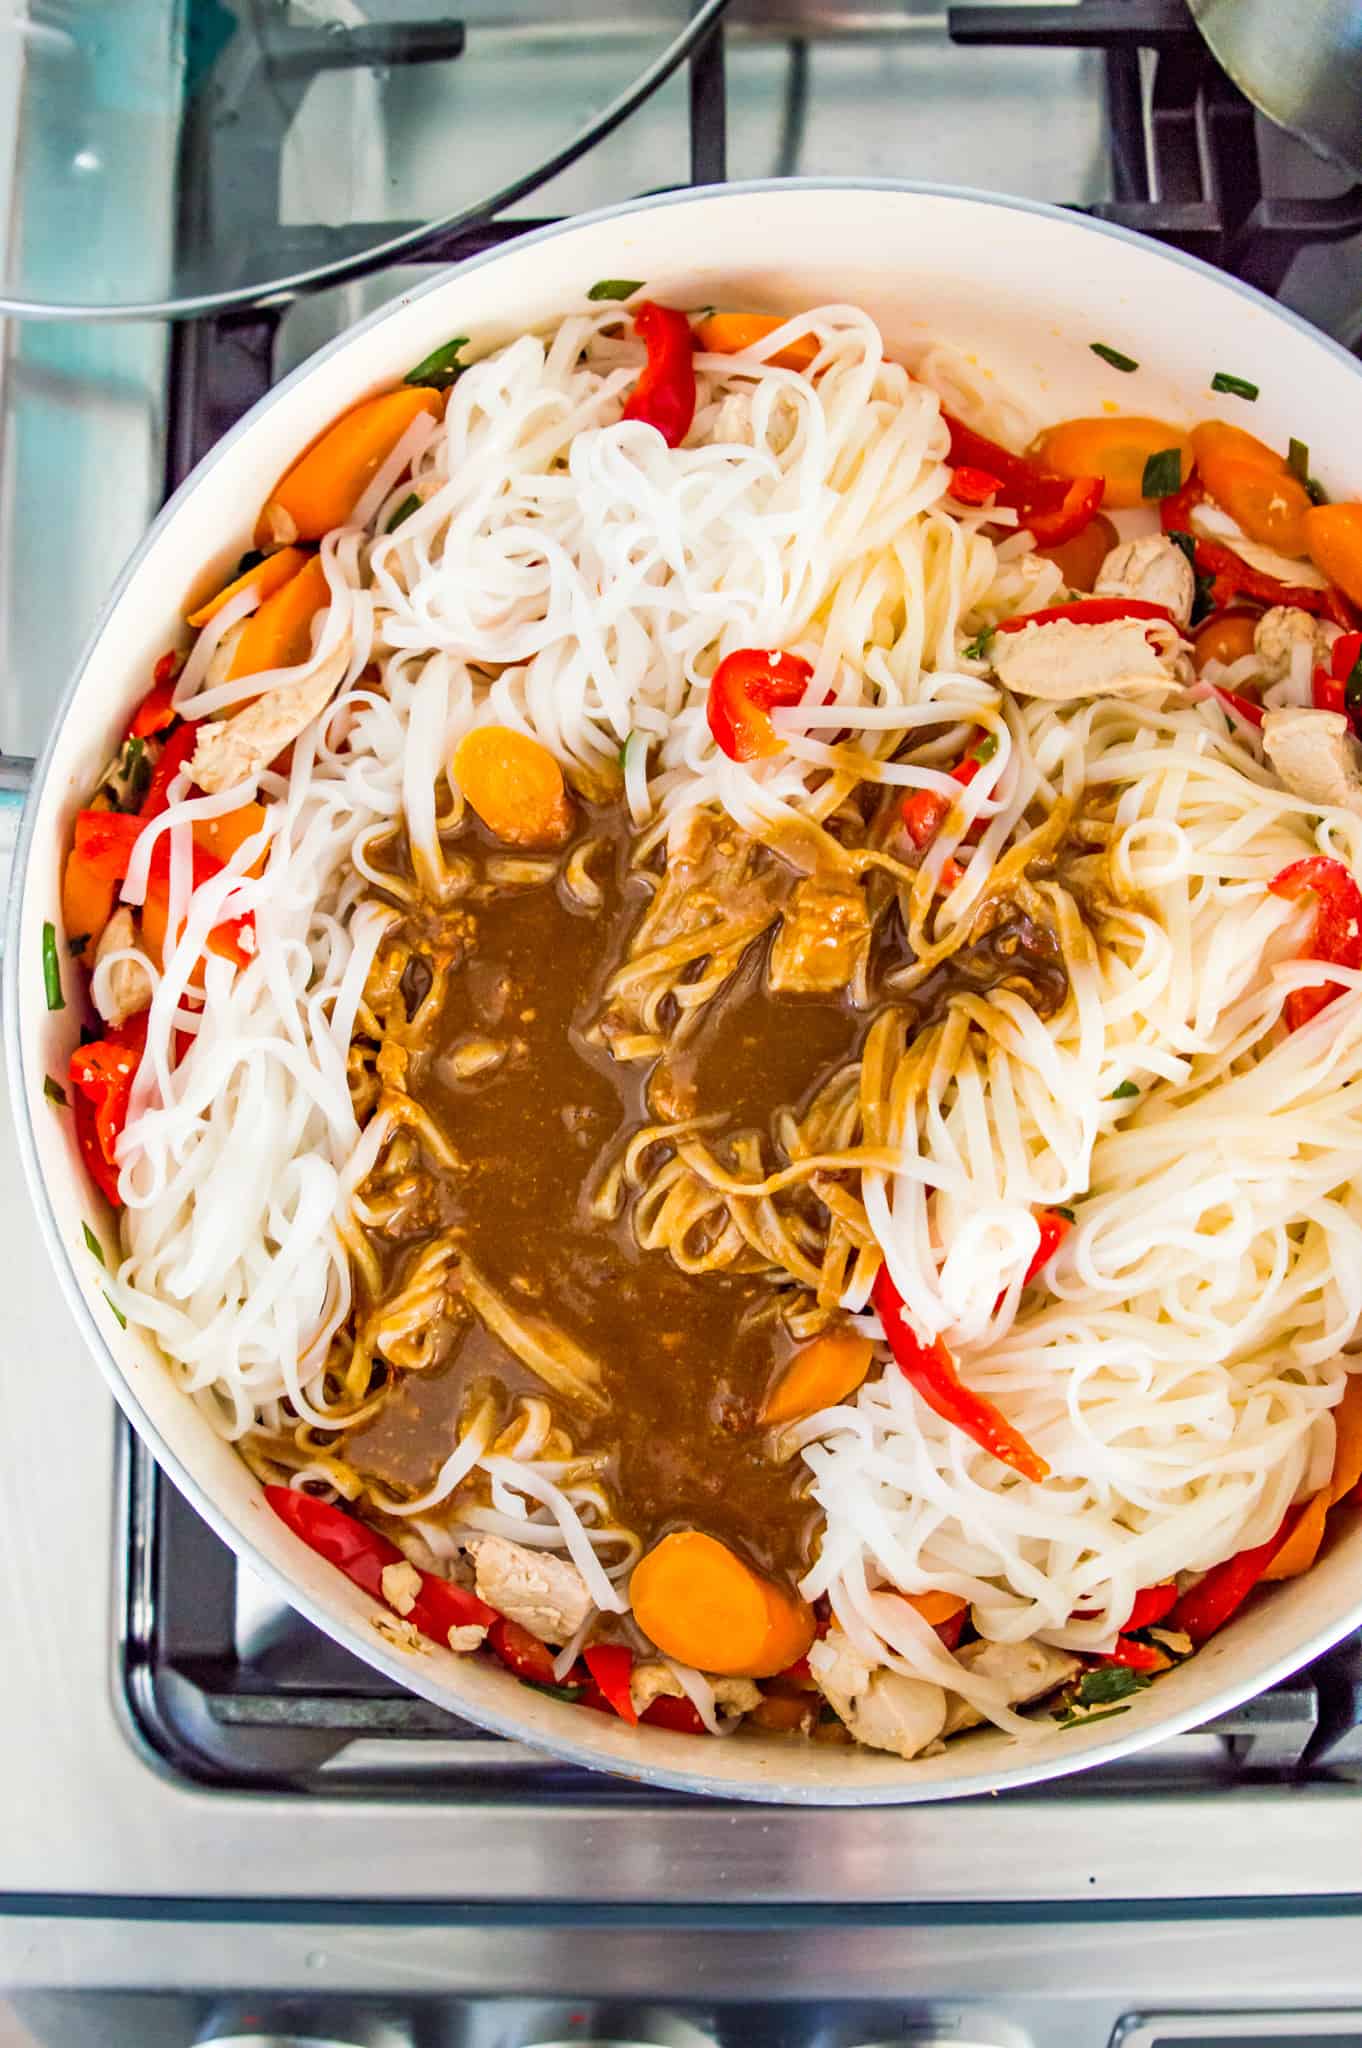
- Step 5: Add the noodles and sauce to the pan. Stir everything well to combine and heat together for 1-2 more minutes to warm.
- Step 6: Serve and enjoy!
Top tips:
- Use smooth, unsweetened peanut butter and not crunchy peanut butter for making the sauce.
- Rice noodles tend to be more fragile than pasta noodles so handle them with care.
- You could make the sauce for this pad Thai ahead of time and store it in the fridge.
- This healthy gluten-free pad Thai is delicious served as is but you could top it with bean sprouts, fresh cilantro, green onions, peanuts, sesame seeds or a squeeze of fresh lime juice.
- Storage: Store any leftover gluten-free pad Thai in the fridge in an airtight container for up to 5 days.

Gluten-free pad Thai FAQs:
No it's not. It is a mild pad Thai recipe so if you like a spicier pad Thai, add more chili flakes to the sauce.
Not all pad Thai is gluten-free. It will depend on what ingredients are used to make the pad Thai sauce and whether the dish is made with gluten-free noodles.
Chances are you've left them in hot water for too long. If you rinse your rice noodles with cold water after boiling them this removes extra starch from the surface of the noodles and prevents them from getting mushy.
I don't recommend trying to freeze this pad Thai as the rice noodles get rather mushy when you thaw them and reheat them.
No, regular egg noodles are made with flour so they are not gluten-free.
Other gluten-free recipes you will love:

Recipe
Gluten-Free Pad Thai
Equipment
- Colander
Ingredients
Pad Thai Ingredients
- 454 grams white rice noodles
- 4 tablespoon coconut oil (or other cooking oil of choice)
- 2 lbs chicken breasts, chopped into bite sized pieces
- 2 cups chopped carrots
- 2 sweet bell peppers, chopped
- 1/3 cup green onion, chopped
Sauce Ingredients
- 1/2 cup smooth peanut butter
- 1/3 cup coconut aminos
- 1/4 cup honey or maple syrup
- 2 tablespoon fish sauce
- 1 tablespoon rice vinegar
- 1 clove garlic, crushed (or more to taste)
- 1/2 teaspoon ground ginger
- 1/2 teaspoon chili flakes (also known as red pepper flakes)
Instructions
- Cook the rice noodles according to the package instructions, but do not cook them fully as you’ll give them another minute or two in the pan after. Rinse the noodles in cold water, drain them, and set them aside.
- While the noodles are cooking, place the sauce ingredients into a bowl and stir together until smooth. Set the sauce aside
- Place a large pan or wok on the stove on medium heat and add the coconut oil. Add the chopped chicken breasts and cook them for 1-2 minutes per side, until fully cooked (total of ~8 minutes)
- Add the chopped bell peppers, chopped carrots, and chopped green onion to the pan with the chicken and cook for ~10 minutes until the vegetables are tender
- Add the noodles and sauce to the pan. Stir everything well to combine and heat together for 1-2 more minutes. Then enjoy!
Notes
- This recipe is flexible - feel free to add extra chicken or veggies if you wish.
- If you are allergic to peanuts use another nut butter such as sunflower seed butter or cashew butter.
- Nutritional values are an estimate and will vary depending on the exact ingredients used.
Leave a Reply