
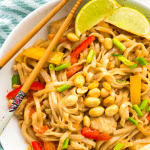


This is the best Instant Pot pad Thai recipe! It is so easy to make and has the most delicious homemade sauce that is slightly sweet, a little creamy, with just a hint of heat. Made with soy sauce, brown sugar, sesame oil, rice vinegar, and peanut butter, the flavours come together brilliantly.
Why you will love this recipe:
- The flavour! This Instant pot pad Thai chicken has the most delicious pad Thai sauce that is slightly sweet, a little creamy with just a hint of spice.
- Because it's made in the Instant Pot it's so easy and simple to make and only requires 6 minutes of cooking time!
- This recipe makes great leftovers so it's great for meal prep.
- It's made with pantry staple ingredients like chicken breasts, soy sauce, brown sugar, sesame oil, rice vinegar, and peanut butter.
- It's healthy and dairy free and can easily be made gluten free, dairy free, vegan, vegetarian and paleo too!
- Kid's love it!
Key ingredients and substitutions:
- Chicken - a healthy protein option that turns this Pad Thai into a complete meal. I recommend using boneless, skinless chicken breasts. I don't recommend swapping the chicken for beef or shrimp.
- Vegetable broth - to help add flavour and moisture to this recipe. You could also use chicken broth, beef broth or bone broth.
- Sweet bell peppers - they add amazing flavour and color to this recipe.
- Natural, smooth peanut butter - to help give the sauce the most amazing, creamy flavour. You can use cashew butter instead.
- Fish sauce - this adds a unique flavour to the sauce. If you are vegan or vegetarian you will need to omit this from the sauce.
- Rice vinegar - my favourite vinegar for any asian inspired dish. You can use coconut vinegar instead.
- Brown sugar - to give the sauce the perfect amount of sweetness. You can use coconut sugar instead.
- Rice Noodles - Pad Thai is just not Pad Thai without rice noodles!
- Spices: garlic, ginger, chili flakes - to add the perfect amount of flavour to the sauce on this pad Thai.
How to make this recipe:
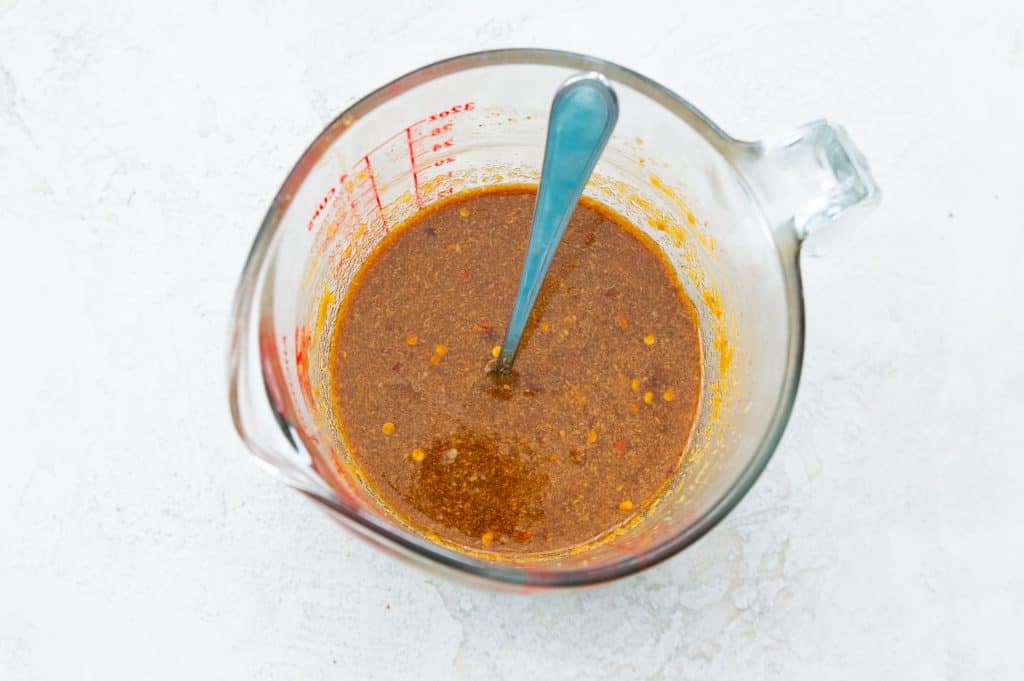
Step one:
First, in a large bowl or glass measuring cup, stir or whisk together the sauce ingredients until they are smooth.
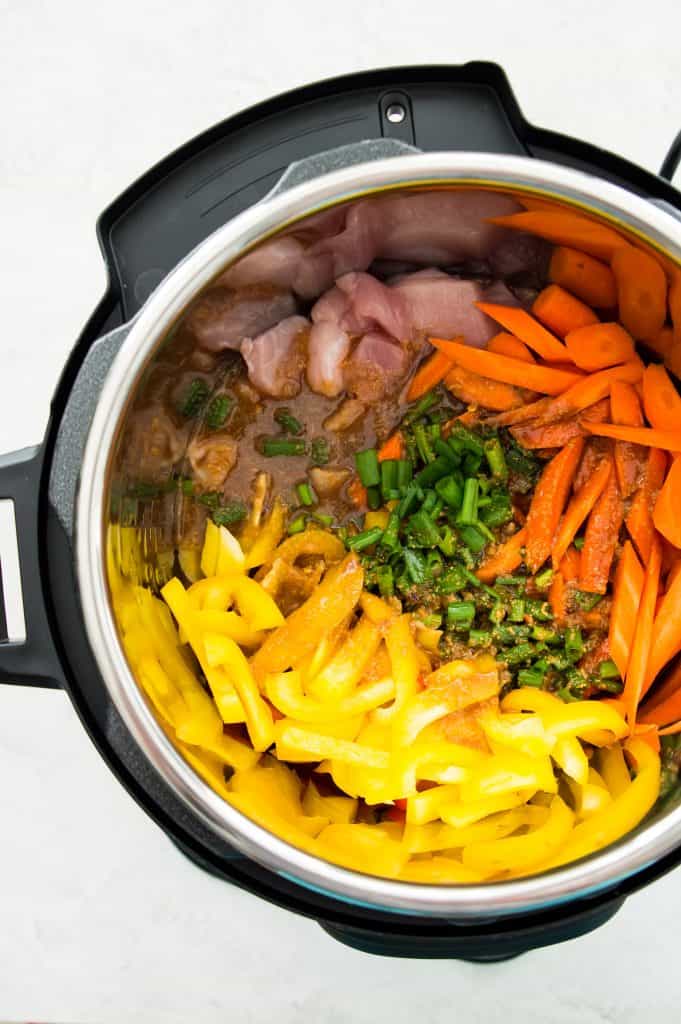
Step two:
Next, add the chopped chicken, bell peppers, carrots and green onion to the bowl of your Instant Pot and pour the sauce over top. Seal the lid and pressure cook on manual high pressure for 6 minutes.
Step three:
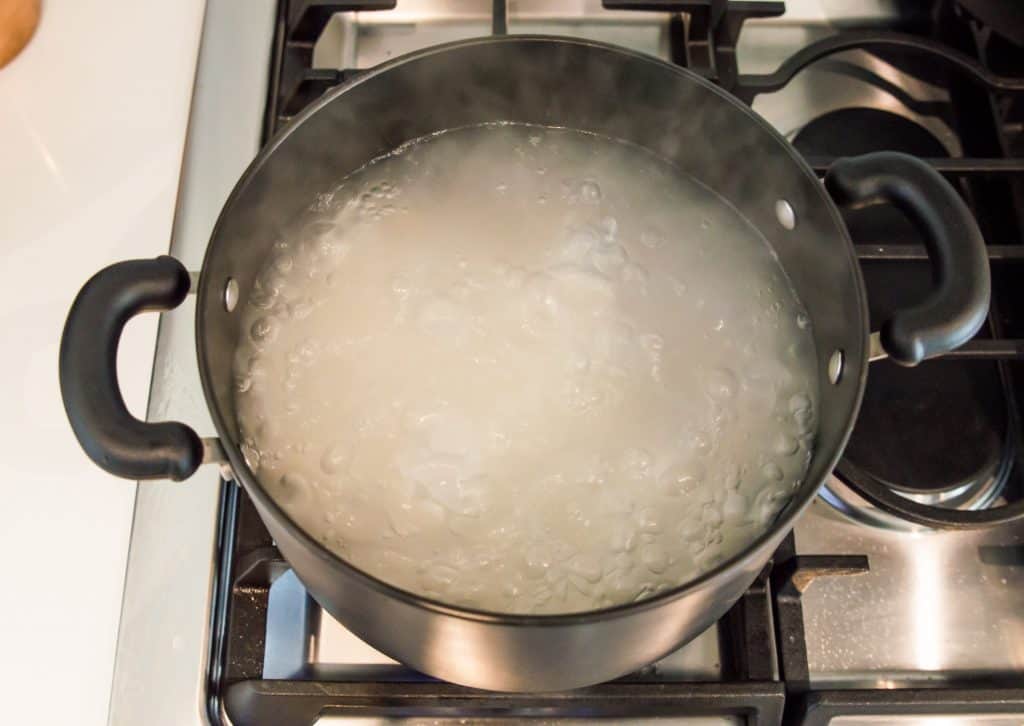
While the Instant Pot is cooking, bring a large pot of water to a boil on the stove and cook the rice noodles according to the package directions. Once they are done cooking, drain with a colander and set the noodles aside.
Step four:
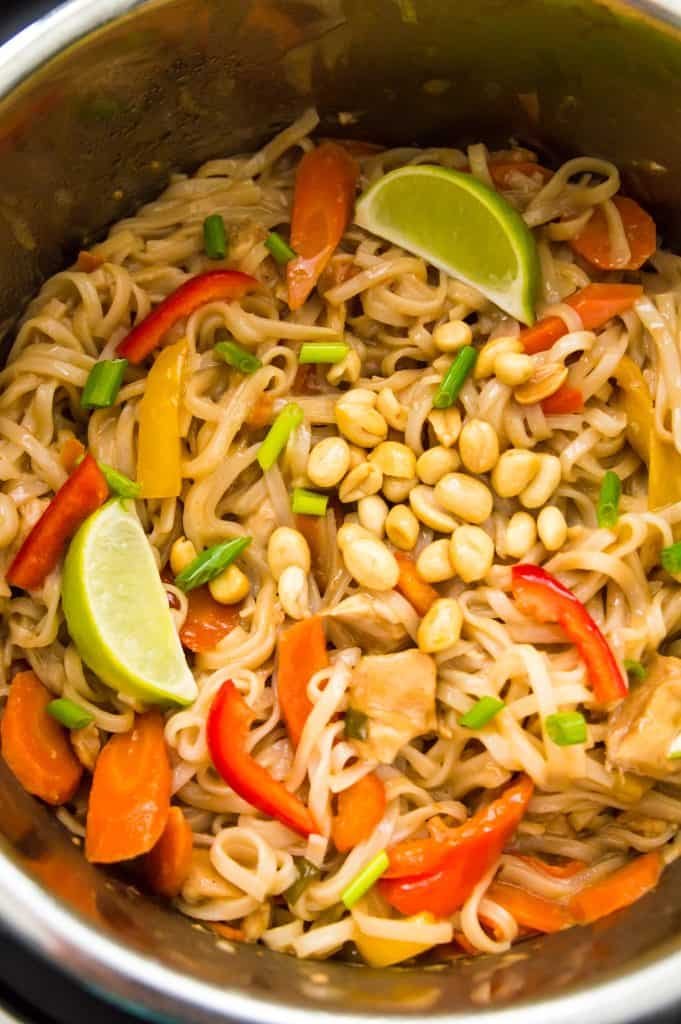
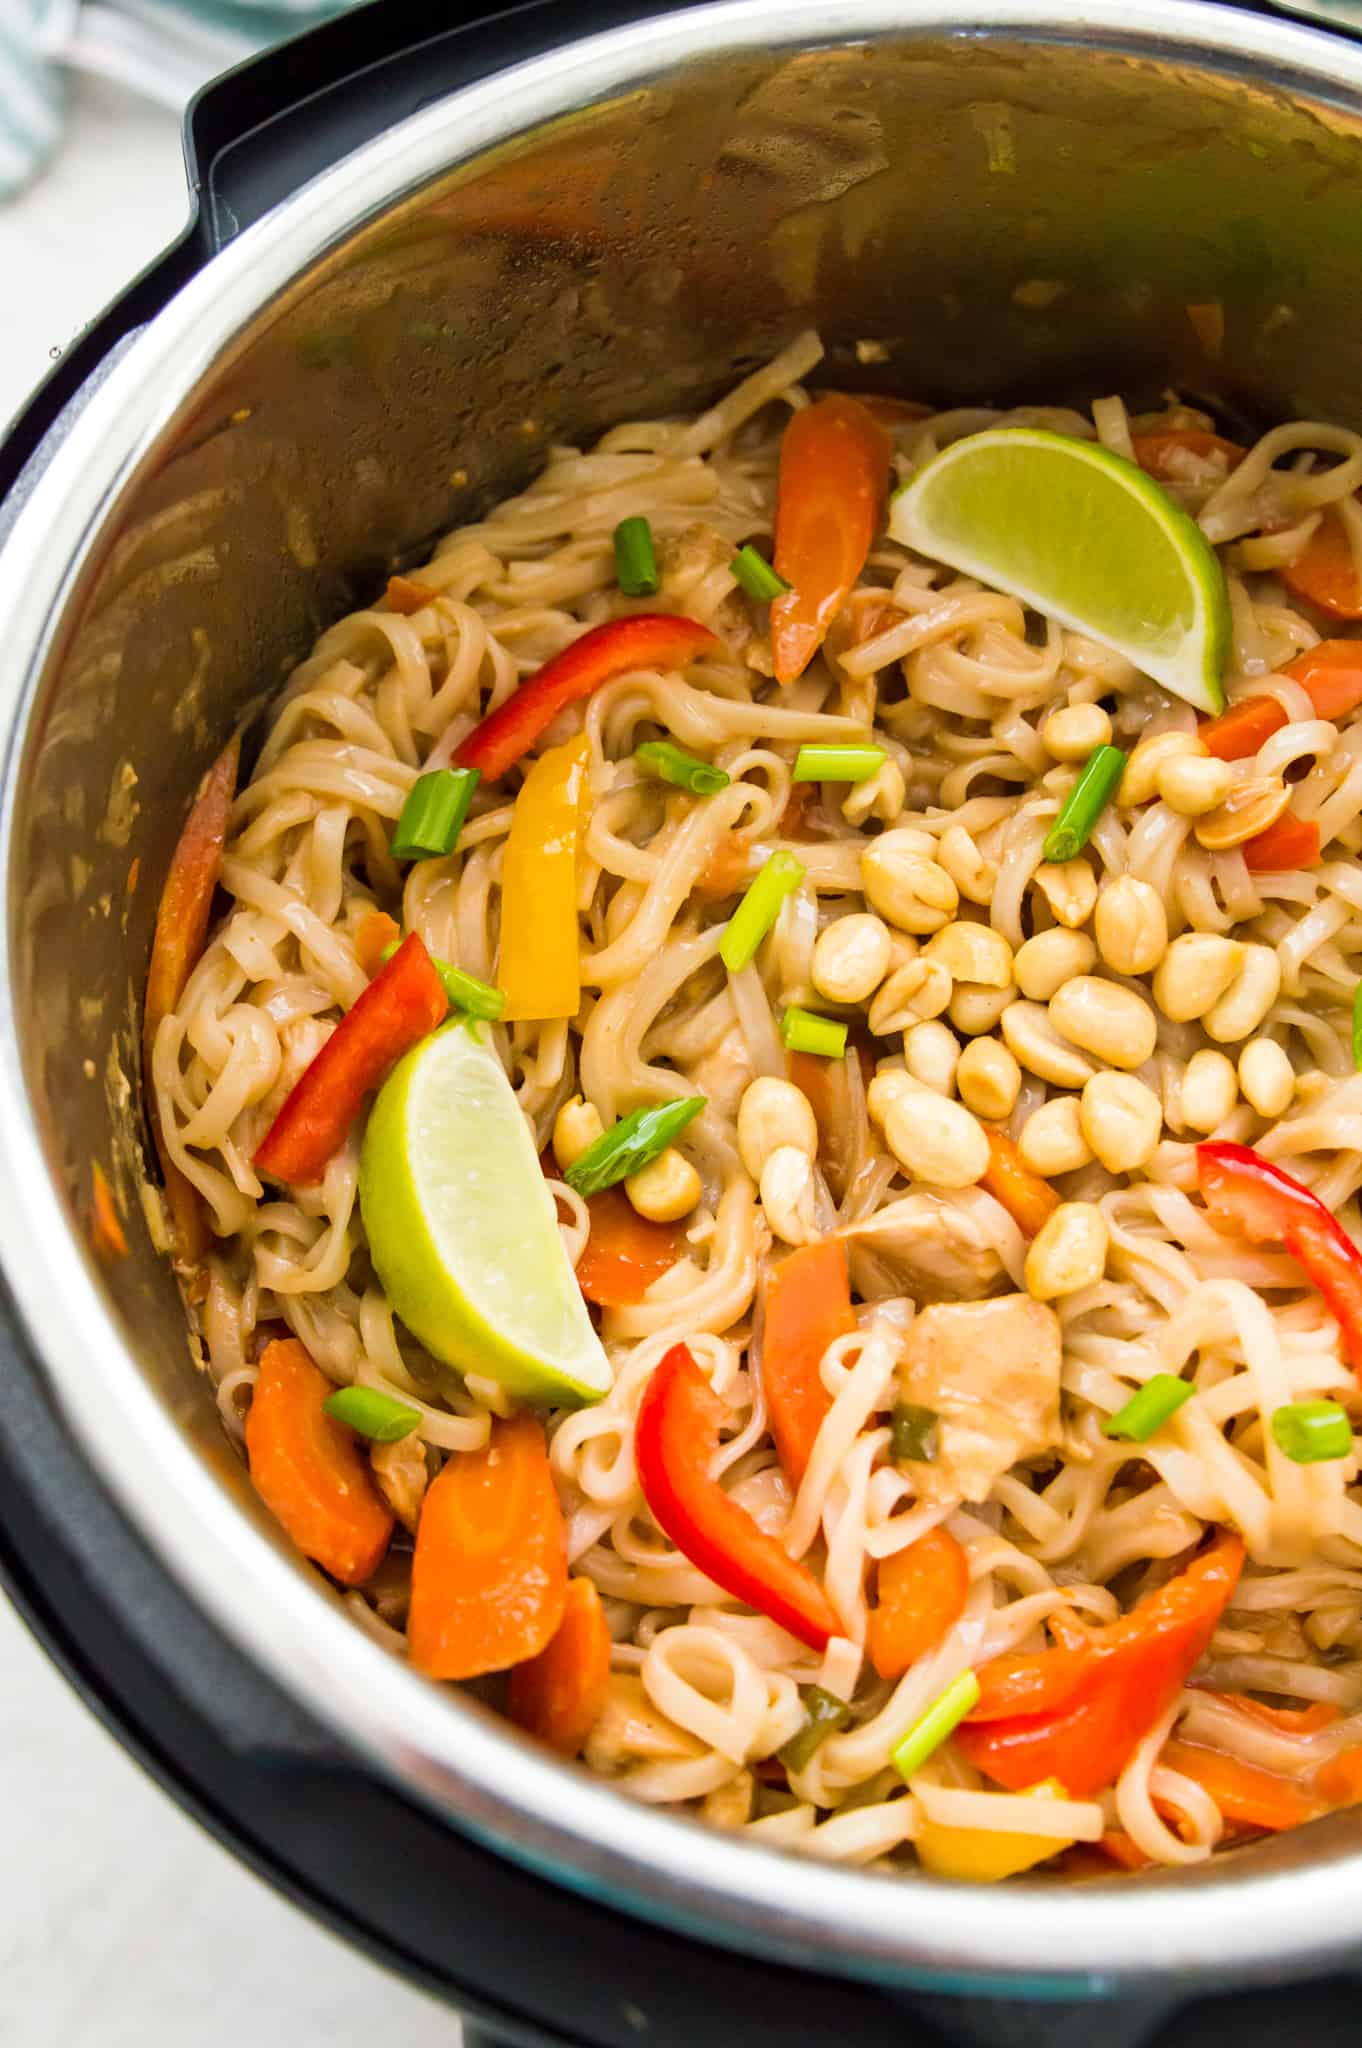
Finally, when the Instant Pot has finished cooking, allow for 5 minutes of natural pressure release, then quick release any remaining pressure and once done, stir in the rice noodles so they are evenly coated in the sauce. Garnish the pad Thai as you wish and enjoy!
Chef's tips:
- Be sure to use smooth, unsweetened peanut butter for this pad Thai Instant pot recipe rather than sweetened peanut butter or crunchy peanut butter.
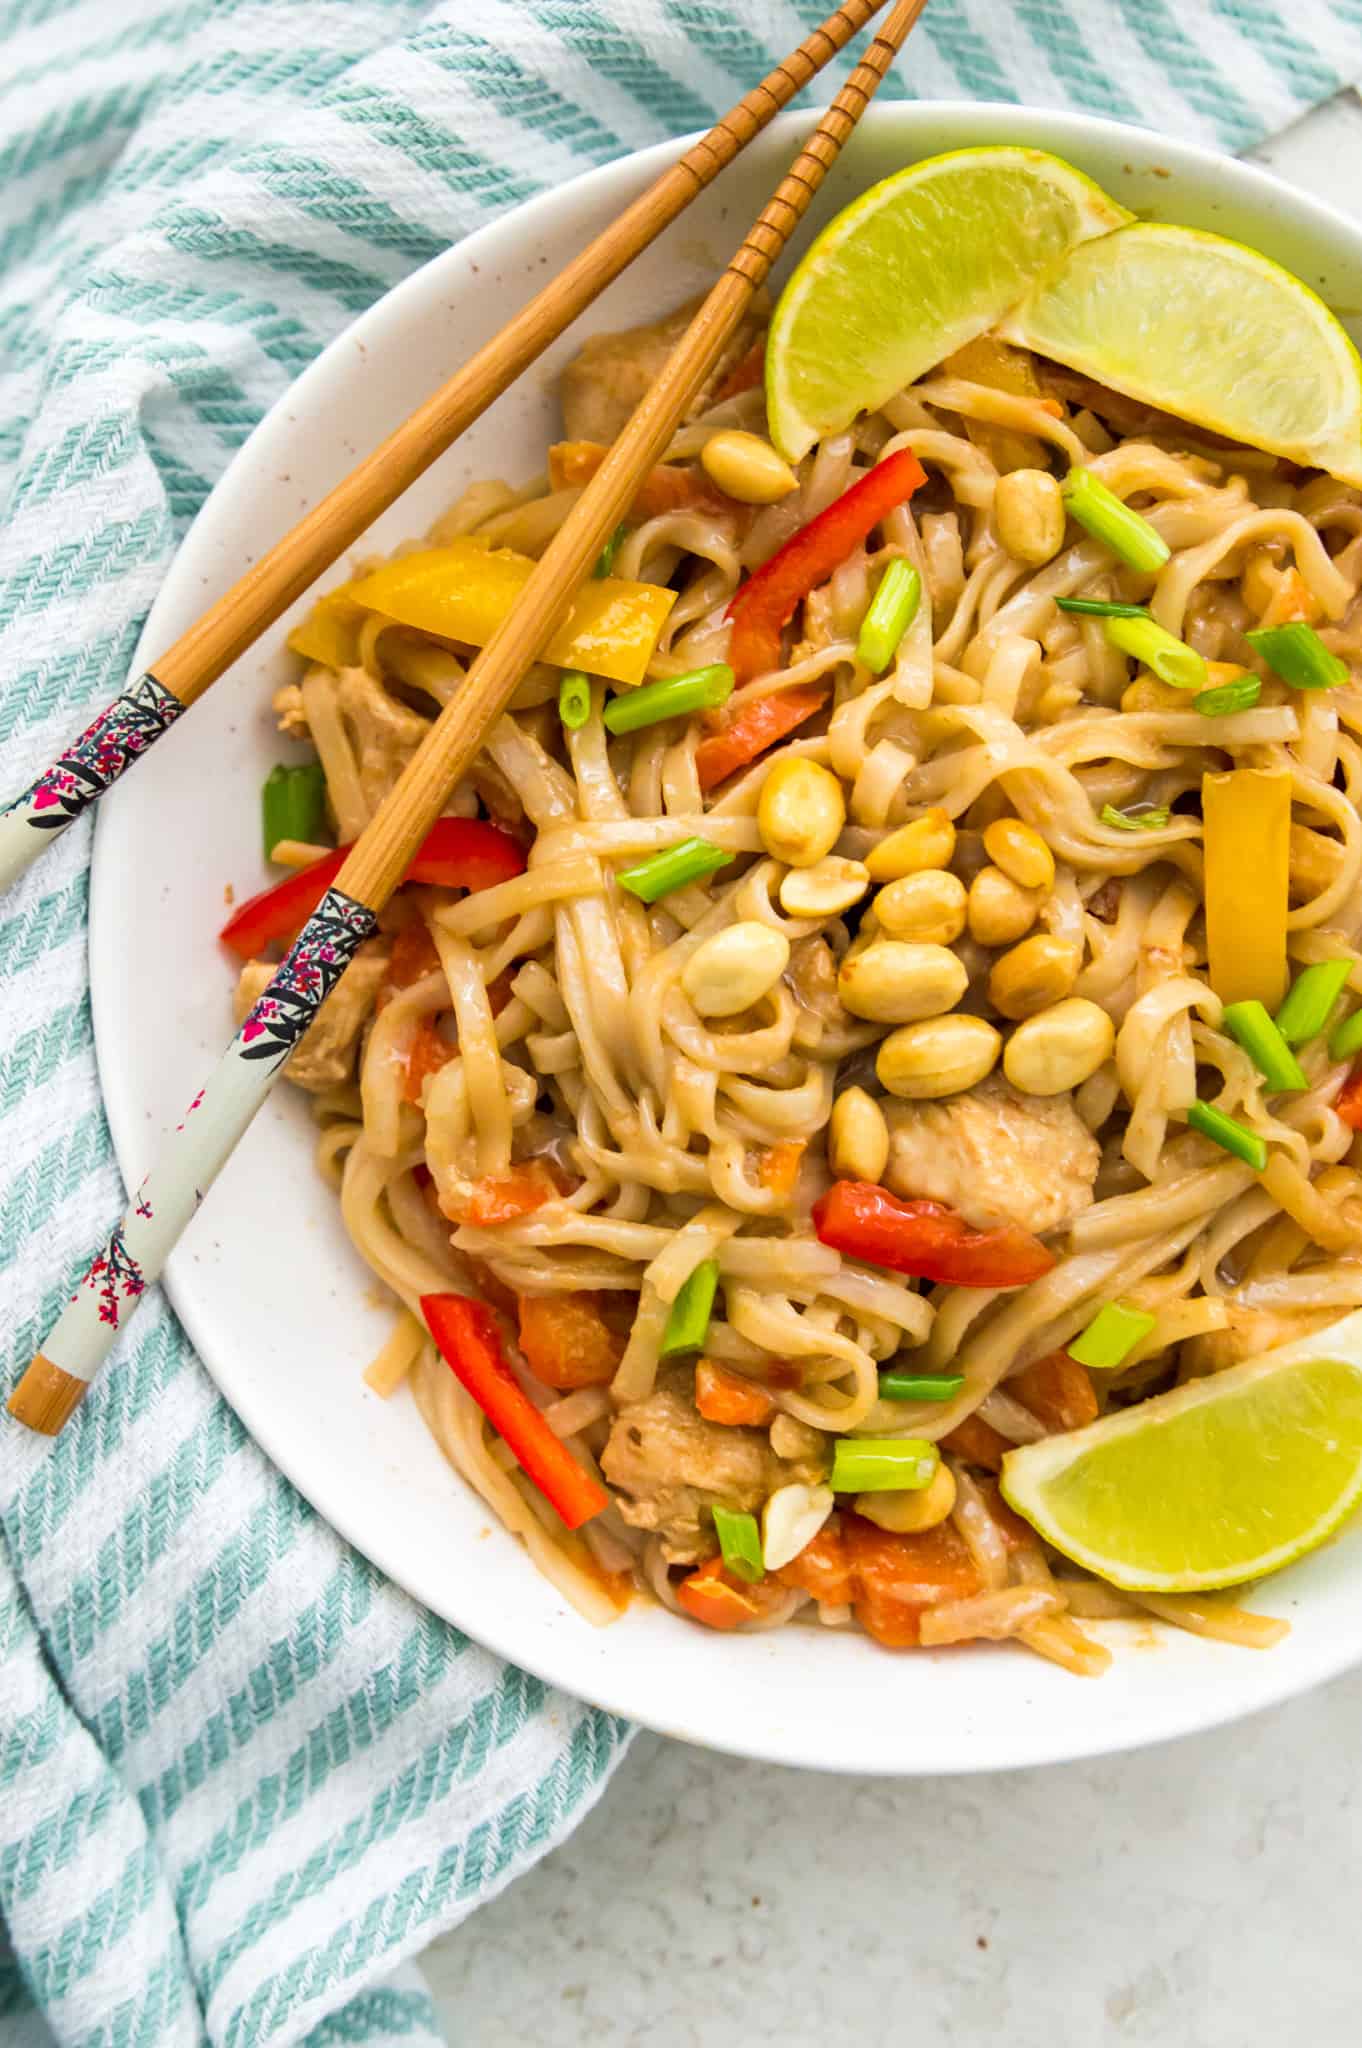
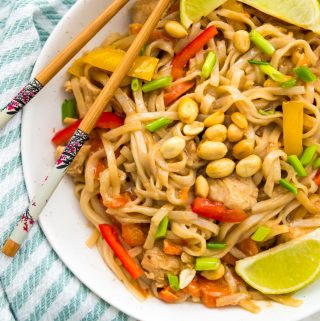
- Garnish ideas: freshly squeezed lime juice, crushed peanuts or cashews, chopped cilantro, or sliced avocado.
Variations and add ins:
- To make this recipe gluten free: instead of soy sauce use either coconut aminos or gluten free tamari.
- To make this recipe peanut free: use cashew butter instead of peanut butter.
- If you like more heat or spice: add a bit more chili flakes.
- To make this pad Thai paleo: use coconut aminos instead of soy sauce, cashew butter instead of peanut butter, coconut sugar instead of brown sugar and heart of palm noodles instead of rice noodles.
- Instead of rice vinegar you could use coconut vinegar instead.
- Feel free to change the vegetables in this recipe if you are looking for a different flavour. Other options include broccoli, cauliflower, spaghetti squash etc.
- Garnish ideas: chopped nuts, fresh cilantro, avocado etc.
How to store:
Store any leftovers of this Pad Thai in the fridge in an air tight container for up to 5 days.
Frequently asked questions:
They are usually in the asian section or the gluten free section.
No worries! Just use cashew butter instead of peanut butter!
Absolutely! Simply omit the chicken from this recipe and replace it with more vegetables or tofu and omit the fish sauce from the pad Thai sauce.
No worries! You can make this pad Thai in any pressure cooker or make this easy stovetop pad Thai recipe instead!
Other recipes you will love:
- Gluten Free Chicken Stir Fry
- Teriyaki Chicken Stir Fry Sheet Pan Meal
- Gluten Free Teriyaki Chicken and Broccoli
- Healthy Sloppy Joes
- Gluten Free Pad Thai
Since you made it this far we are basically best friends so be sure to follow me on Instagram, Pinterest, TikTok and Facebook where I share even more recipes and healthy living tips! And don’t forget to leave this recipe a star review before you go!
Recipe
Instant Pot Pad Thai
Equipment
Ingredients
Sauce Ingredients
- 1/3 cup vegetable broth
- 1/3 cup soy sauce
- 1/3 cup smooth natural peanut butter
- 1/3 cup brown sugar
- 4 tablespoon rice vinegar
- 3 tablespoon sesame oil
- 2 tablespoon fish sauce
- 2 cloves garlic, minced
- 1/2 teaspoon ground ginger
- 1/4 teaspoon chili flakes
Pad Thai Ingredients
- 2 lbs chicken breasts, chopped into 1" pieces
- 4 carrots, thinly sliced
- 1 red bell pepper, sliced
- 1 yellow bell pepper, sliced
- 1/3 cup chopped green onion
- 8 ounces rice noodles
Instructions
- In a large bowl or glass measuring cup, stir or whisk together the sauce ingredients until they are smooth.
- Add the chopped chicken, bell peppers, carrots and green onion to the bowl of your Instant Pot and pour the sauce over top. Seal the lid and pressure cook on Manual High Pressure for 6 minutes.
- While the Instant Pot is cooking, bring a large pot of water to a boil on the stove and cook the rice noodles according to the package instructions. Once done, drain with a colander and set the noodles aside.
- When the Instant Pot has finished cooking, allow for 5 minutes of natural pressure release, then quick release any remaining pressure and once done, stir in the rice noodles so they are evenly coated in the sauce. Garnish as desired!
Notes
- To make this gluten free, instead of soy sauce use coconut aminos or gluten free tamari.
- To make it peanut free, use cashew butter instead of peanut butter.
- Store any leftovers in an airtight container in the fridge for up to 5 days.


Christine
When do you add the carrots?
Erin Carter
Hey Christine! Sorry I forgot them in the directions. You add them at the same time as the chicken and peppers. I updated the directions to include them now. Thanks for noticing!