

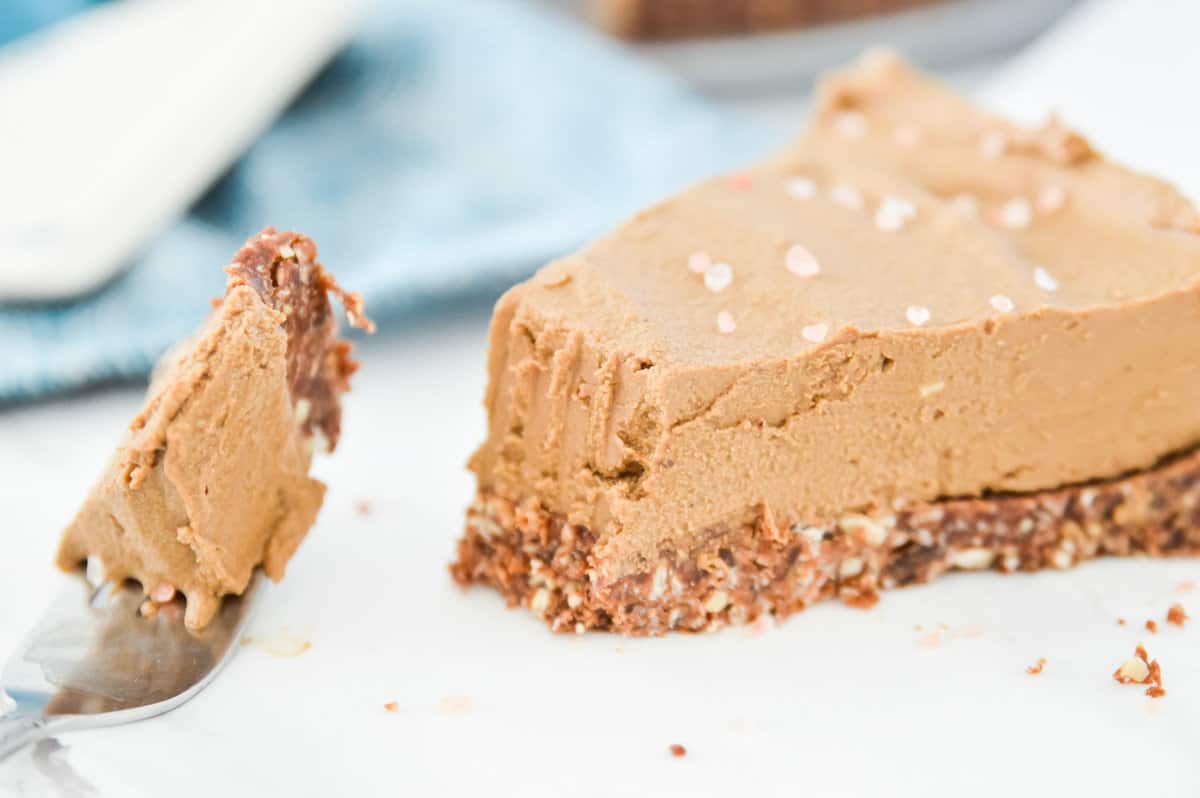
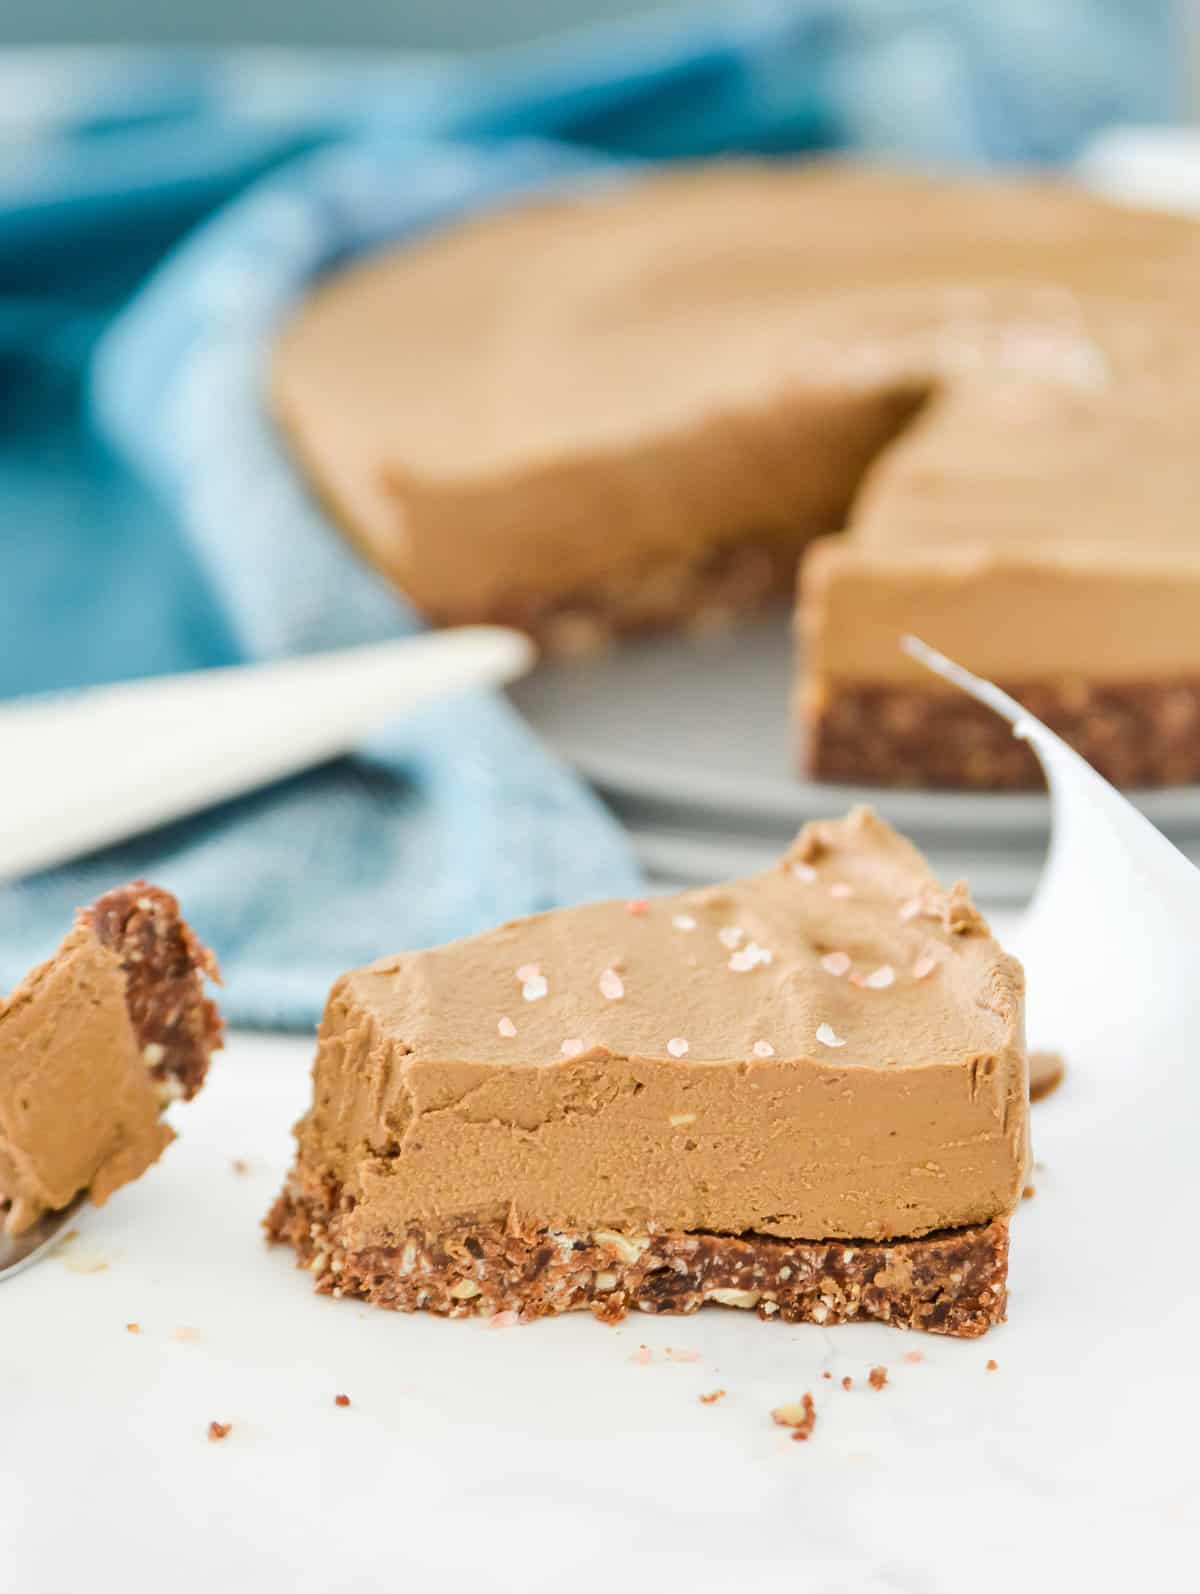
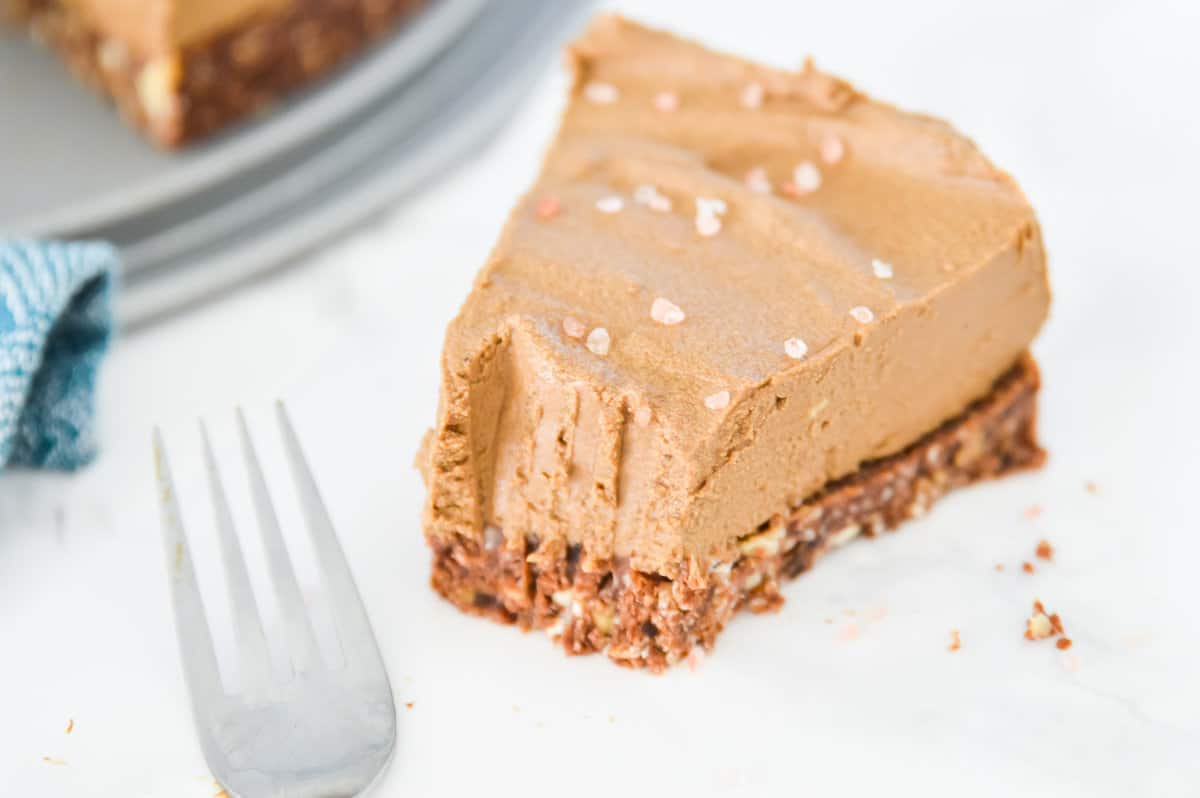
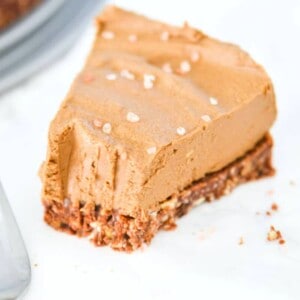
This chocolate avocado torte recipe is what dessert dreams are made of. It has a slightly sweet crunchy crust with a melt in your mouth chocolate mousse topping that makes for the perfect no bake treat. It's also so easy to make and only requires a few minutes of hands on time.
Would you like to save this for later?
Table of Contents
Why you will love this recipe:
- The taste! This flourless chocolate torte has a delicious crunchy chocolate crust, with the most rich and creamy chocolate avocado mousse topping.
- Even though this torte is made with avocados, you would never know it. It doesn't actually taste like avocado. All you taste is the flavour of rich, dark, chocolate.
- It's surprisingly easy to make and only requires a few minutes of hands on time to make.
- This chocolate torte is flourless, gluten-free, dairy-free, refined sugar free, paleo, plant based, raw, and vegan!
If you love adding avocado to recipes you will also love my healthy chocolate avocado muffins, avocado chocolate fudgesicles and avocado brownies!
Ingredients and substitutions:
- Cashews - these form the crunchy crust base. I recommend using raw cashews, not roasted cashews. If you don't have cashews or are allergic you could also use raw almonds.
- Dates - to help the crust ingredients stick together and give it a nice sweet taste.
- Shredded coconut - to add even more texture and flavour to the crust. Be sure to use finely shredded coconut rather than coconut flakes.
- Cacao powder or cocoa powder - to give the crust its delicious chocolate flavour!
- Avocados - these give this torte the most rich and creamy texture. Be sure to use ripe avocados.
- Coconut milk - to help give this dessert even more of a creamy texture. I recommend using full fat coconut milk for this torte recipe.
- Coconut oil - this helps the chocolate mousse firm up when it cools. Do not try swapping this for another fat or oil.
- Honey or maple syrup - either of thees natural sweeteners will work to give this dessert the perfect amount of sweetness and keep it refined sugar free.
- Vanilla extract - to help enhance the chocolate flavour of this treat.
How to make (step-by-step):
Step one:
First you will make the crust by placing all the crust ingredients into your food processor and blending them until you have a sticky texture.
Step two:
Next transfer the blended crust ingredients to a 9 inch spring form cake pan and press it down until you have a smooth, even layer. Then transfer the pan to the freezer while you make the filling layer.
Step three:
To make the filling or pie layer, put the filling ingredients into your food processor and blend well until they are smooth and creamy.
Step four:
Take the pan out of the freezer and pour the filling over the crust. Spread the filling out evenly using a spoon or knife into an even layer.
Step five:
Place the pan back in the freezer and let the cake freeze for 1-2 hours, until it has the texture you prefer.
Step six:
When you are ready to serve it, take it out of the freezer and let it sit for 10-20 minutes before cutting into it. Then enjoy!
Top tips:
- Be sure your avocados are ripe. If they are hard they won't work for making this dessert.
- If you prefer this dessert to have more of a mousse like texture, freeze it for less time, but if you prefer more of an ice cream cake texture, freeze it for longer.
- This cake is best served right away. If it sits on the counter too long after being taken out of the freezer the mousse topping will start to get a little runny.
Recipe variations and add ins:
- Feel free to top this cake with some flaky sea salt for even more flavour.
- You can use either cocoa powder or cacao powder to make this dessert.
- Instead of cashews you could use almonds to make the crust.
- This cake is delicious served as is but you could also top it with some fresh fruit, vanilla ice cream, vanilla yogurt, or whipped cream to make it even more decadent.
How to store:
If you don't finish this avocado torte in one one sitting, store any leftovers in the freezer for up to 7 days.
Frequently asked questions:
Yes! This chocolate torte is both dairy free and vegan.
Yes! This is a no bake dessert that is also raw and plant based.
Nope! It doesn't taste like avocados at all. Just rich, dark chocolate.
Other recipes you will love:
- Healthy Carrot Cake Donuts
- Vegan Turtle Bars
- Vegan Blondies
- Chocolate Peanut Butter Cereal Bars
- Chocolate Chip Banana Bread
- Paleo Chocolate Zucchini Muffins
- Paleo Lemon Blueberry Muffins
Since you made it this far we are basically best friends so be sure to follow me on Instagram, Pinterest, TikTok and Facebook where I share even more recipes and healthy living tips! And don’t forget to leave this recipe a star review before you go!
Recipe
Chocolate Avocado Torte
Equipment
- 9 inch spring form cake pan
Ingredients
Crust
- 1 1/2 cups raw cashews
- 1 1/2 cups dates
- 1 cup shredded coconut
- 1/4 cup cacao powder
- 1 tablespoon organic vanilla extract
Filling
- 3 ripe avocados (flesh)
- 1 1/4 cups full fat coconut milk
- 1/2 cup melted coconut oil
- 1/3 cup honey or maple syrup
- 1/3 cup cacao powder (or cocoa powder)
- 1 tablespoon vanilla extract
Instructions
Crust
- Place all of the ingredients into your food processor and blend well until you have a sticky combination with the texture you prefer.
- Transfer the crust to a 9 inch round springform cake pan.
- Press the crust down with a spoon or spatula until you have a smooth, even layer.
- Place the pan in the freezer while you make the filling.
Filling
- Place all of the ingredients into your food processor and blend well, until smooth.
- Remove the pan from the freezer and pour the filling on top of the crust.
- Spread evenly until smooth.
- Place the pan in the freezer for 1-2 hours, until it reaches the consistency you desire (Note: If you freeze this longer the texture is more like ice cream cake, and if you freeze it for less time it is more like a mousse).
- Remove from the freezer and let thaw for 10-20 minutes.
- Serve and enjoy!
Notes
- Nutritional values are estimates based on a generic nutrition calculator and will vary depending on the exact ingredients that you use.
- Store this cake in the freezer for up to 7 days.


Leave a Reply