
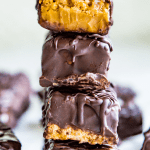
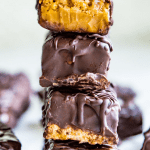
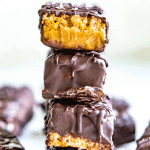

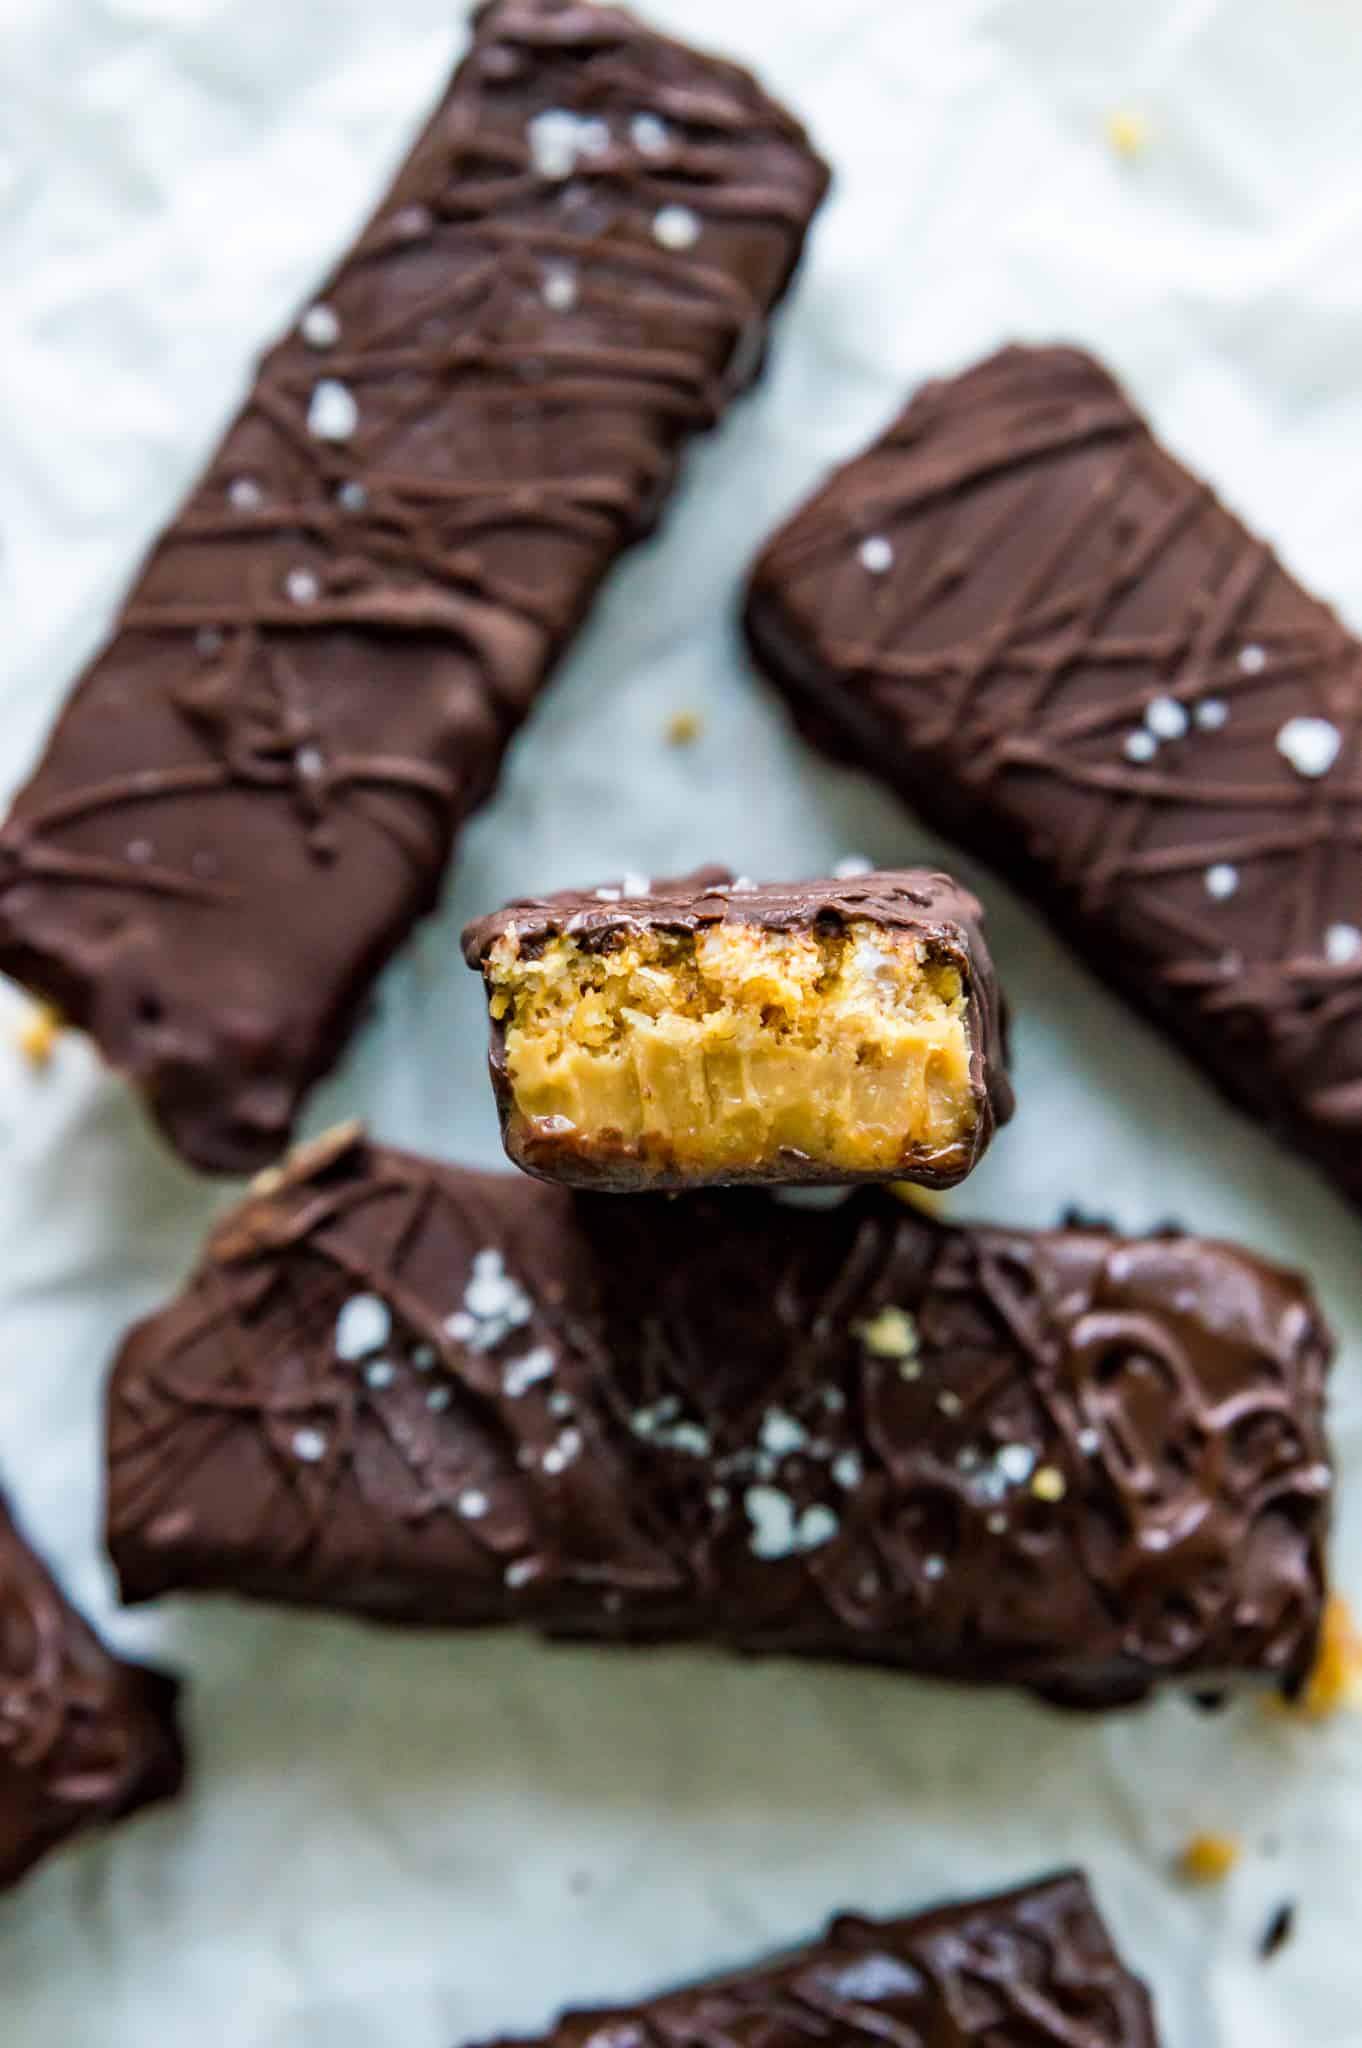
These homemade chocolate peanut butter cereal bars are the best. Made with your favourite cereal, peanut butter, and chocolate, they have the most amazing texture and flavour. These cereal bars are healthier than store bought granola bars and taste so much better.

Would you like to save this for later?
Table of Contents
Why you will love this recipe:
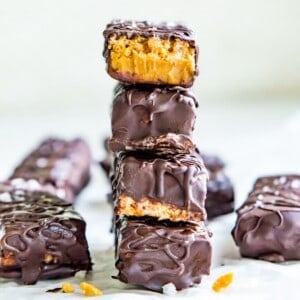
- The taste! These homemade peanut butter cereal bars have the perfect combination of flavours with a salty, crunchy cereal layer, a rich and sweet peanut butter layer, and a delicious dark chocolate coating.
- These cereal bars are a healthy alternative to store bought cereal bars or granola bars - they're refined sugar free, and can easily be made gluten free, dairy free, vegan, and paleo.
- These bars store well and freeze well so they are great for meal prep.
- They are the perfect on the go snack or after workout snack.
- Kids love them!
- You can easily make these cereal bars without peanut butter by using another nut or seed butter such as almond butter, cashew butter, or sunflower seed butter.
If you love cereal bars you are going to love my homemade chocolate granola bars!
Ingredients and substitutions:
Cereal - to give the bars the perfect amount of crunch and texture. You can choose any type of cereal that you like. I used LoveBird cereal which is gluten free, grain free, paleo and refined sugar free! Other great options would be cereals like Corn Flakes, Rice Krispies or Cheerios.
Honey or maple syrup - to add natural sweetness to these homemade chocolate cereal bars. Both of these sweeteners are refined sugar free which is why I love them.
Peanut butter - Be sure to use a natural, smooth, unsweetened peanut butter for this cereal bar recipe. You could also substitute peanut butter with another nut or seed butter such as cashew butter, almond butter, or sunflower seed butter.
Coconut oil - this helps bind these bars together and gives them more moisture. I do not recommend trying to swap this for another fat or oil.
Vanilla extract - to help enhance the flavours of this treat.
Milk or dark chocolate - chocolate is layered on top of these bars to give them that perfect dark chocolate outer coating. You can use any chocolate that you like including dark chocolate, milk chocolate or chocolate chips.
Sea salt - to help contrast the sweetness of these cereal bars.
How to make (step-by-step):
To make the cereal layer:
Step one:
First, preheat your oven to 350 degrees Fahrenheit.
Step two:
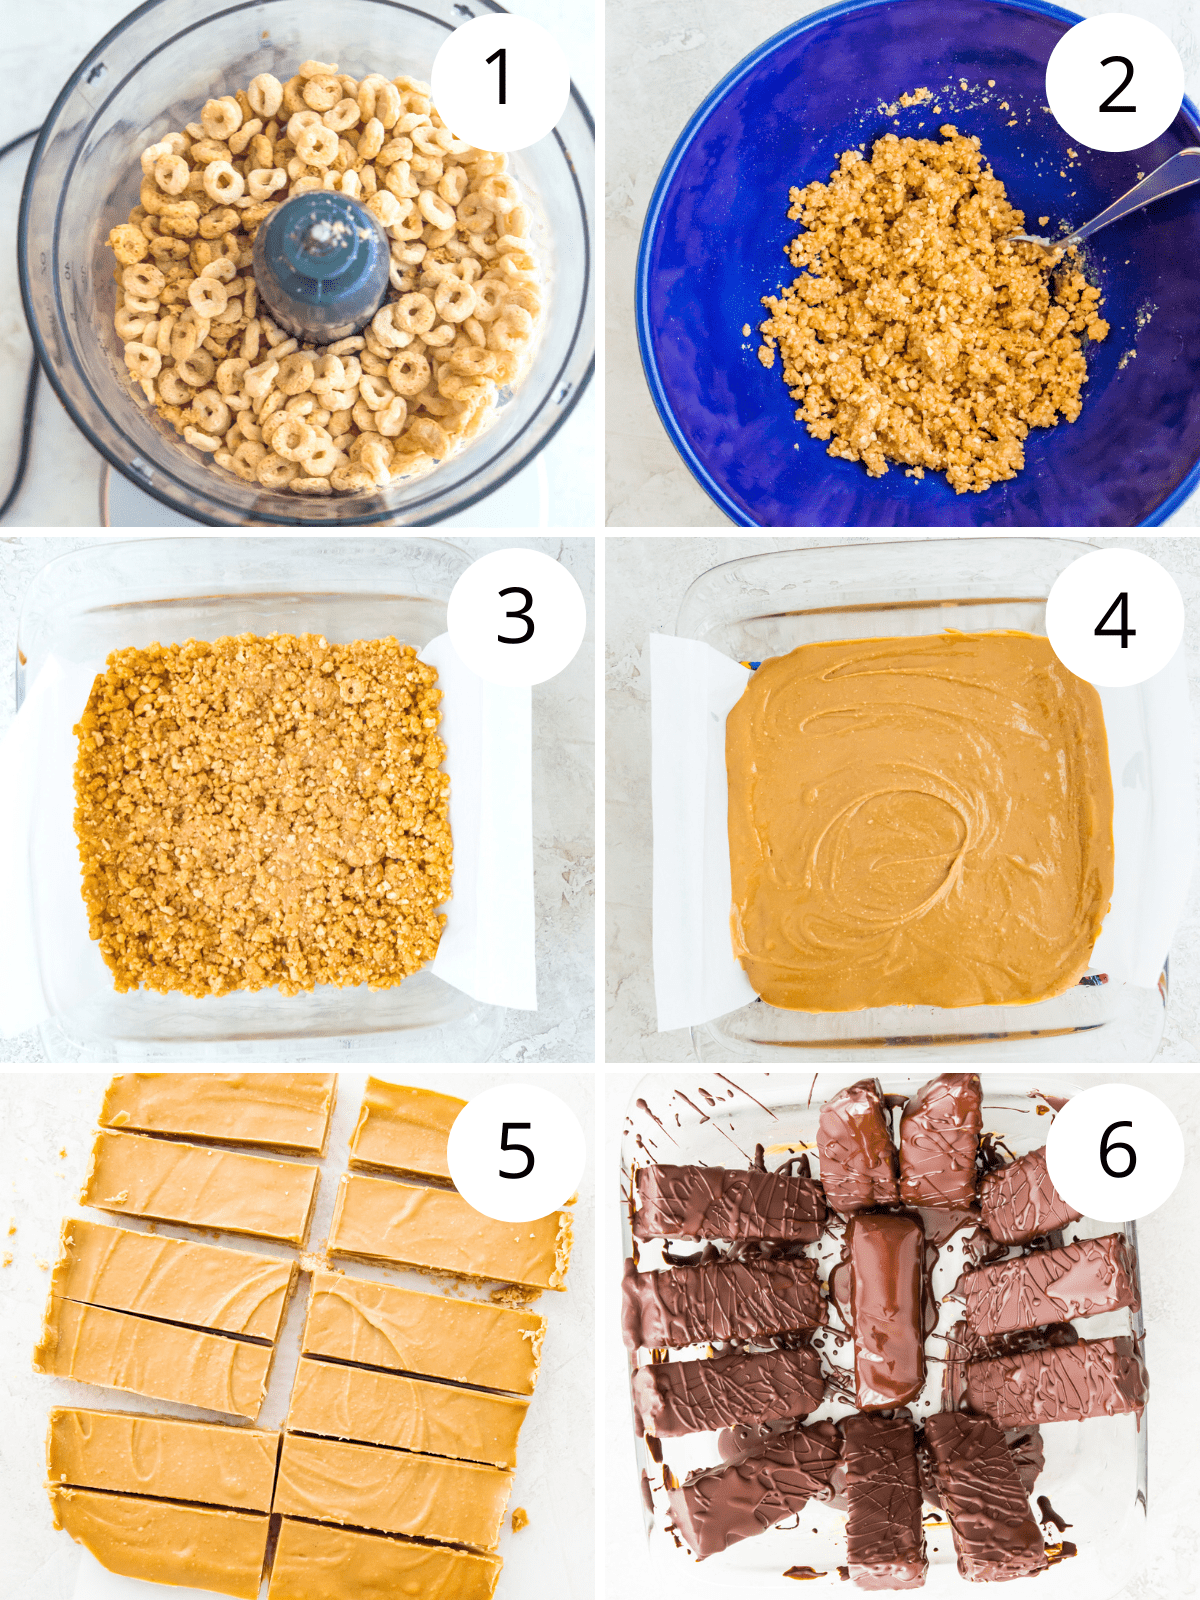
Next, add your cereal to a food processor and blend until it reaches a flour-like consistency.
Step three:
Then add the crushed cereal to a medium bowl along with the other cereal layer ingredients. Stir everything well until you have a nice sticky consistency.
Step four:
Now line an 8″ x 8″ baking dish with parchment paper and then add the cereal mixture to the baking dish, pressing it down into an even layer
Step five:
Bake the bars for 12 minutes and then let them cool.
To make the peanut butter layer:
Step one:
While the cereal layer is cooling, place a small or medium pot on the stovetop and add the peanut butter layer ingredients.
Step two:
Heat on low heat for 2-3 minutes, stirring frequently to combine all the ingredients until they are smooth.
Step three:
Then pour the peanut butter layer over the cereal layer and spread it into an even layer. Then place the pan in the freezer for 2 hours, to harden the peanut butter layer.
Step four:
Once the peanut butter layer has hardened, remove the pan from the freezer and pull the parchment paper out of the pan with the bars on it.
Step five:
Now cut the bars into 12 pieces (or as many as you like).
To make the chocolate layer:
Step one:
First, melt the chocolate in a microwave safe dish by heating it on high in 30 second intervals until melted.
Step two:
Then place each bar into the melted chocolate and cover it completely in the chocolate.
Step three:
Then return the bar to the pan.
Step four:
When all the bars are coated in chocolate, place the pan back in the freezer for 5 minutes to harden the chocolate. Then enjoy!
Top tips:
- When blending the cereal in your food processor, leave a few chunks to give the bars even more texture.
- Use a hot knife to cut these bars into pieces more easily (I simply run the blade under hot water and then dry it).
- Be sure to use natural, smooth, unsweetened peanut butter or other nut butter for this recipe (the bars will be too sweet if you use sweetened peanut butter).
Recipe variations and add ins:
- To make these bars paleo: use a paleo friendly cereal and another nut or seed butter such as cashew butter or sunflower seed butter.
- To make these bars gluten-free: use a gluten-free cereal.
- To make these bars vegan: be sure to use vegan chocolate and maple syrup instead of peanut butter.
- You can use either dark chocolate or milk chocolate for coating these snack bars.
How to store:
Store these bars in the fridge in an airtight container for up to 14 days.
These bars also freeze really well in an airtight container or freezer safe bag for up to 3 months.
Frequently asked questions:
It is more difficult to make these bars without a food processor, but you could break up the cereal by hand. To do this, put the cereal in a bag and use a rolling pin to crush the cereal.
No worries! Instead of peanut butter you can use another nut butter or seed butter such as cashew butter or sunflower seed butter.
Definitely! Chunky peanut butter will add a nice crunchy texture to the cereal bars. Just be sure to get natural, unsweetened chunky peanut butter.
Other recipes you will love:
- The Best Apple Pie Bars
- 5 Ingredient Peanut Butter Pretzel Bars
- Paleo Turtle Cookie Bars
- Gluten Free Lemon Bars with Cranberry
- Paleo Mint Crunch Bars
Since you made it this far we are basically best friends so be sure to follow me on Instagram, Pinterest, TikTok and Facebook where I share even more recipes and healthy living tips! And don’t forget to leave this recipe a star review before you go!
Recipe
Chocolate Peanut Butter Cereal Bars
Equipment
- 8 inch square baking dish
- Microwave safe bowl
Ingredients
Cereal Layer
- 3 cups cereal
- 1/3 cup coconut oil
- 1/4 cup honey or maple syrup
Peanut Butter Layer
- 3/4 cup peanut butter (or other nut butter such as cashew butter)
- 1/4 cup maple syrup
- 1/4 cup coconut oil
- 1 teaspoon vanilla extract
- pinch sea salt
Chocolate Layer
- 9 oz chocolate (either dark chocolate or milk chocolate)
Instructions
Cereal Layer
- Preheat your oven to 350F.
- Add the cereal to your food processor and blend until you have a flour like consistency (I like to leave some chunks for more texture).
- Transfer the cereal flour to a bowl and add the other cereal layer ingredients. Stir well until you have a sticky consistency.
- Line an 8" x 8 baking dish with parchment paper and transfer the cereal layer to the pan. Press down evenly until you have an even layer. Bake for 12 minutes and then cool for a few minutes.
Peanut Butter Layer
- While the cereal layer is cooling, place a small or medium pot on the stove and add the peanut butter layer ingredients. Heat on low heat for 2-3 minutes, stirring frequently to combine all the ingredients until they are smooth.
- Pour the peanut butter layer over the cereal layer and then place the pan in the freezer for 2 hours, to harden the peanut butter layer.
- Once the peanut butter layer has hardened, remove the pan from the freezer and pull the parchment paper out of the pan with the bars on it. Cut the bars into 12 pieces (or as many as you like).
Chocolate Layer
- Melt the chocolate in a microwave safe dish by heating it on high in 30 second intervals until melted.
- Place each bar into the melted chocolate and cover it completely in the chocolate. Then return the bar to the pan and lean it on the edge of the pan. When all the bars are coated in chocolate, place the pan back in the freezer for 5 minutes to harden the chocolate.
Notes
- Store these bars in the fridge in an airtight container for up to 14 days.
- Nutritional values are an estimate and will vary depending on the exact ingredients used.


Leave a Reply