
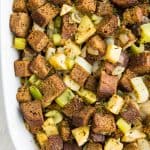
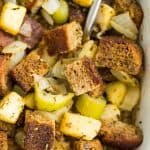


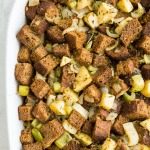


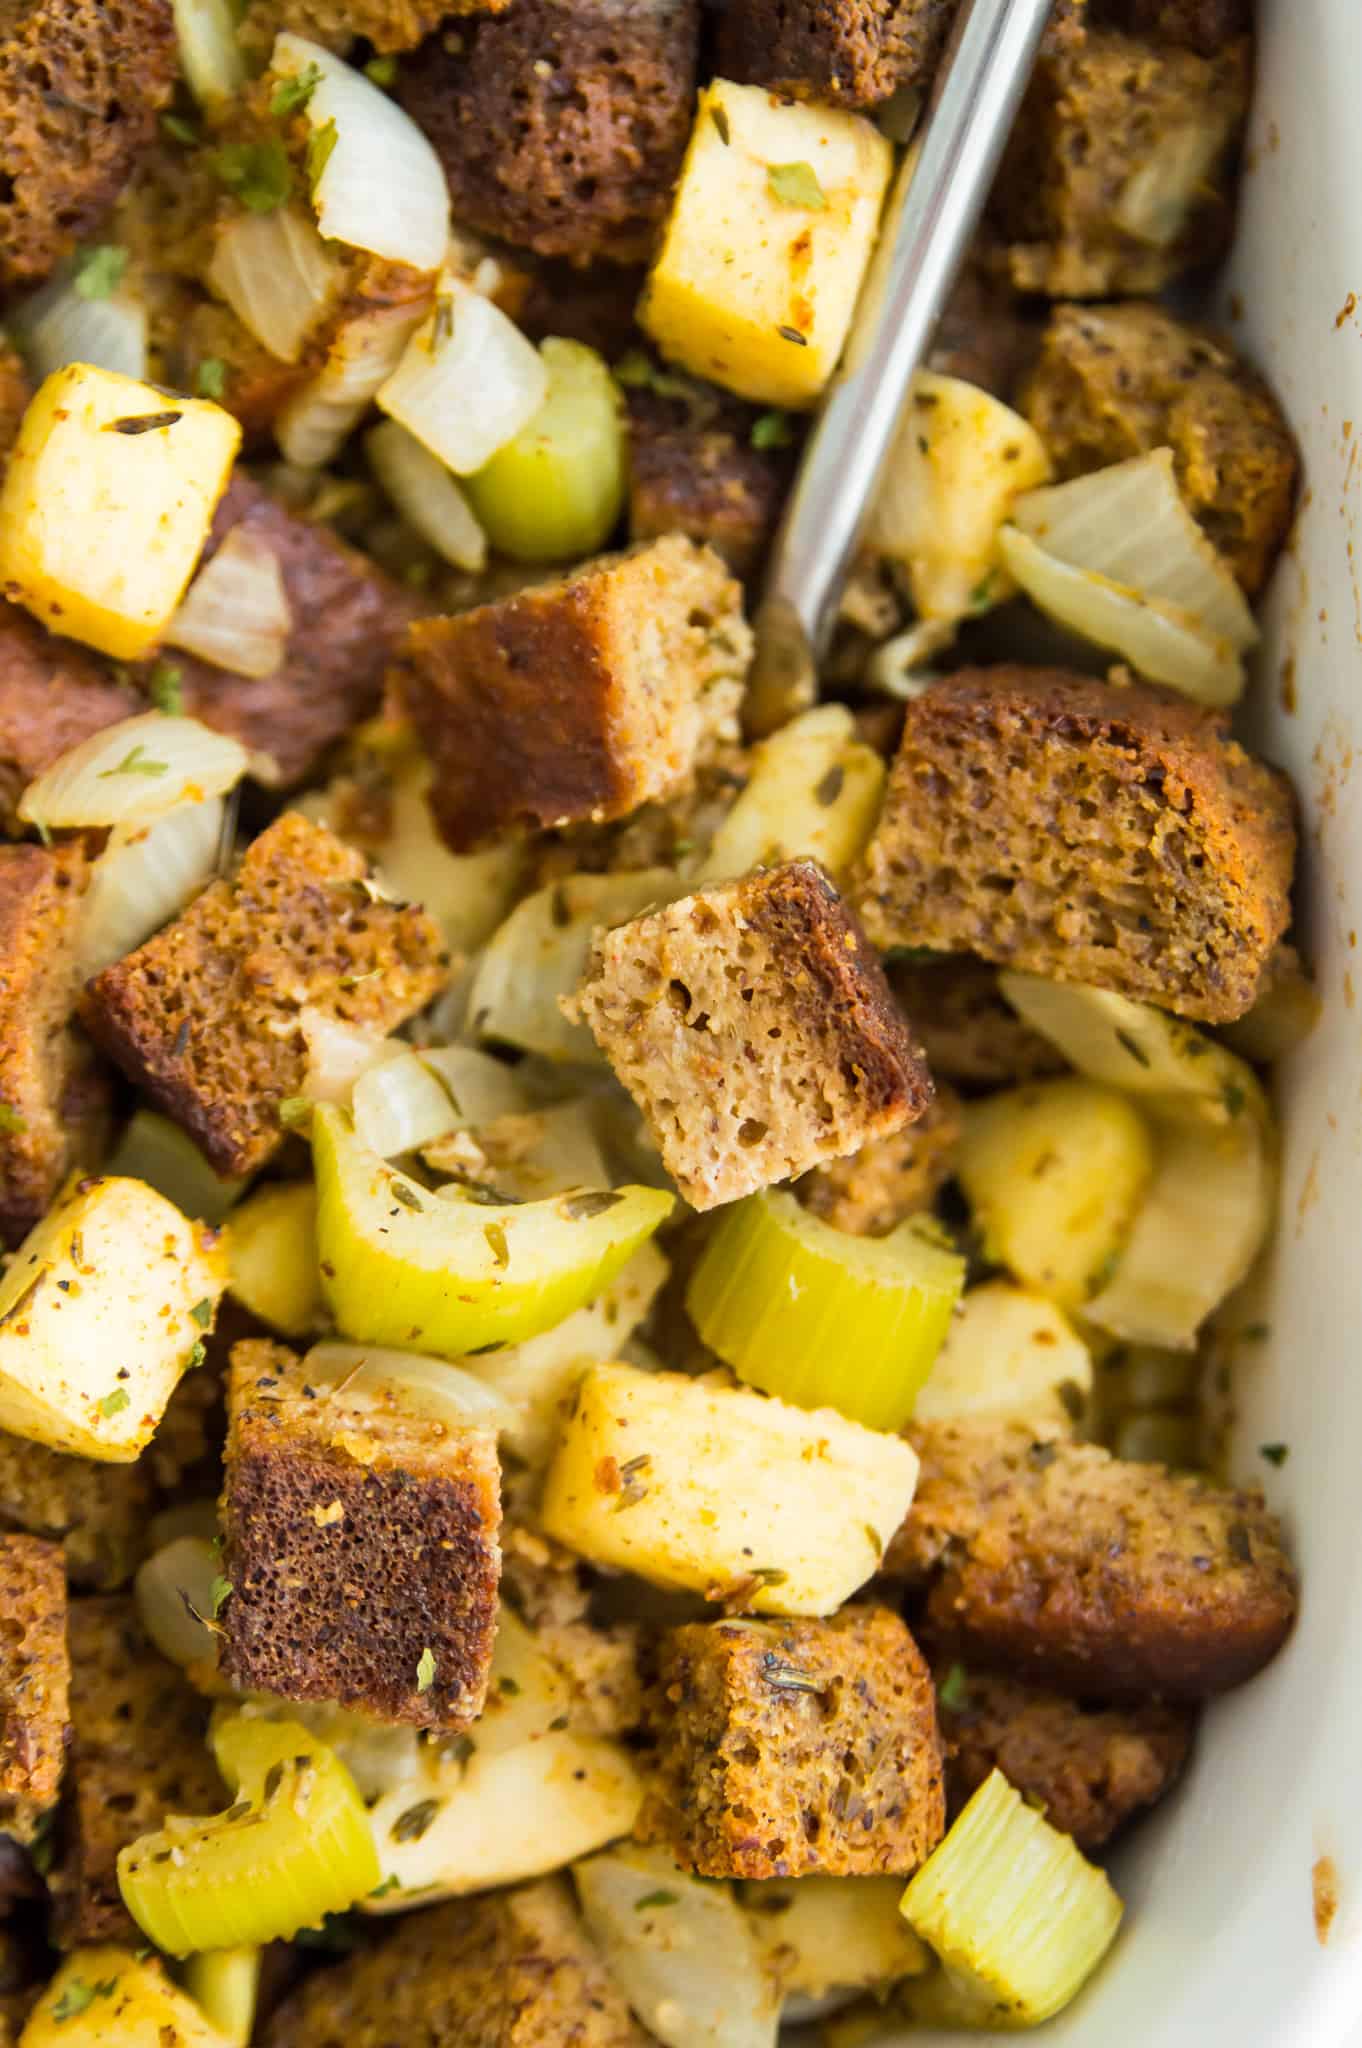
This is the best paleo stuffing recipe! Full of flavour, this stuffing is made from scratch with dried paleo bread cubes, celery, onions, apples, and broth. It's baked until golden brown and is perfect anytime but especially for the holidays including Thanksgiving and Christmas.
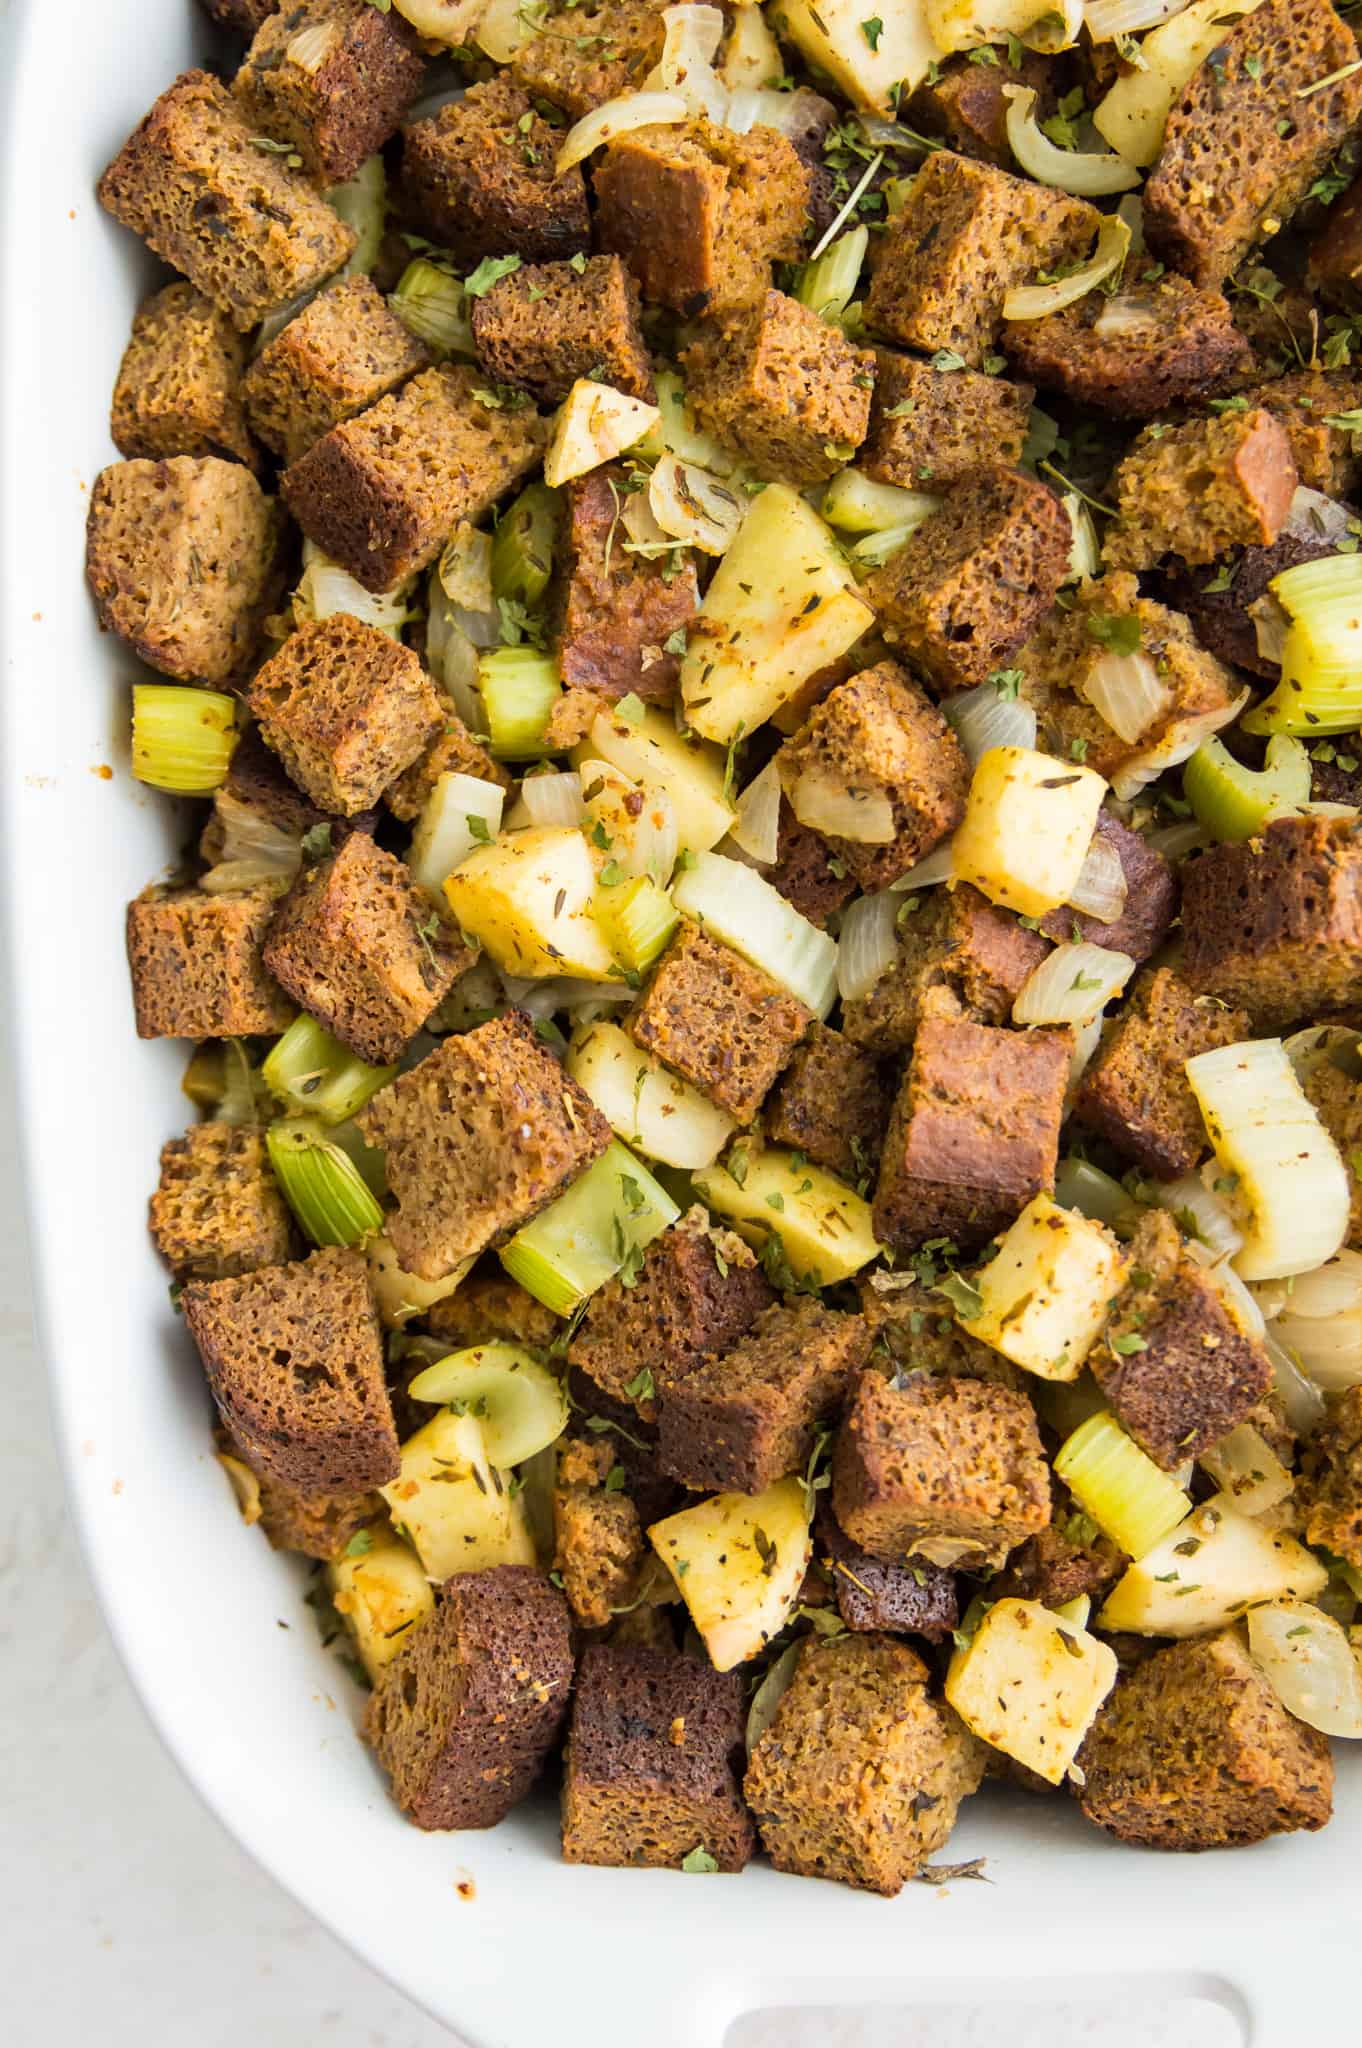
Table of Contents
Why you will love this recipe
- It tastes just like classic stuffing or traditional stuffing, yet is made without any grains, gluten or dairy! I've tried other paleo stuffing recipes made with sweet potato or cauliflower before and this is by far my favourite.
- It's made with my grain free paleo bread, and other simple ingredients you can find at any grocery store like onions, celery, apples, broth and spices to give it the perfect festive flavour.
- It makes great leftovers, can be prepared ahead of time, and freezes really well!
- It's great for both Thanksgiving dinner and Christmas dinner, just like my turnip and apple casserole recipe.
- Besides being paleo this stuffing recipe is healthy, gluten free, grain free, sugar free, and dairy free.
- It's made without cauliflower, without almond flour and without sweet potatoes. Because it's made with bread it tastes just like the real thing!
- It's nice and moist, never dry or bland.
- Kids love it!
Key ingredients and substitutions:
For all the ingredients and exact measurements refer to the recipe card at the bottom of this post.
- One loaf of my paleo bread - this is the best paleo bread for stuffing but you could use another paleo bread recipe of your choice.
- Apples - apples are my favourite way to add natural sweetness and flavour to stuffing. The chopped apples also help add moisture to this recipe. You can use any type of sweet apple that you like including Gala, Pink Lady, Ambrosia, Fuji, Honeycrisp etc.
- Celery - celery is a healthy vegetable that adds both flavour, crunch and moisture to this gluten free stuffing recipe.
- Onions - another delicious vegetable that help add flavour and moisture to this stuffing.
- Vegetable broth - broth is a key ingredient in stuffing to add both flavour and moisture. Instead of vegetable broth you could use chicken broth, beef broth or bone broth.
- Eggs - eggs make stuffing so much better. However, because there is eggs in this recipe this is not a vegan paleo stuffing recipe.
- Spices - sea salt, ground black pepper, thyme, sage - this combination of spices gives this stuffing the most incredible holiday flavour. You could easily add other spices such as rosemary, poultry seasoning or basil too.
How to make paleo stuffing:
Step one:
First, preheat your oven to 350 degrees Fahrenheit.
Step two:
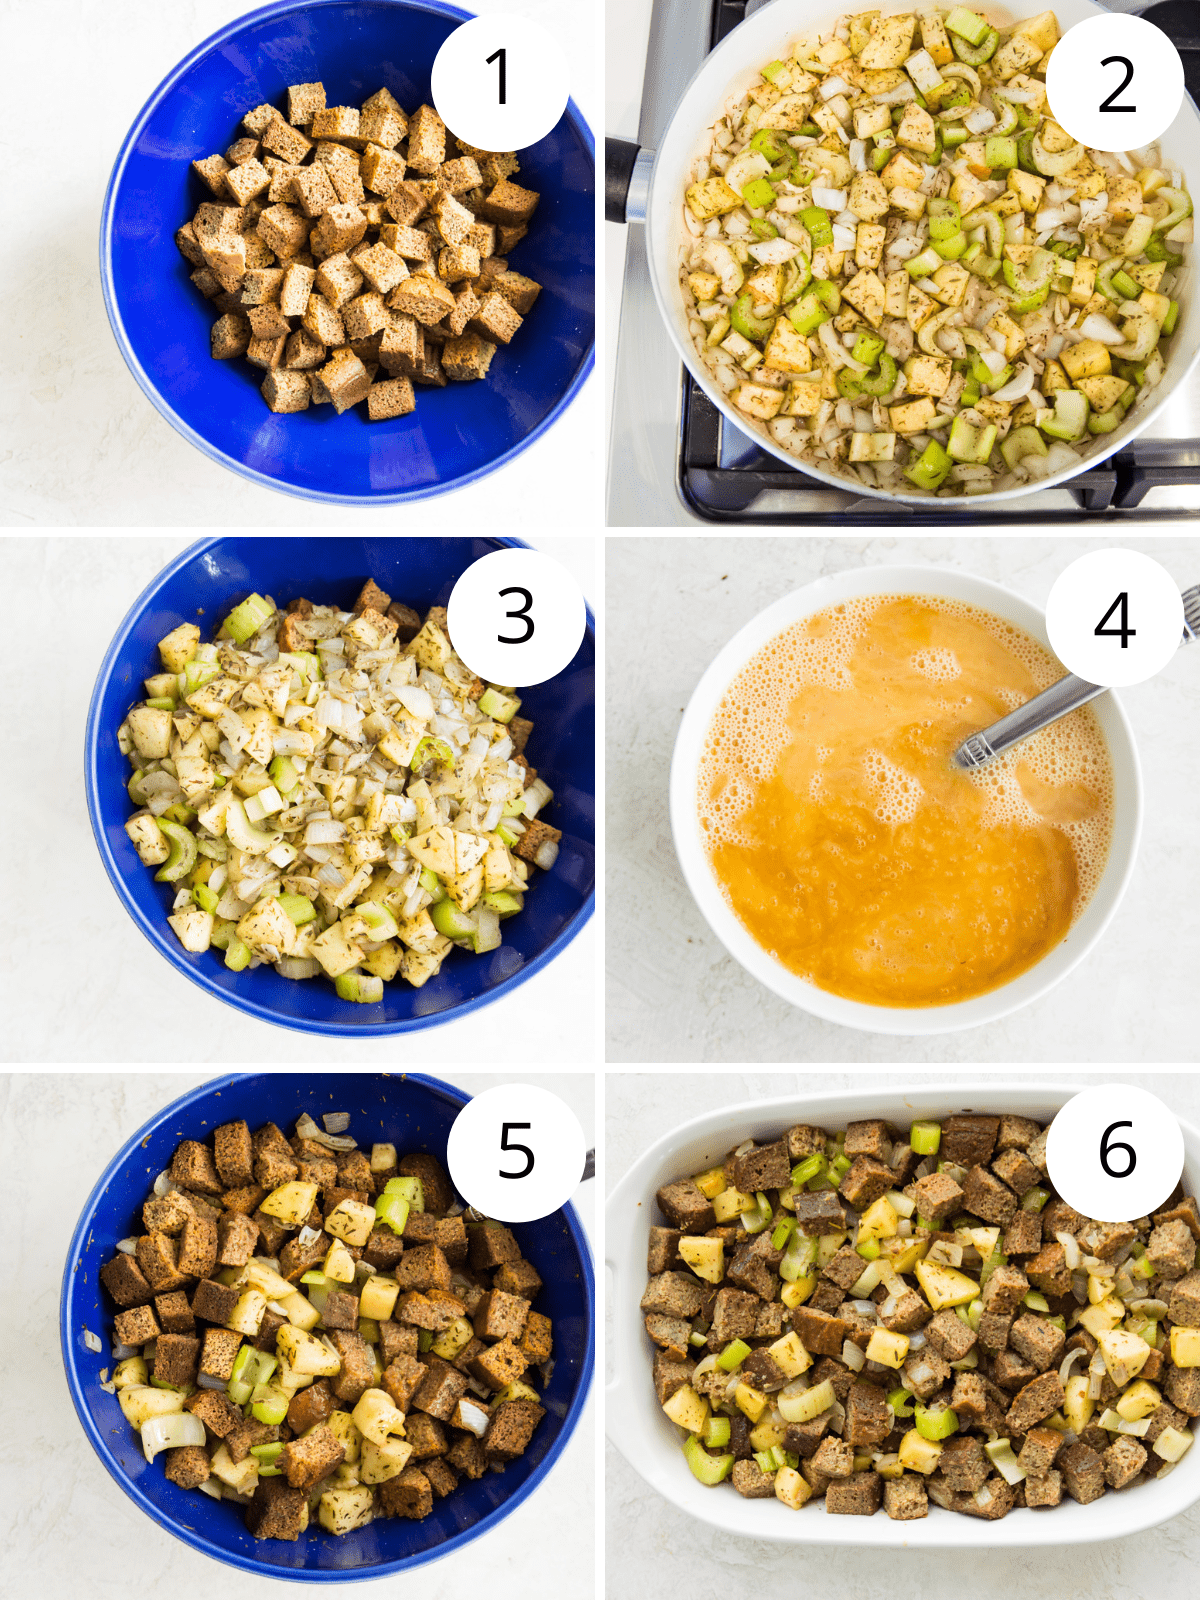
Next, place the dried bread cubes in a large bowl and set the bowl aside.
Step three:
Now, place a large pan or large skillet on the stove on medium heat and add the coconut oil. Once the oil is melted, add the chopped onion, celery, apples and spices and sauté for 8-10 minutes, until the onion is translucent, stirring frequently.
Step four:
Next add the onion mixture to the bowl with the bread cubes and stir everything well.
Step five:
In a separate bowl, whisk the eggs until they are smooth and then add the vegetable broth and stir them together until they are well combined.
Step six:
Pour the egg and broth mixture into the bowl with the bread cubes and stir everything well to combine and allow the bread to soak up the liquids.
Step seven:
Using a slotted spoon, transfer the bread mixture to a greased 9″ x 13″ casserole dish or baking dish. Cover the dish with aluminum foil and bake for 40 minutes. Remove the foil and bake for another 10-15 minutes, until the stuffing mixture has the texture you like.
Step eight:
Let the stuffing cool for a few minutes, then serve and enjoy!
How to dry bread cubes:
You can dry your bread cubes two different ways:
- Place your bread cubes in a large bowl and let them sit covered for 1-2 days to dry out. Stir the bread cubes every once in a while.
- If you don't have time to air-dry your bread cubes, you can toast them instead. To do this, line a baking sheet with parchment paper and place the bread cubes on the lined baking sheet in a single layer and toast at 250 degrees Fahrenheit for 50-60 minutes stirring every once in a while.
Top tips:
- Make sure you dry your bread ahead of time or the stuffing will turn out really soggy (see my tips on how to dry your bread below).
- Other optional additions to give this stuffing a different flavour include: raisins, dried cranberries, cooked Italian sausage, cooked bacon, cooked mushrooms, pecans, or slivered almonds.
- You can either peel the apples or leave them unpeeled when making this stuffing.
- Feel free to add other seasonings such as dried or fresh rosemary or basil to give this stuffing a slightly different flavour.
- Note that I have personally not tried making this stuffing recipe with any other paleo bread recipes. You may need to adjust the amount of broth you add if you use a different bread recipe.
How to serve:
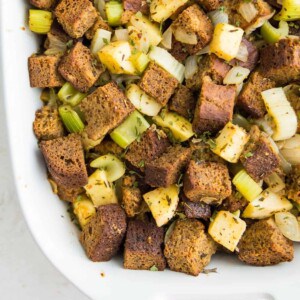
This grain-free stuffing recipe is best served warm rather than cold. It makes the perfect side dish for roast turkey or cooked ham. You could also pair it with other main meat dishes such as roast chicken, pork tenderloin or even steak! It is the perfect addition to any thanksgiving table or Christmas table.
How to store:
Store this stuffing in the fridge in an airtight container for up to 5 days. I think it tastes even better the next day!
I don't recommend trying to freeze stuffing. It gets mushy when it thaws and just isn't as good as when it's freshly made.
Paleo stuffing FAQs:
This stuffing recipe is not Whole30 compliant. It is made with bread which is not allowed on the Whole30 program.
It is not recommended that you prepare stuffing ahead of time. However, you can easily prep all of the ingredients the day before and then simply combine them the day you are ready to cook the stuffing.
Yes! To freeze stuffing place it in an airtight container or bag in the freezer and it can last for months. To reheat the stuffing, put it in the oven at 350°F for about 20 minutes with a little broth on it to keep it from drying out.
Initially yes. You want to cover your stuffing when baking for the first 40 minutes, and then uncover it for the remaining 10-15 minutes.
You want the bread to be moist but not wet. If there is a puddle of liquid at the bottom of your bowl you've added too much liquid (or not distributed the liquid evenly throughout the stuffing mixture). To fix this, try stirring the stuffing a few more times to ensure all the pieces are evenly moist, and if there is still a puddle then simply add more bread cubes to soak up the excess liquid.
Other paleo recipes you will love:
- Healthy cranberry sauce
- Paleo apple pie bars
- Paleo scalloped potatoes
- Paleo lemon cranberry bars
- Cranberry Maple Chicken
Since you made it this far we are basically best friends so be sure to follow me on Instagram, Pinterest, TikTok and Facebook where I share even more recipes and healthy living tips! And don’t forget to leave this recipe a star review before you go!
Recipe
Paleo Stuffing
Ingredients
- 1 loaf paleo bread, cut into cubes and dried
- 3 tablespoon coconut oil
- 2 small onions, chopped (or use one large onion)
- 2 red apples, chopped (approximately 3 cups)
- 6 stalks celery, chopped (approximatley 2 cups)
- 1 tablespoon dried sage (or 2 tablespoon fresh sage, chopped)
- 1 tablespoon dried thyme (or 2 tablespoon fresh thyme, chopped)
- 1 teaspoon sea salt (or more to taste)
- 1/2 teaspoon ground black pepper (or more to taste)
- 2 eggs
- 2 cups vegetable stock or chicken stock
Instructions
- Preheat your oven to 350F.
- Place the dried bread cubes in a large bowl and set aside.
- Place a large pan on the stove on medium heat and add the coconut oil. Once melted, add the chopped onion, celery, apples and spices and sauté for 8-10 minutes, until the onion is translucent, stirring frequently.
- Add the onion mixture to the bowl with the bread cubes and stir everything well.
- In a separate bowl, whisk the eggs and add the vegetable broth.
- Pour the egg and broth mix into the bowl with the bread cubes and stir everything well to combine and allow the bread to soak up the liquids.
- Using a slotted spoon, transfer the bread mixture to a greased 9" x 13" casserole dish. Cover the dish with aluminum foil and bake for 40 minutes. Remove the foil and bake for another 10-15 minutes, until the stuffing has the texture you like.
- Let the stuffing cool for a few minutes, then serve and enjoy!
Notes
- Feel free to add other spices to change the flavour of this stuffing.
- If you are feeding a crowd you can easily double this recipe.
- Store this stuffing in the fridge in an air tight container for up to 5 days.
- Nutritional values are an estimate and will vary depending on the exact ingredients used and the serving size.
Leave a Reply